Access this form by selecting [VTAC Self-Service Forms] in the upper-left navigation menu, then choose the appropriate form from the list.
This process is used to add employees, including adjuncts, to your courses in D2L. It does not apply to students. You may add employees to a course so they can observe, participate in instruction, or copy course content.
To add a student to your course, see Reconcile Your D2L and iStar Rosters.
Getting Started on the Add User to a Course Form
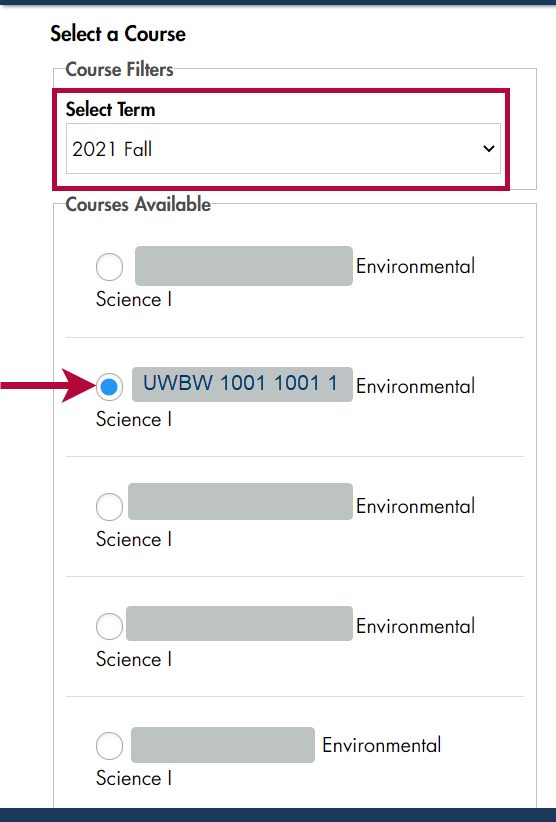
- Select the term for your course from the dropdown menu, and select the [◯] next to the correct course.
- From the dropdown menu, select the D2L to grant to the user. There are eight available roles. (If you choose a role that allows the user to add or use content, you will see a warning popup. Simply click OK if that is the role you'd like.)
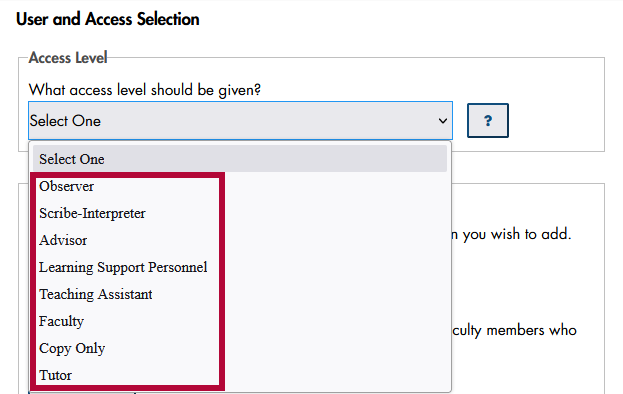
Available Roles
NOTE: View D2L Roles Chart for additional details.
- Observer - Observers can view student data, including User Progress. Observers cannot participate in discussions or copy courses, but they can view setup options and preview quizzes and surveys. Users will appear as Student on the classlist, but will not show up in the gradebook.
- Scribe-Interpreter - Users will appear as Student on the classlist, but will not be able to take quizzes.
- Advisor - Users will have a limited view of student information but no editing ability in the course. Viewing access includes Class Progress, Classlist, Groups, Manage Files, and Quizzes. Users will appear as Advisor on the classlist.
- Learning Support Personnel (LSP) - Users have student-level access but will be able to view grades, feedback, and student feedback as well as edit Quiz Submission Views. This role is often used in Dual Credit courses; it is meant to facilitate student learning by providing users a view similar to that of students. Users will appear as LSP on the classlist.
- Teaching Assistant - Users will have access to add and modify course content, the ability to post news announcements to the course, and the ability to participate in discussions. Teaching Assistants will also have faculty-level access to the course calendar. Users will appear as Teaching Assistant on the classlist.
- Tutor - Users will be able to view course Content, Quizzes, Assignments, Discussions, the Classlist, and Announcements, but will not have access to the Gradebook, Class Progress, or any student submissions. Users will appear as Tutor in the classlist.
- Faculty - Users added as faculty will have the same rights as the original faculty member, including editing content, quizzes, etc. Users will appear as Faculty on the classlist.
- Copy Only - Users cannot edit the course or content, but they can copy material FROM the course into their courses or community groups/sandbox. Users will appear as Copy Only on the classlist.
View D2L Roles Chart for details for each of the following:
- View Content,
- Create/Edit Content,
- View Quiz/Assignment/Discussion,
- Create/Edit Quiz/Assignment/Discussion,
- View Submissions,
- Grade/Edit Submissions,
- View News Announcement,
- Create/Edit News Announcement,
- View Gradebook single user,
- View Gradebook for all students,
- Create/Edit Gradebook,
- Create/Edit Grades,
- Export Grades,
- Access course not Active,
- Access course outside start/end dates,
- View Class Progress.
NOTE: An Observer may have already been placed in your course through iStar. Observers show up on the [All] tab of the Classlist, not the [Student] tab, but they are listed with a student role.
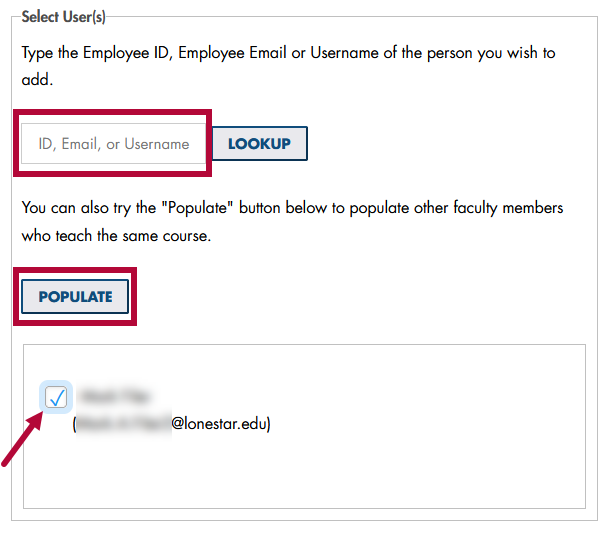
- Enter the Employee Email Address, Username, or ID number of the user you'd like to add, and then click the [Lookup] button. (To find the username, see the instructions below.)
-
After you click Lookup, the user's name and email will appear below the [Populate] button. If it does not, either the user is not in the D2L user database, or you have entered the username/ID number incorrectly. Click the [✔] next to the user's name.
NOTE: You may also click the [Populate] button to see a list of other instructors teaching the same subject.
- The Submit panel will allow you to review your choices; when you are satisfied, click [Submit].
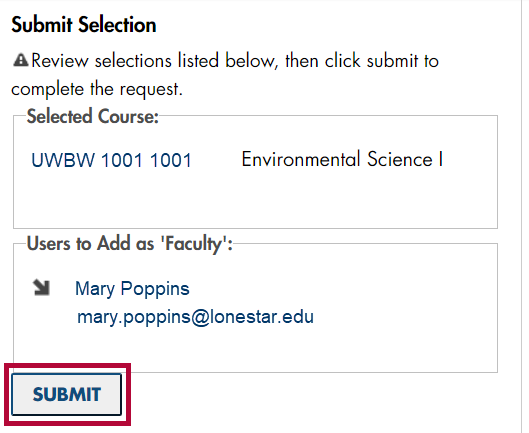
NOTE: If you want to change the access level of someone who is already in the course, you can use the Add a User to a Course form to add them with the updated role.
Finding a Username (Microsoft)
- Open Microsoft Outlook.
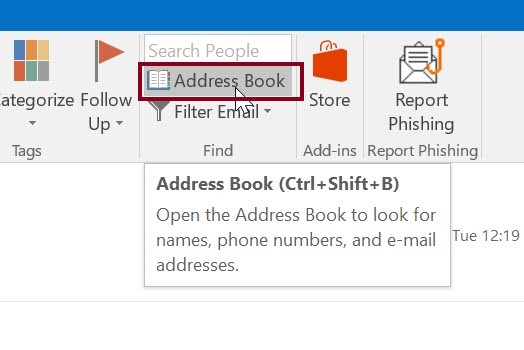
- In the Find area, click the [Address Book] icon or press CTRL+SHIFT+B.
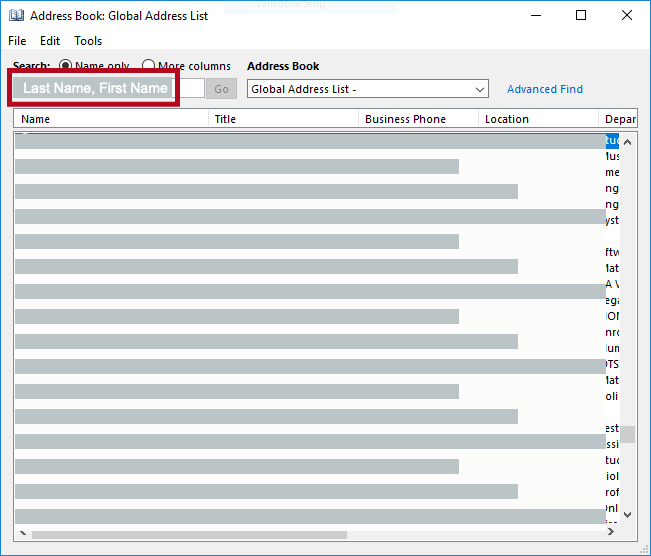
- In the name field, enter the Professor’s name (last name first).
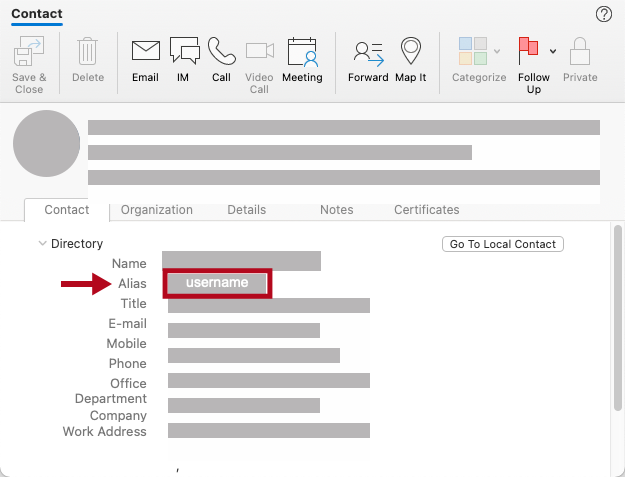
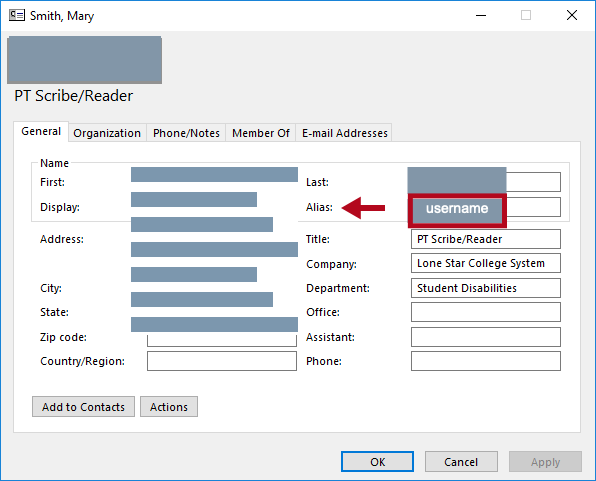
- Double-click the blue highlighted name. The username is in the Alias field.
Finding a Username (Mac)
- Open Microsoft Outlook.
- Search in the [Find a Contact] box.

- A pop-up window with each result in a tile displays.
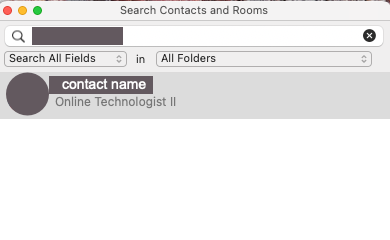
- Double-click the tile and the contact card displays. The username is in the Alias field.
