In D2L, discussions are a common tool used for students to engage in asynchronous communication. Discussions allow students to respond to instructor prompts and to each other's responses as they have the opportunity. This is called asynchronous.
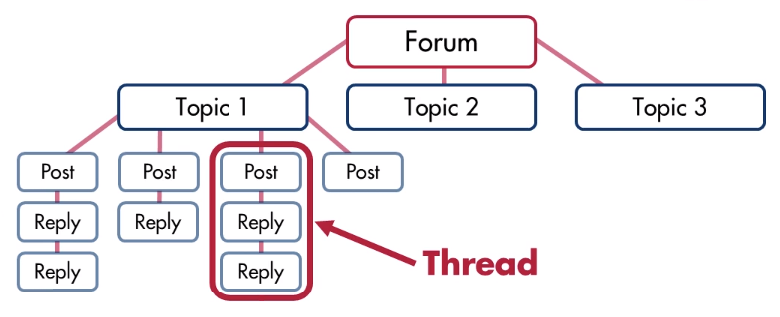
The discussion tool is divided into two pieces - forums and topics. Forums serve as containers or "folders" for discussion topics. Without at least one forum, you can't create topics, and no one can post or reply in a forum, so you must have a topic in a forum.
To create a forum and topics, follow the instructions below.
To create a Discussion Forum
- Click the [Collaboration] menu on the Navbar, then choose [Discussions].
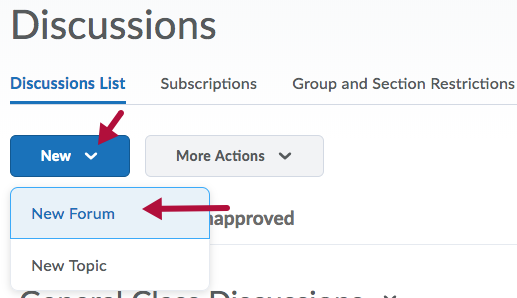
- Click on the [New] button, then choose [New Forum].
- Give the forum a title, and then click [Save and Close]. You may add a description or choose options that apply to all topics within the forum. Until you have a reason to do so at the forum level, choose options and restrictions at the topic level.

NOTE: Options chosen at the forum level will apply to all the topics within the forum. You do not need to set any options at this level.
To Create a Discussion Topic
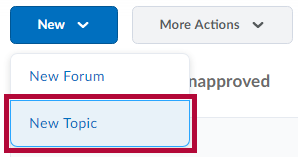
- Click on [Collaboration] on the Navbar and choose [Discussions].
- Click on the [New] button and choose [New Topic].

Insert the Topic in a Content Module
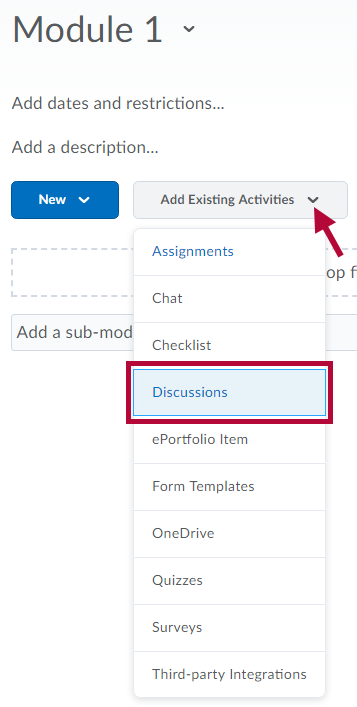
- Navigate to the module where you want to add your discussion.
- Click the [Add Existing Activities] button then
- Choose [Discussions].
- Choose the forum the topic is associated with.
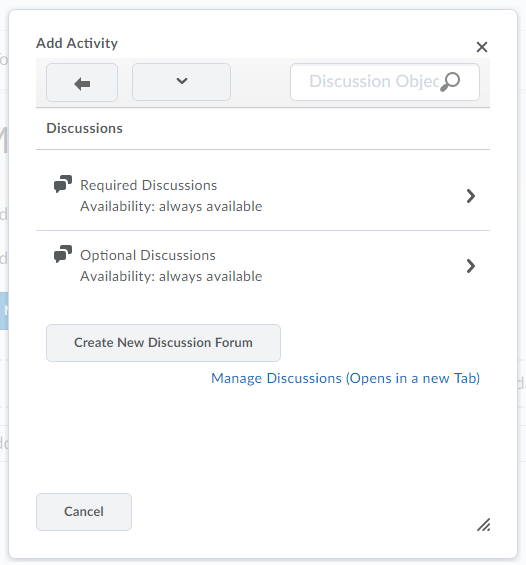
- Choose the topic you want to add.
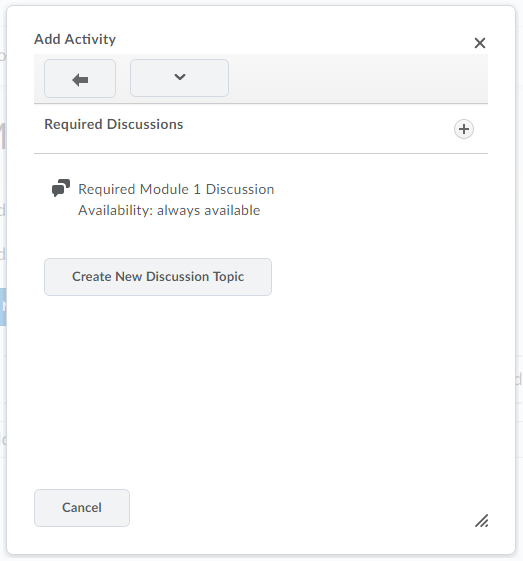
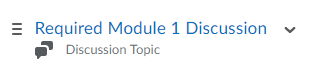
- After making your selection, the topic will appear in your module.


For editing Discussion Topics after creating them, see our Edit Discussion Topic - Properties and Edit Discussion Topic - Right Panel articles.