These tables and callouts are pre-made elements that can be used to enhance your course. They do not require using an HTML template file and can be used in most areas of D2L that have an HTML editor, such as:
- Announcements
- Module and Topic Descriptions
- Assignment Folder Instructions
- Discussion Instructions
- Quiz Instructions, Headers, Footers, and Questions
NOTE: They should not be used in email messages that can be forwarded outside of D2L.
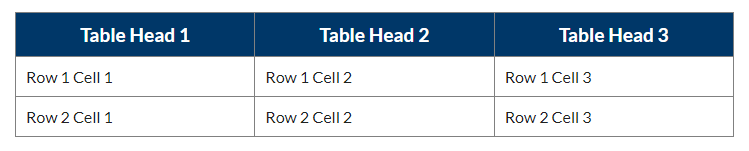
Tables
Tables are a convenient way to organize content and demonstrate the relationship between multiple pieces of content.
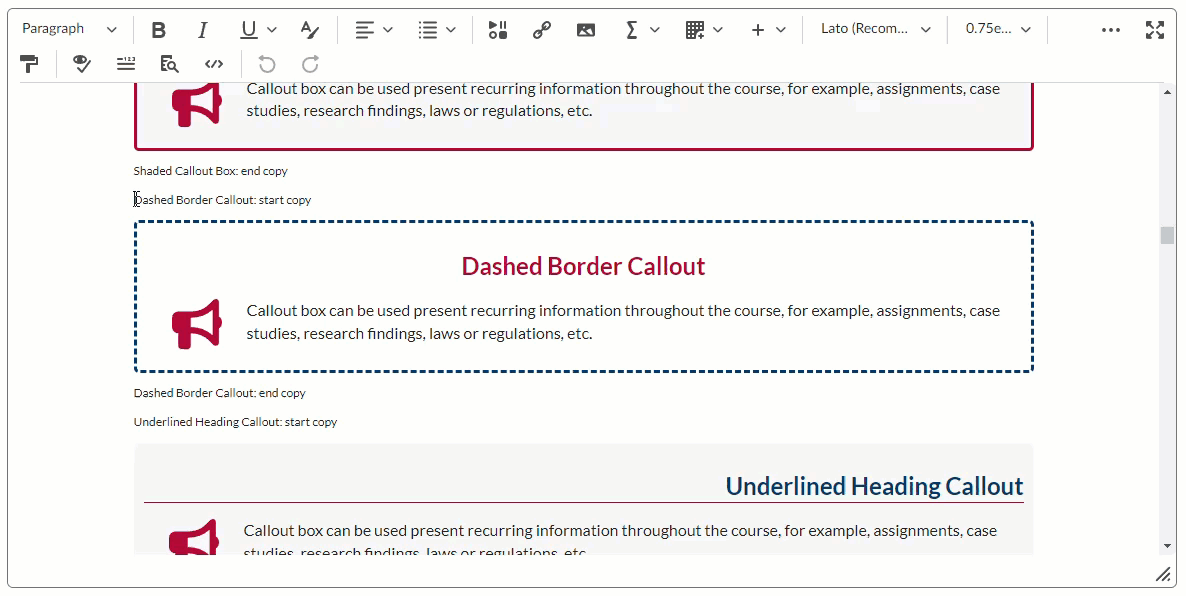
Callouts
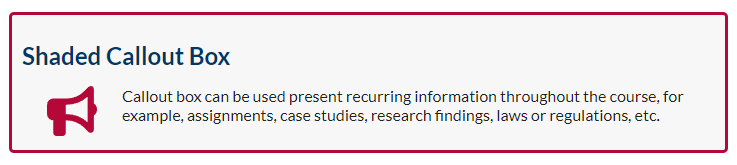
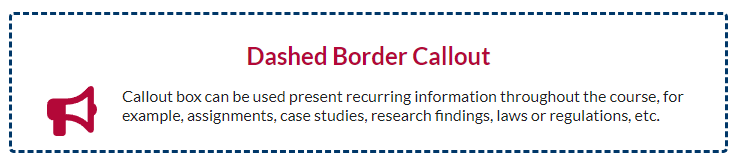
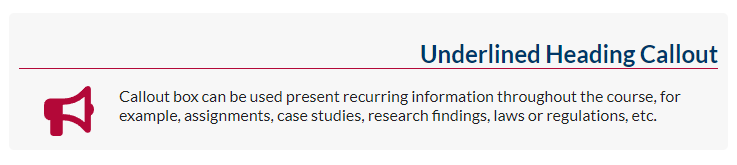
A callout allows you to draw attention to important information within the content. Three Callout styles are provided:
- Shaded Callout Box
- Dashed Border Callout
- Underlined Heading Callout


Inserting Elements
To get started with the elements in D2L Brightspace, follow these steps:
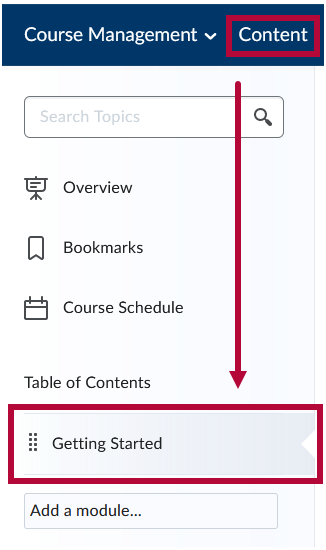
- On the Navbar, click [Content], then click on the module or sub-module where you can insert the file in order to copy the elements.
-
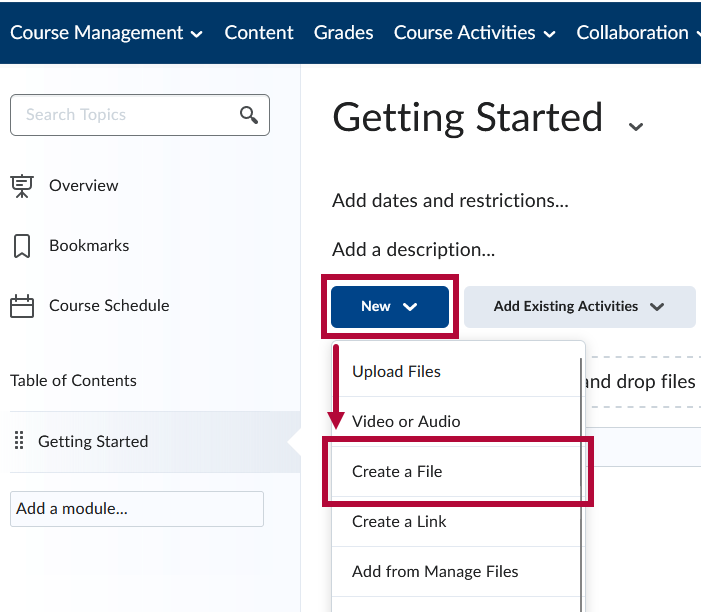
Click on the [New] button and select [Create a File].
-
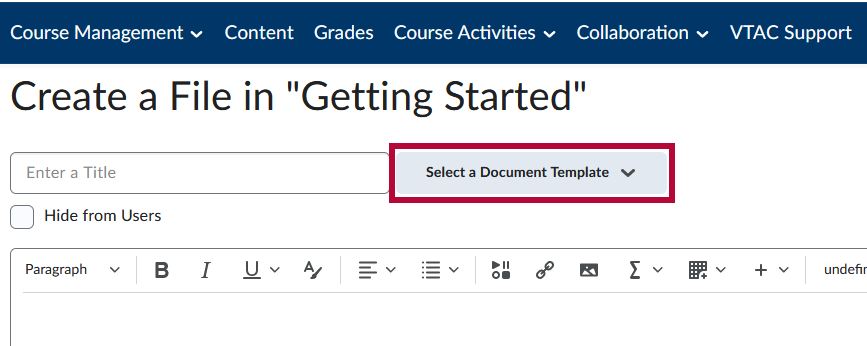
Click [Select a Document Template].
-
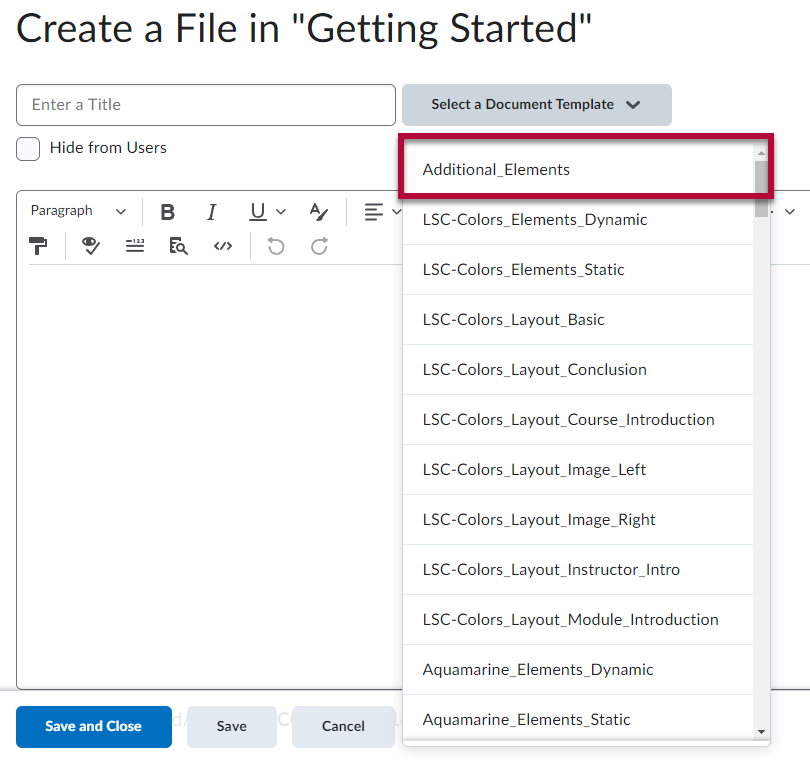
Choose the Additional Elements file.
NOTE: If you do not see the Templates listed here, refer to Activating HTML Templates.
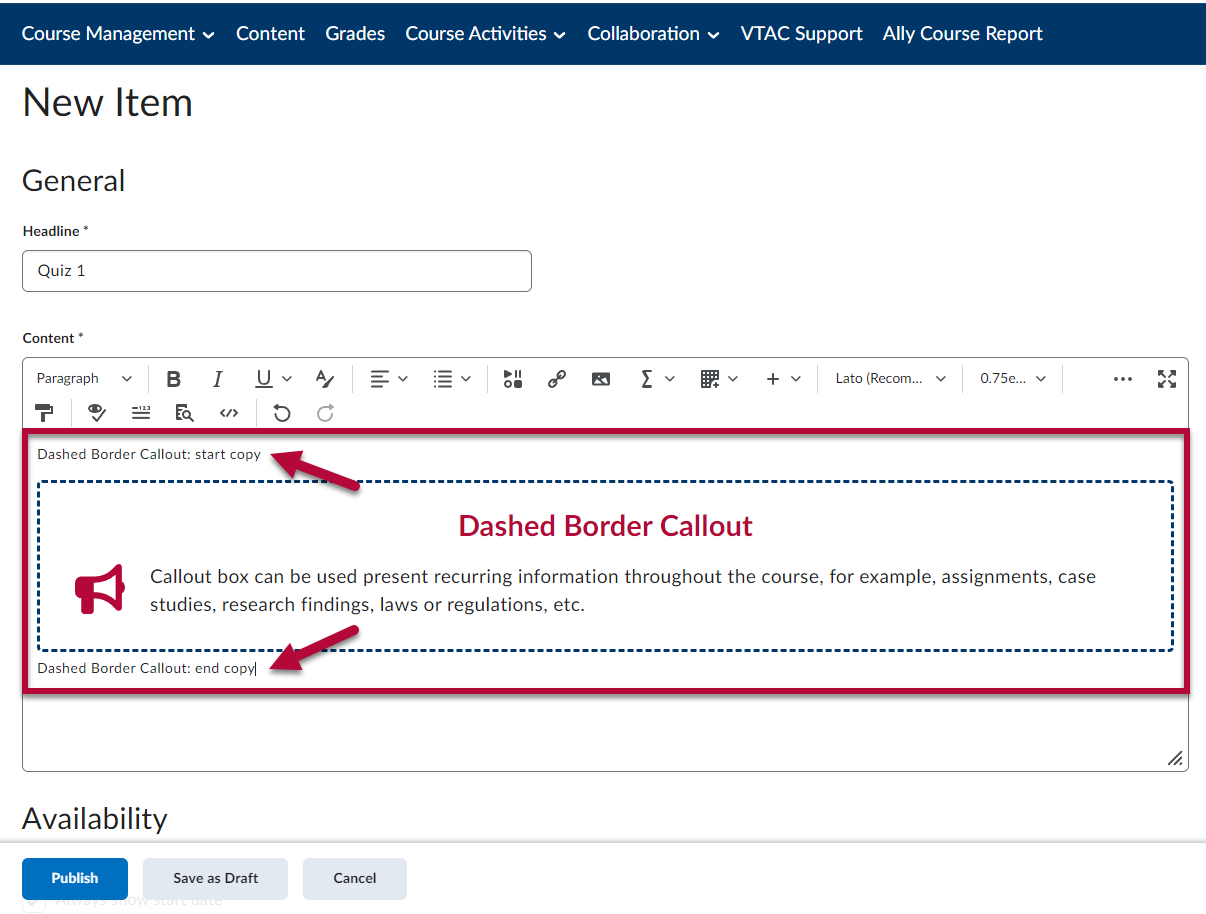
- While the file is in edit mode you can click and drag your cursor over the element of your choosing and be sure to highlight from "START COPY" to "END COPY", highlighting everything in between. It is advised to have the page you are copying to open in another browser or tab so you can easily paste the elements.
-
Navigate to where you would like to insert the element in Edit Mode and paste the copied element. This will paste the element in-line with the rest of the content.
-
When all elements are in place and you have finished replacing the temporary text with your own, the last step is to delete every instance of the words "START COPY” and “END COPY”.

NOTE: It is recommended to either keep or delete the image in the Callout. Attempting to replace the image may cause the formatting to behave unexpectedly.


Tips for using Elements
-
Don't be afraid to customize the elements to fit your needs. Add your own text, images, and other content as needed to make them work for you.
-
Be sure to preview your content before publishing it to your students. This will help you catch any errors or formatting issues before your students see the content.
- When adding images to a table, we recommend using the [Insert Image] or [Insert Stuff] buttons in the HTML Editor. This makes it easier to add your Alternative Text. If you paste an image inside of the template, you will not be prompted to add the alt text until you run the accessibility checker.
NOTE: For more assistance with customizing these elements, please contact an Instructional Designer.