YuJa Software Capture allows you to simultaneously record video from your webcam, capture your computer screen, and record audio. This all-in-one functionality makes it an ideal tool for creating instructional videos, presentations, and lecture recordings. Whether you need to demonstrate software, deliver a narrated slideshow, or record a live lecture, YuJa Software Capture provides a seamless way to integrate multiple media sources into a single recording.
Launch YuJa Software Capture
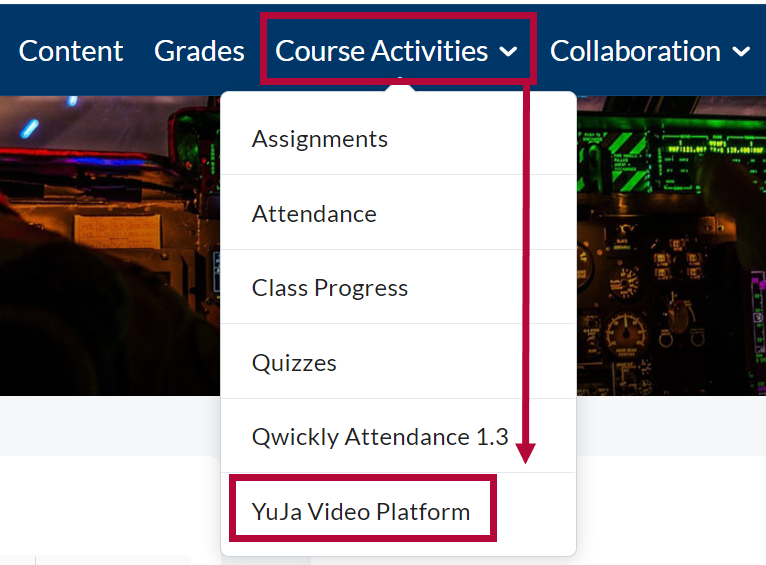
- From the Course NavBar, select [Course Activities], followed by [YuJa Video Platform].
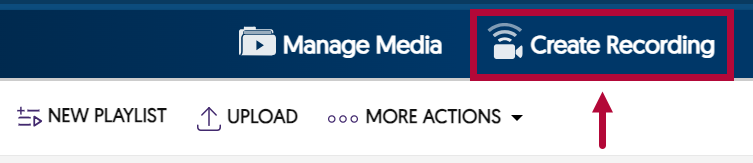
- From your Yuja Media Library, select [Create Recording] near the top of the page.
- Click the drop-down menu under Select Your Preferred Capture Device, you will see two options:
- [Software Capture for PC or Mac]: Select this when you require more control over your recordings and need advanced features.
- [Browser Capture]: Select this when you need a quick and simple way to record your screen directly from your browser, such as capturing a short presentation or demonstrating a webpage.
Select [Software Capture for PC or Mac] followed by [Start].
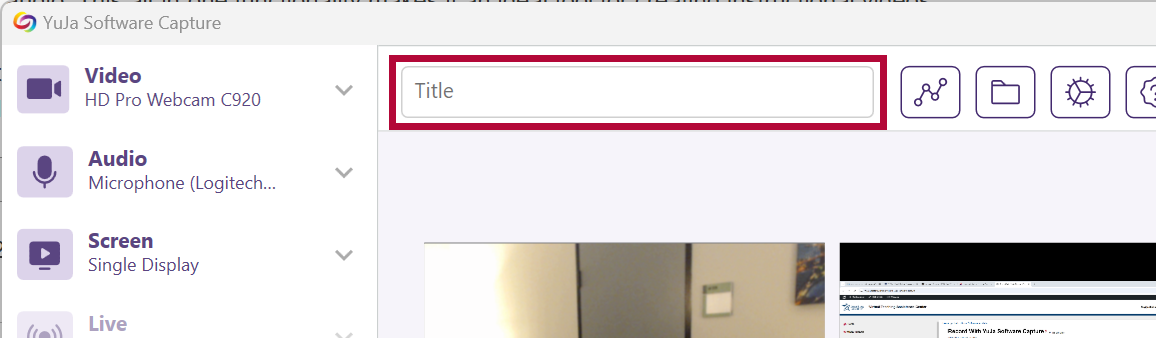
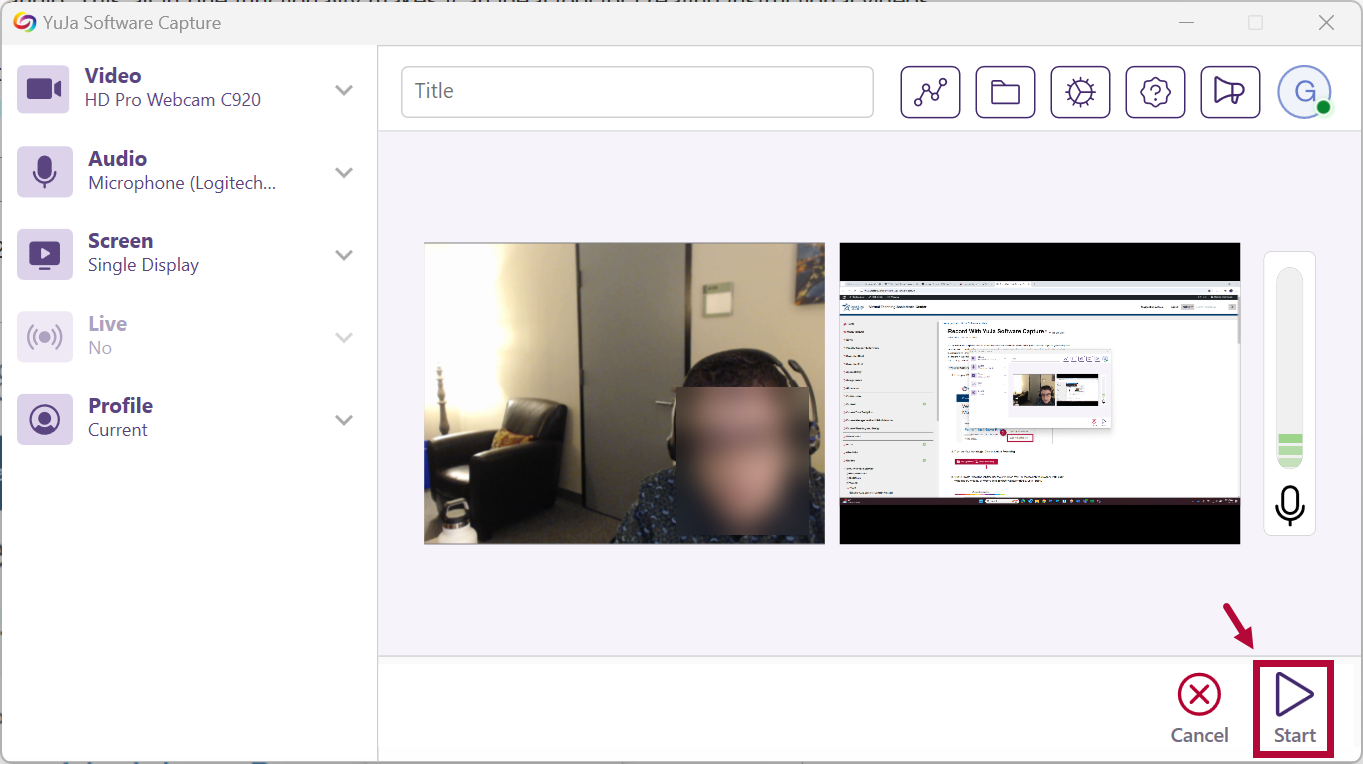
The YuJa Software Capture app will launch and open as seen below.

- [Software Capture for PC or Mac]: Select this when you require more control over your recordings and need advanced features.
- Give your video a Title.


Record Settings
Configure your video settings using the left panel. You can choose to record with either your Camera, Microphone, record your Screen, or any combination of the three. By default, these settings will be set to ON.
Enable Camera
To enable your camera, do the following.
- Click and expand the [Video] drop-down menu. Select the camera from the Video Source 1 dropdown then click the slider to the On position. Repeat the process under Video Source 2 to record with multiple cameras.
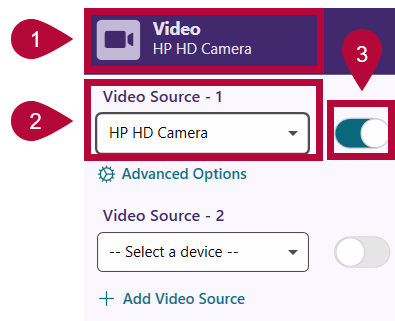
- Select [Advanced Options] to adjust Resolution and Quality, Frame Rate, and Orientation if needed.

NOTE: Higher resolution equals a larger file size.

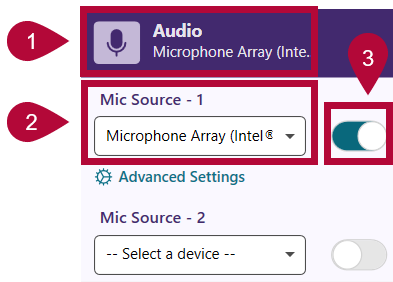
Enable Microphone
To enable your microphone, do the following.
- Click and expand the [Audio] drop-down menu. Select the microphone from the Mic Source 1 dropdown then click the slider to the On position. Repeat the process under Mic Source 2 to record with multiple microphones.
- On the YuJa Software Capture window, verify that the microphone is recording your voice. Speak into your mic and see if colored blocks move up and down in the audio bar.
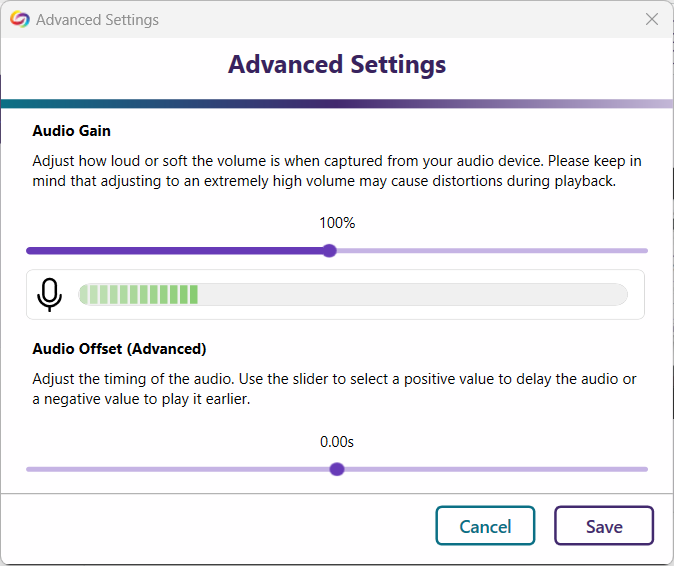
- Select [Advanced Settings] to adjust Audio Gain and Audio Offset if needed.


NOTE: It is generally recommended to leave the Audio Offset at 0.00s.
Enable Screen Recording
To record your screen, do the following.
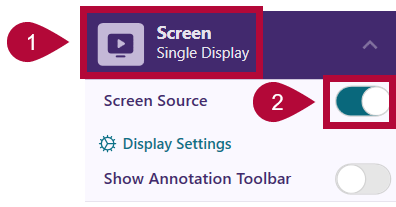
- Click and expand the [Screen] drop-down menu. Click the slider to the On position next to Screen Source.
- Select [Display Settings] to select between capturing a [Single Display] (one monitor), [Duo Display] (two monitors),or [Capture Selected Area] to only capture a specific area of your screen if needed.


Start and Stop Recording
To start and stop recording, do the following.
NOTE: Before you begin recording, you can select the Folder icon and select the folder that the video will save to within your YuJa Media Library (default is My Media). However, you can also move the video to another folder later as well. Please refer to Manage Your YuJa Videos for tips on how to set up folders within your YuJa Media Library.

- Select [Start] to begin recording.
- When you are finished recording, select the [Finish] button on the YuJa toolbar.

- A window will appear asking you to either [Delete] or [Save] the video.

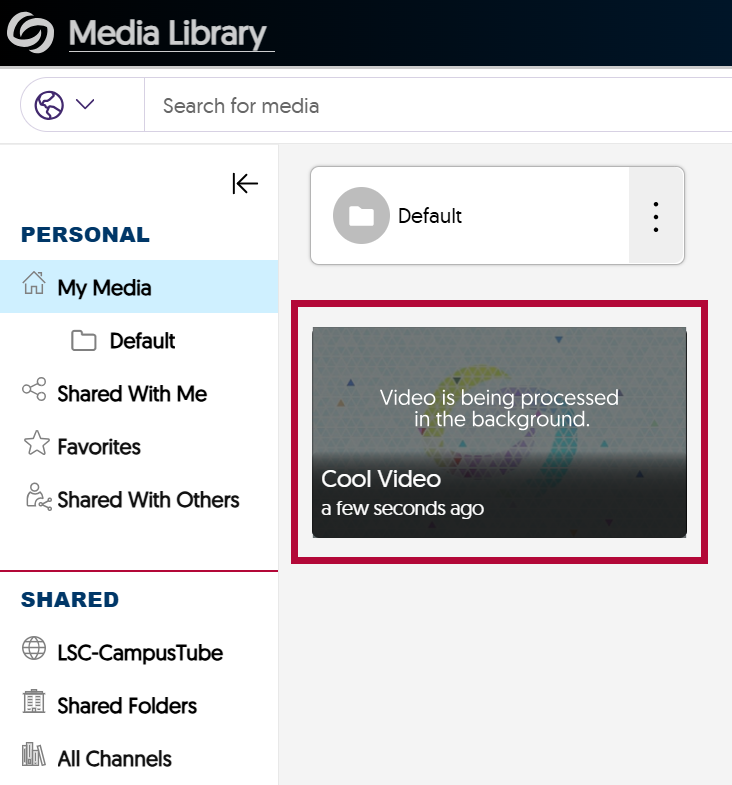
- If you Save your video, it will be saved to the specified folder in your YuJa Media Library.


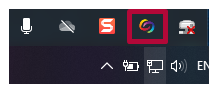
NOTE: At any time, if the YuJa window is nowhere to be found, please check your task bar. You may need to click on Show Hidden Icons to reveal the YuJa icon. Double clicking the YuJa icon will bring back the YuJa Software Capture window.