SoftChalk Cloud is a program that allows faculty to easily create professional-looking, interactive lessons to upload into their online classes. SoftChalk Cloud content resides online in a SoftChalk Cloud account rather being uploaded into D2L. If you decide to host your content in SoftChalk Cloud rather than in your D2L course, it is highly recommended that you also keep a local copy using the SoftChalk Create App (Desktop App).
Access SoftChalk Create Online
- Go to the LSC SoftChalk page at lonestar.softchalkcloud.com
- Go through the LSC Single Sign-On process and login with your LSC Email Address and LSC Password.
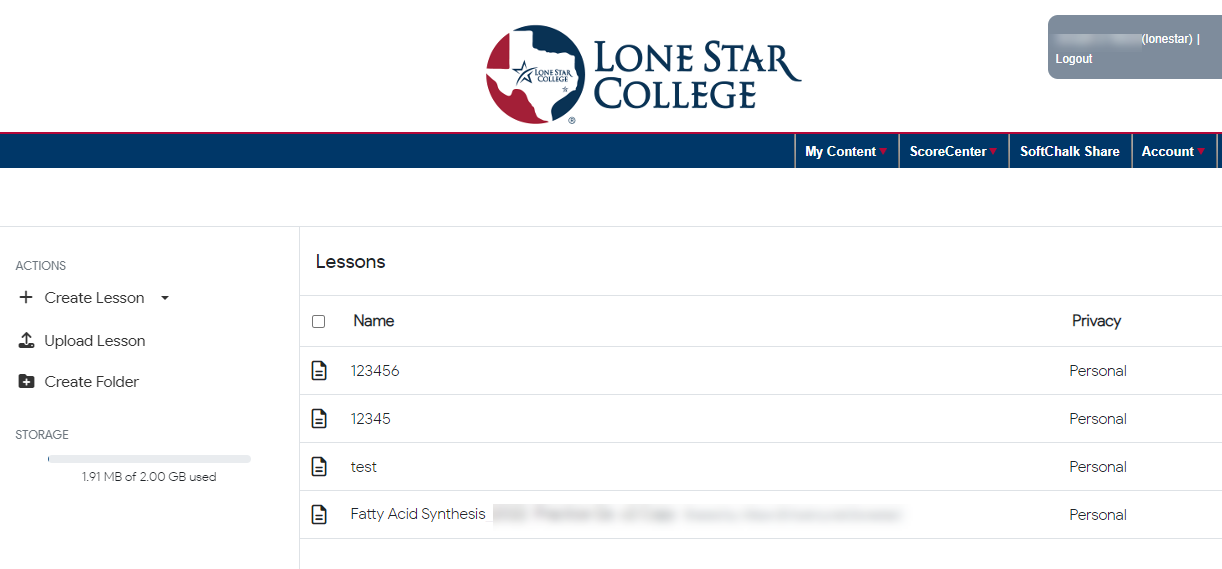
- Upon successful log-in, you'll land on the Lessons page below.
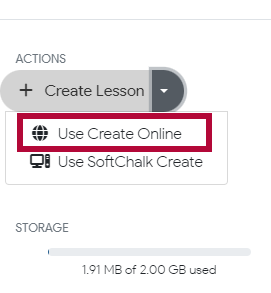
- If you wish to create your SoftChalk lesson online, select [Create Lesson] → [Use Create Online].
- Refer to the SoftChalk Training Videos and SoftChalk User Guides to learn how to create your lessons with SoftChalk. If you would like to use the SoftChalk Desktop App to create your lessons, please follow the instructions in the next section.


Install and Access SoftChalk Create App [Desktop Application]
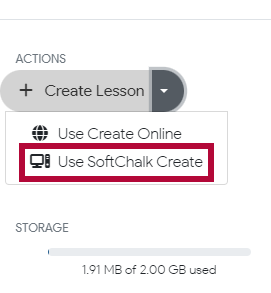
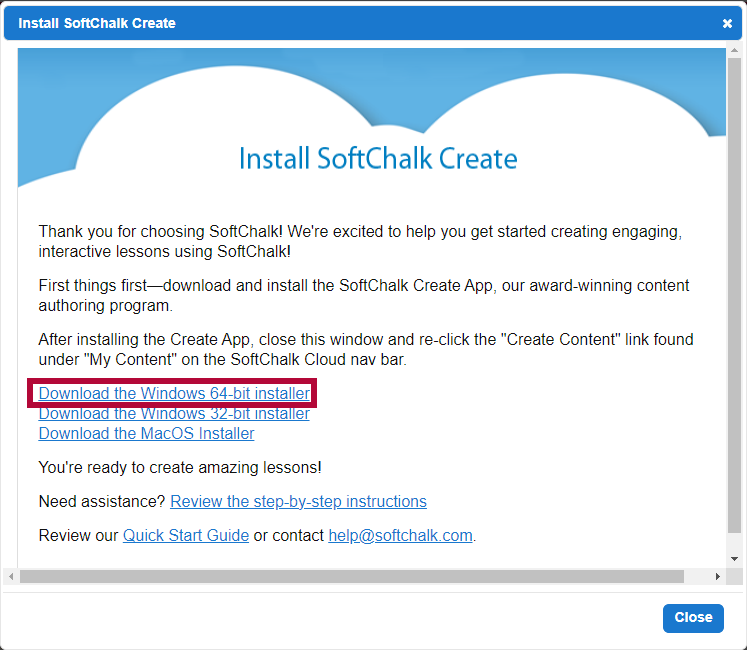
- After logging in, select [Create Lesson] → [Use SoftChalk Create].
- On the following window, select [Download the Windows 64-bit installer].
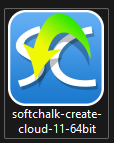
- After downloading the SoftChalk Create App installer, open the installer by double clicking the launcher icon.
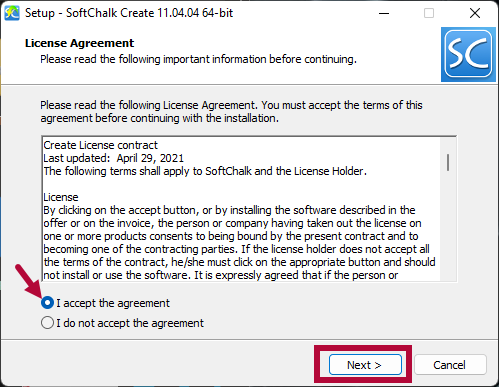
- Click [I accept the agreement] → [Next].
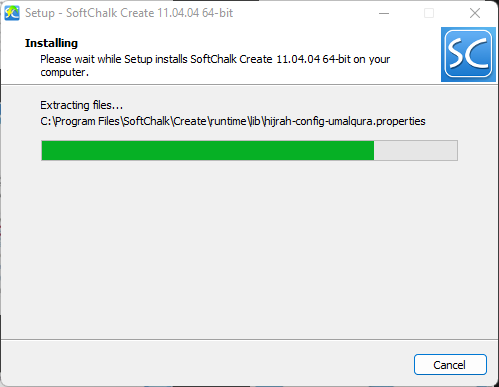
- Wait for the installation to complete.
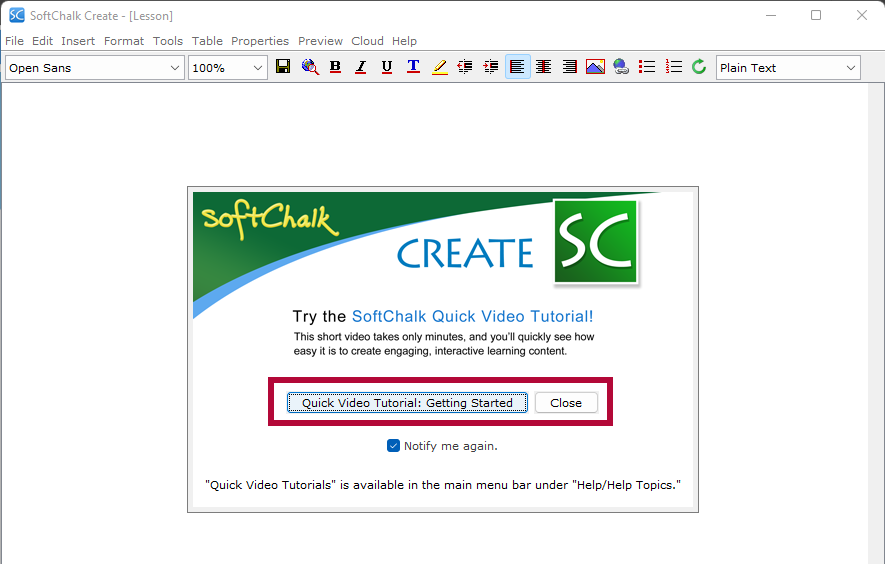
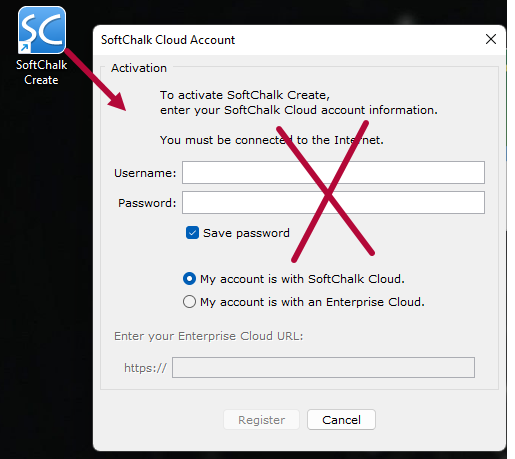
- When the installation is completed, the window will close. You may see the [SoftChalk Create] shortcut now located at where you installed the program, opening the shortcut will show the window in the screenshot below.
If you see the following, please close the window and head back to your LSC SoftChalk site through a web browser.NOTE: You do NOT want to log into SoftChalk Cloud through this window, as your LSCS Username and Password will not work here.
- Back on the Lessons page, select [Create Lesson] → [Use Create Online].
- On the Create Lesson page, name your lesson, then click on [Open in the Create App].
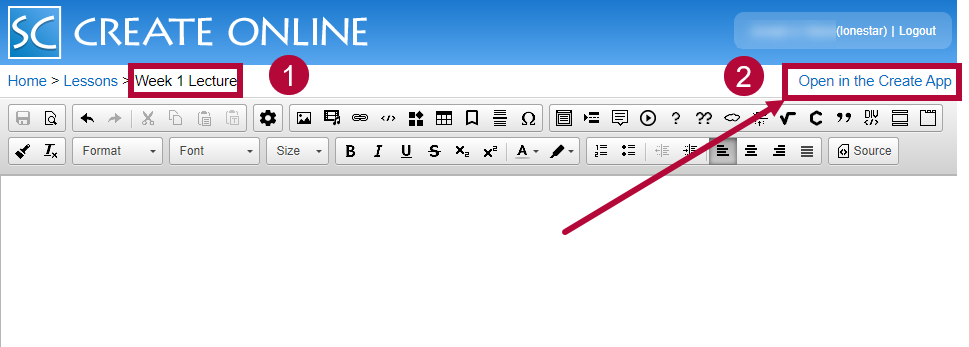
- The SoftChalk Create App that was installed should now launch correctly. You can either view the [Quick Video Tutorial: Getting Started] video, or close the popup.
You are ready to create lessons using the SoftChalk Create App.