Create attendance registers to track attendance for your course-based activities, such as a mandatory weekly chat session or optional discussion seminar.
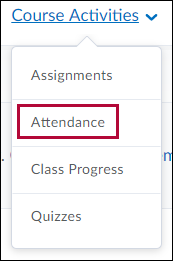
- Click Course Activities on the navbar and choose Attendance.
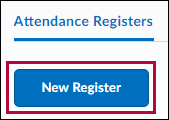
- On the main Attendance page, click New Register.
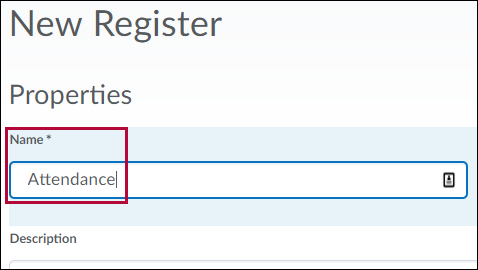
- Enter a Name for your register, such as “Attendance.” A description is optional.
- Choose System Scheme from the Attendance Scheme drop-down list.
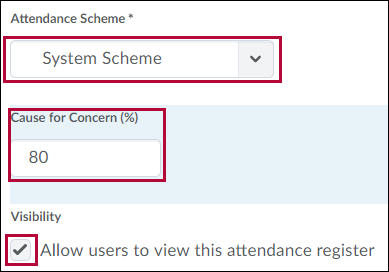
- Enter a percentage in the Cause for Concern field if you want to see a Cause for Concern icon (warning) beside students' names on the Attendance Data page when their attendance drops below that percentage.
- Select the check box to Allow users to view this attendance register.
- Select the students that you want to include in your register. You can choose to include all users or specific groups or sections.
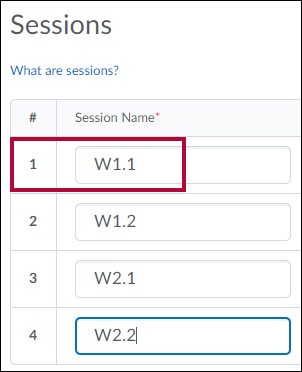
- Add one or more sessions for your register, such as W1.1, W1.2, W2.1, W2.2 for a class meeting twice a week.
 NOTE: Avoid using dates in your session names to reduce the need for editing each semester.
 - To add more session fields enter the number of additional fields needed and click Add Sessions.
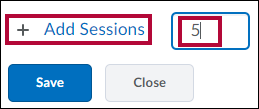
- Click Save.


Delete & Restore Attendance Registers
- Select a register to delete.
- Click on the More Actions menu, then select Delete.

- To restore previously deleted registers, click View Deleted Registers.
- Click Restore.
