All employees have a general WebEx account managed by the Information Technology Service Desk (IT). Contact the IT Service Desk at 281.318.HELP (4357) or 1.866.614.5014 to activate your account.
Using Your WebEx Personal Room
- Login to lonestar.webex.com using your LSC username and password.
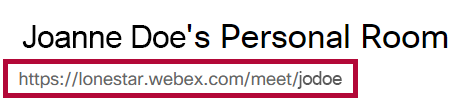
- You will see your name and a URL to your Personal Room.
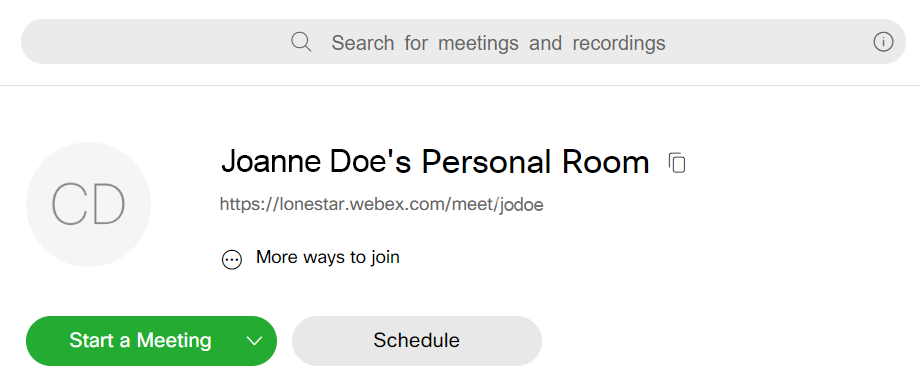
- Highlight, copy, and paste the URL to your Personal Room into the communication, announcement, content module, or email telling students when to meet.
- Click the [Start a Meeting] button a few minutes early if possible.
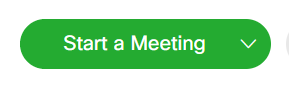
- You will see your video image if you have a camera turned on. Click the [Start Meeting] button to make the meeting available to students.
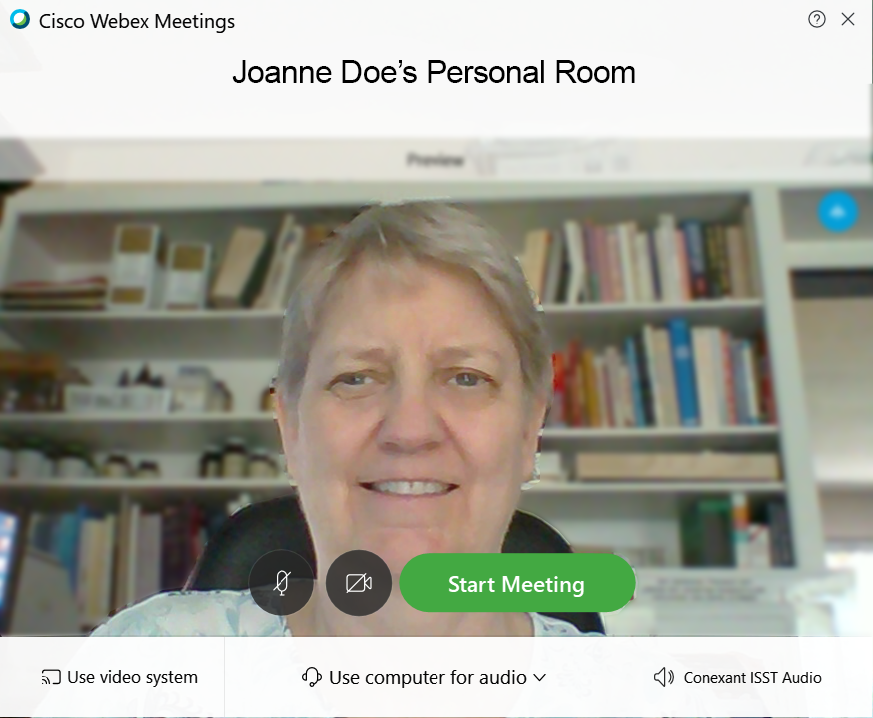
- If you have no video camera or if you turn it off, you will see no image but all the tools will be the same.
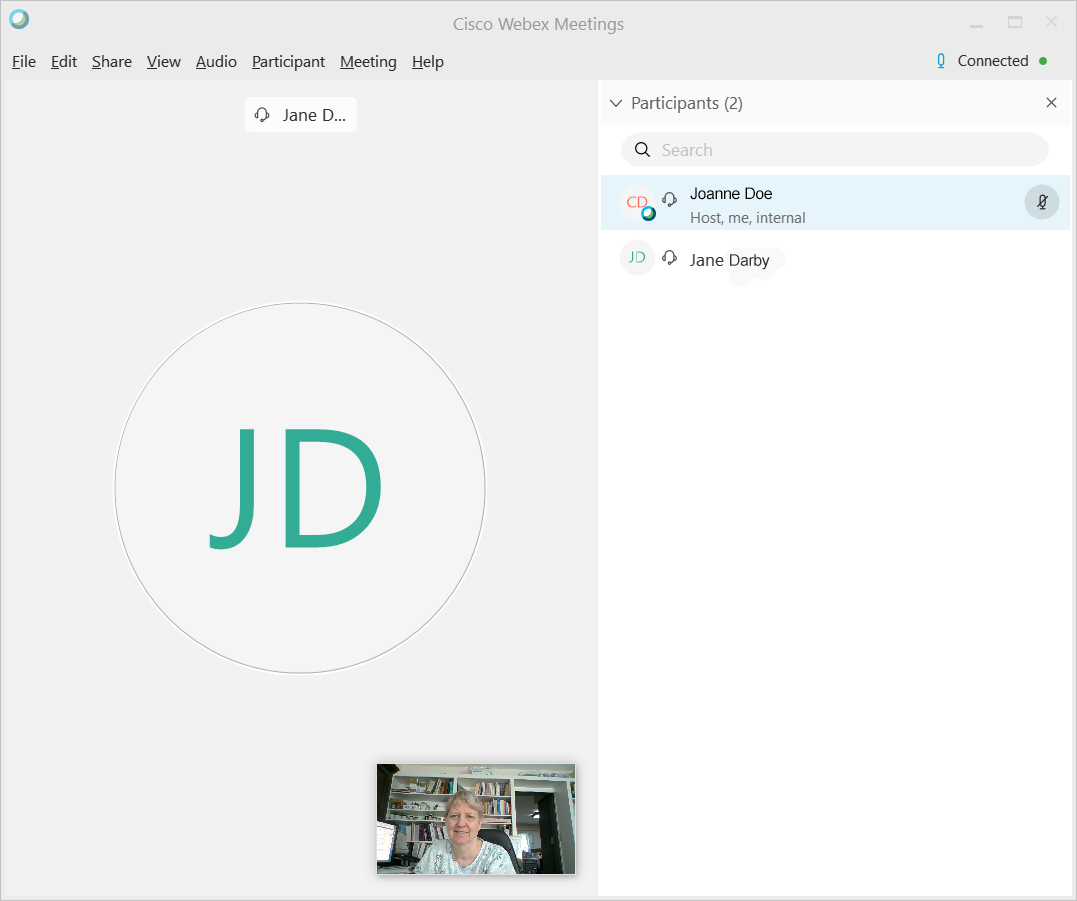
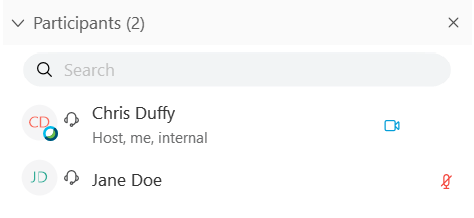
- You will also see the participants listed in the right panel.
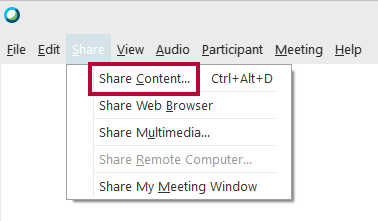
- Click [Share] to share your computer monitor so that students can see your screen.

- Click [Share Content].
- Choose the monitor that you wish to share. If you choose the wrong one, just move your browser or content item to the correct screen.
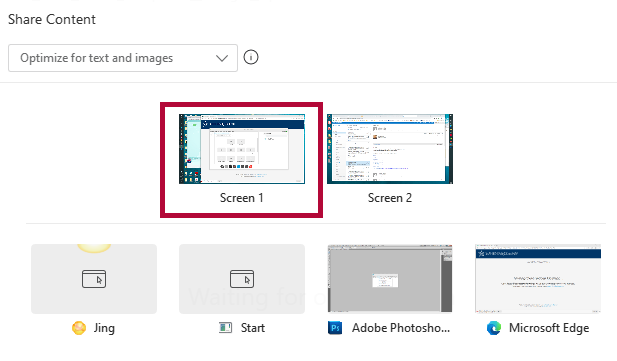
- You will see an orange bar appear above the screen that says "You're sharing this screen."

- Mouse over the bar to see the WebEx meeting menu.

- Click [Stop Sharing] to stop sharing the screen.
- To lock the meeting when having a private conference so no one else can enter, click [More] then [Lock Meeting].
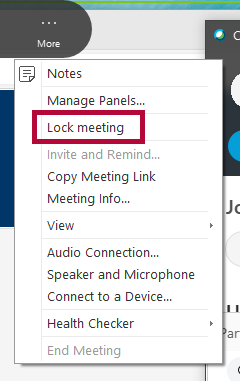
- To end the meeting, click [More] then [End Meeting].


Troubleshooting and Support
The IT Service Desk has many how-to documents on WebEx and WebEx Teams. Visit the IT knowledgebase at https://lonestar.service-now.com/.
For additional assistance, contact the IT Service Desk at 281.318.HELP (4357) or 1.866.614.5014.