The Import/Export/Copy Components tool provides several channels through which content can be brought into, or exported from, a course offering (Org Unit). This tool is commonly used for copying some or all of the content from a previous semester’s course offerings and for importing publisher content packages. This document will describe the process of copying components from one course to another.
NOTE: Content imported into a course shell will never overwrite or delete existing content. For example, if content from a course is copied into a shell multiple times, the content will be duplicated for each copy attempt instead of replacing the previous content.
Copy Components from Another Course Offering (Org Unit)
Many faculty members use the same material from one semester to the next, rather than starting over from scratch. The Copy Components from another Org Unit tool allows you to copy material from a previous class into the current class. You can also choose to build a course in a Sandbox, where you can experiment outside of the view of students and then copy the material from the Sandbox to your current course. Using this tool, you may choose to have all the contents copied or only selected components.
- Enter the course offering which will be receiving the content, click [Content] in the navbar, then choose [Copy Existing Course].
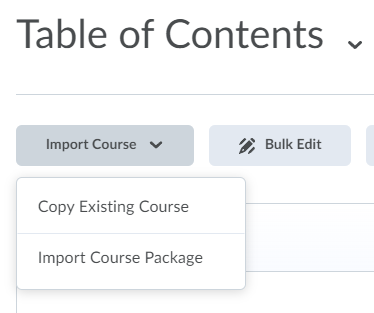
- Click [Import/Export/Copy Components].

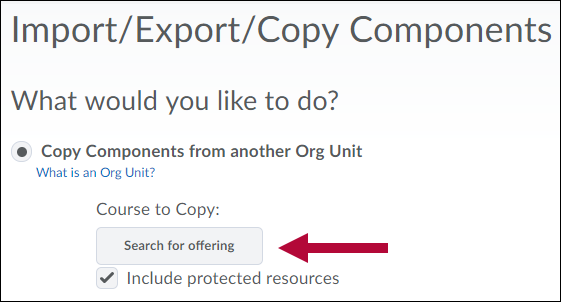
- Click the radio button named [Copy Components from Another Org Unit], then click [Search for offering].
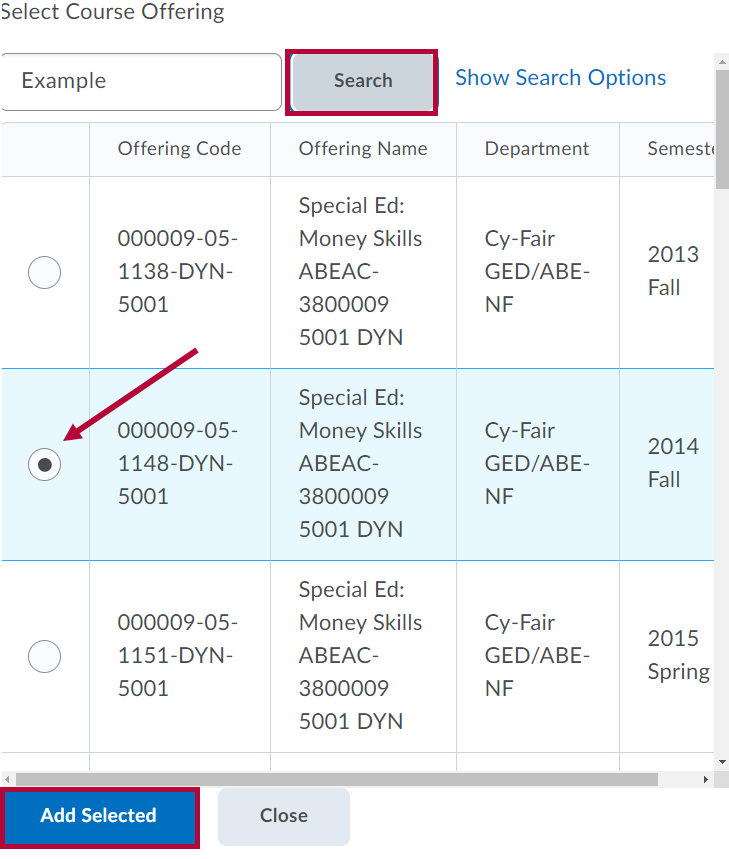
- Use the [Search] field to find the course offering with the desired content. Click the radio button next to this course offering, then click [Add Selected].
- To copy only specific components from the source offering, click [Select Components] and skip to Step 9.
To copy all content items from the source offering, click [Copy All Components].

- Click [Finish] to confirm and begin the copy process.
- If all items copied successfully, a green check mark will appear indicating the copy was completed.

- Click [Copy Another Package] to copy more material, [View Content] to return to the Content page, and [Review and Manage Dates] to offset the dates from a previous semester to the current semester.

NOTE: Tracking data, student records, personal data, and grades are not included when copying.
If you are copying from a Community Group or course with links to YuJa Videos which are owned by another Faculty, that Faculty will need to Share the videos with you in YuJa for the links to work in the destination course. For instructions on how to share YuJa videos please see the following article by YuJa: Sharing Media
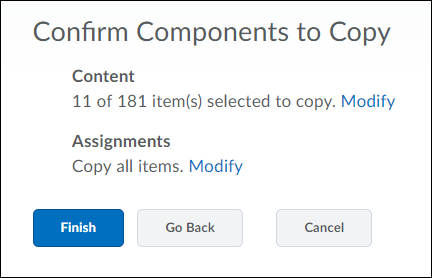
- Select Components allows you to select individual items from the source offering so that only the desired content items are copied. For example, you could choose the [Copy all items] option for Discussions and Assignments while ignoring exams and content links, or you could choose [Select individual items to copy] to choose specific quizzes you want to copy. In the example below, all Discussions will be copied, but only specific Content items will be copied. Click [Continue] after making your selections.
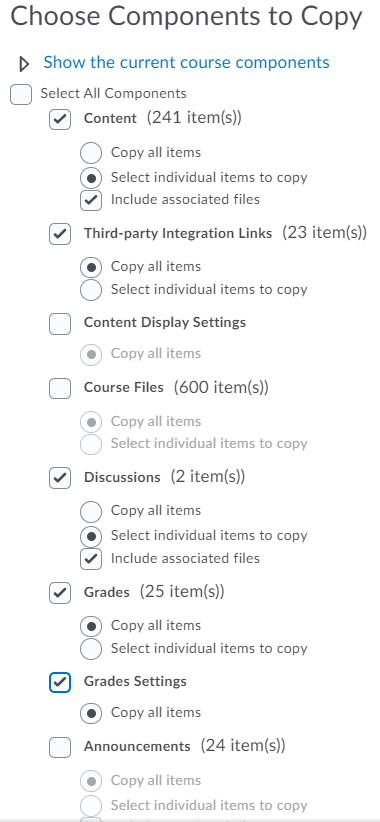
NOTE: You must select the actual components not just the links to them on Content. The Content component contains only the virtual links or topics found on the Content page of a course. In most cases, these are not actual items.
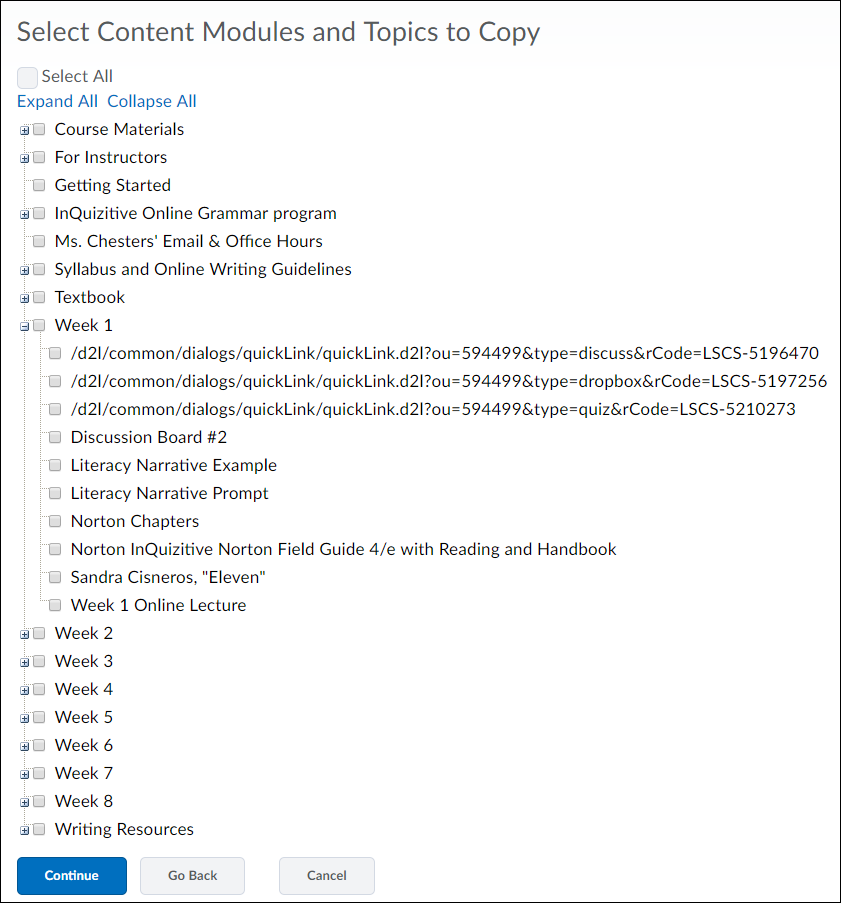
For example, your course offering may have a quiz titled Final Exam, and a link to it on the Content tab labeled the same. Copying the “Final Exam” in the Content category from that course will only copy the link titled “Final Exam,” not the actual quiz. Later, when you or a student clicks on the “Final Exam” link in the Content area, the system will display an error message since the quiz itself was not copied. To prevent that issue from occurring, you must also copy the quiz, which is listed in the Quizzes component. The same holds true for Course Files, Discussions, and Assignments. - If you choose the [Select individual items to copy] option, the system will prompt you to choose which individual items should be copied. Check each checkbox as needed, then click [Continue].
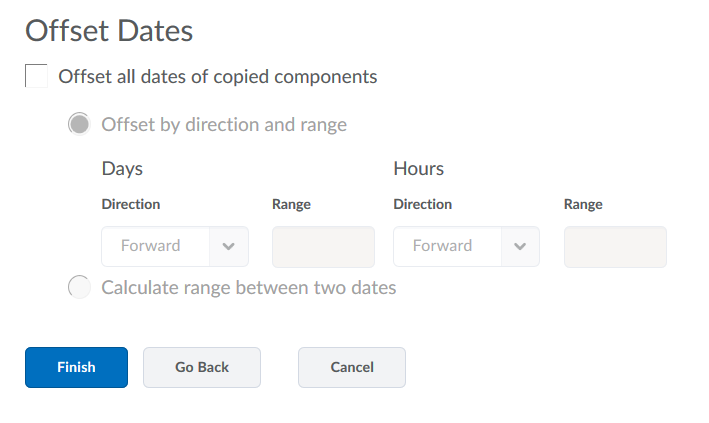
- You can choose to offset the dates during the Selected Components copy by modifying the Offset Dates area. You may offset the dates forward or backward, by days or hours, or you can calculate the range between two dates.
- Click [Finish] to confirm and begin the copy process.
Copying YuJa Quizzes
If you are copying from a Community Group or course with YuJa Quizzes, even if you are the owner, you should follow these steps after your course copy is complete.
- Navigate to [Course Activities] → [YuJa Video Quiz]. This action will automatically create the course in YuJa.
- Go to [Content] and open one of the video quizzes. You will be prompted to select a course to copy from. We recommend searching by the Course Offering Code of the course you copied from. You can find this information under [Course Admin] → [Course Offering Information].
- Click [Copy Quizzes].

Using the Import History
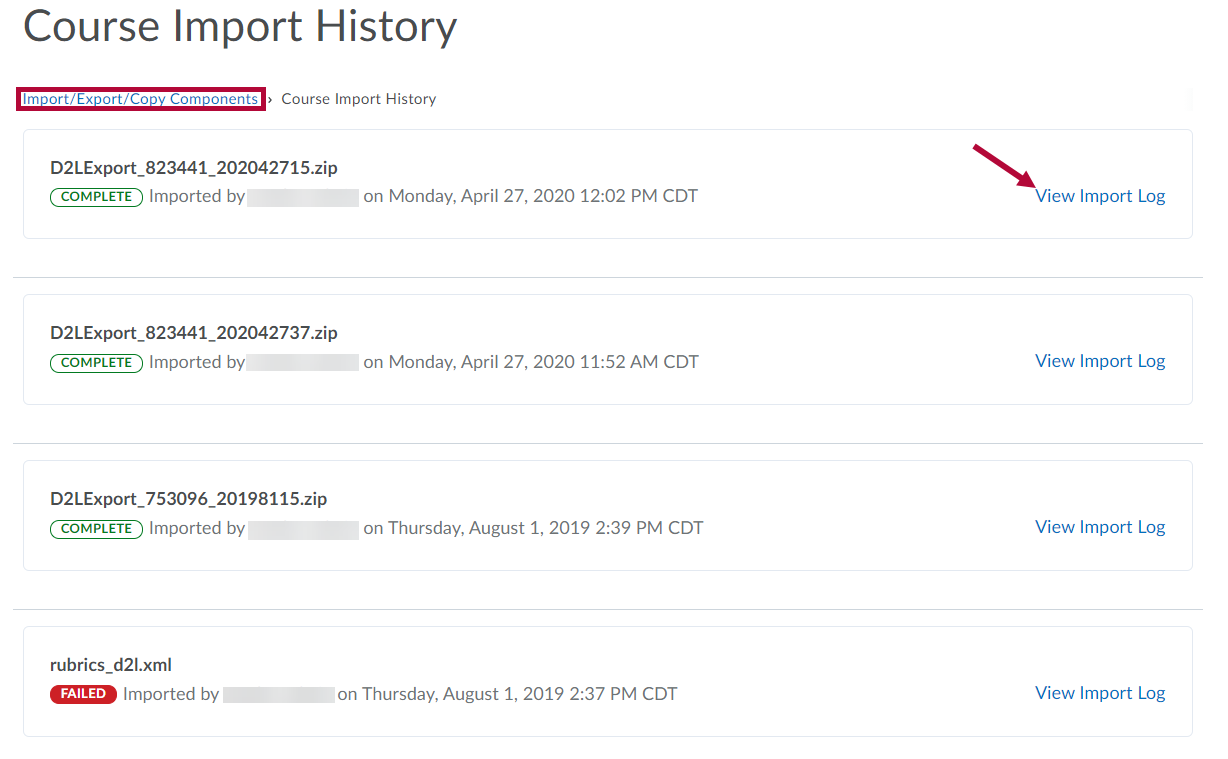
- Scroll to the bottom of the [Import/Export/Copy Components] page to View the Course Import History page. Click [View Import History].
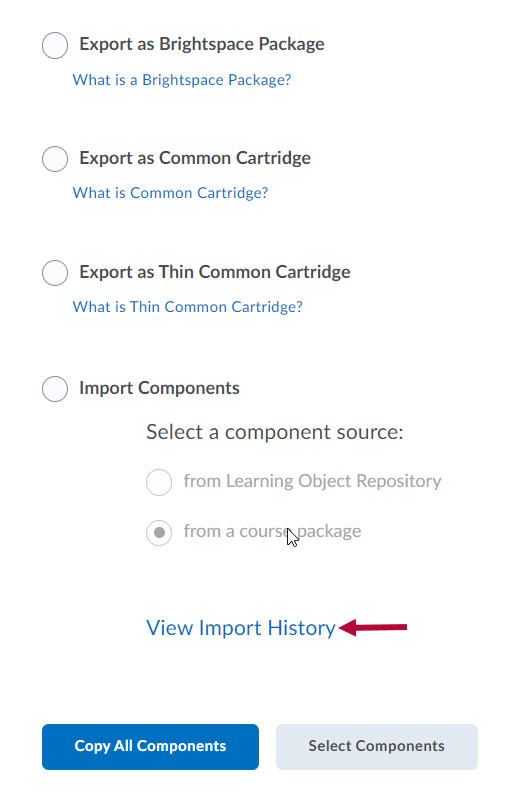
- The Course Import History page includes information for each course import attempt. Click [View Import Log] to see a more detailed listing of the logged event. Click [Import/Export/Copy Components] in the breadcrumbs beneath the page title to return to the import page.
