Are you worried about mixing up student emails with other emails in your LSC Outlook Inbox? Using a Rule in Outlook can help you organize emails automatically. Emails from your students will be kept separate in a new folder away from the emails you are accustomed to currently receiving in your Outlook inbox. Below are instructions for Outlook for Microsoft 365 on a webpage. Setting up the Rule on Outlook Web will apply the rule to Outlook on all instances of Outlook including Microsoft 365, Desktop App, Mobile App, etc.
Adding a New Rule
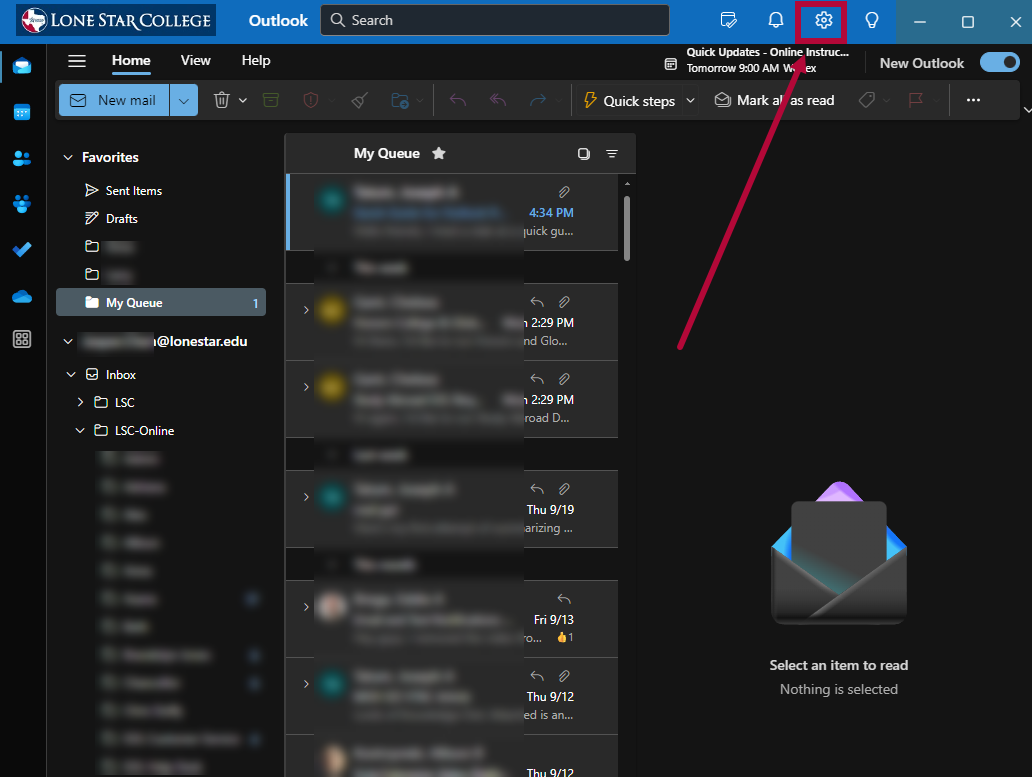
- Navigate to Outlook and log into your LSC email account.
- Select the [Settings Cog].
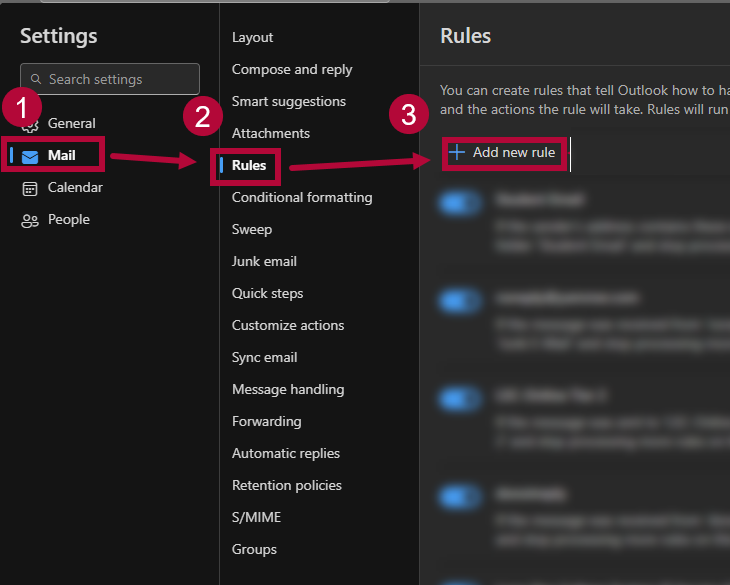
- Select [Mail] followed by [Rules] and [+ Add a new rule].
- Give the rule a name and add the condition [Sender Address includes] then type in [my.lonestar.edu] and [d2l.lonestar.edu].
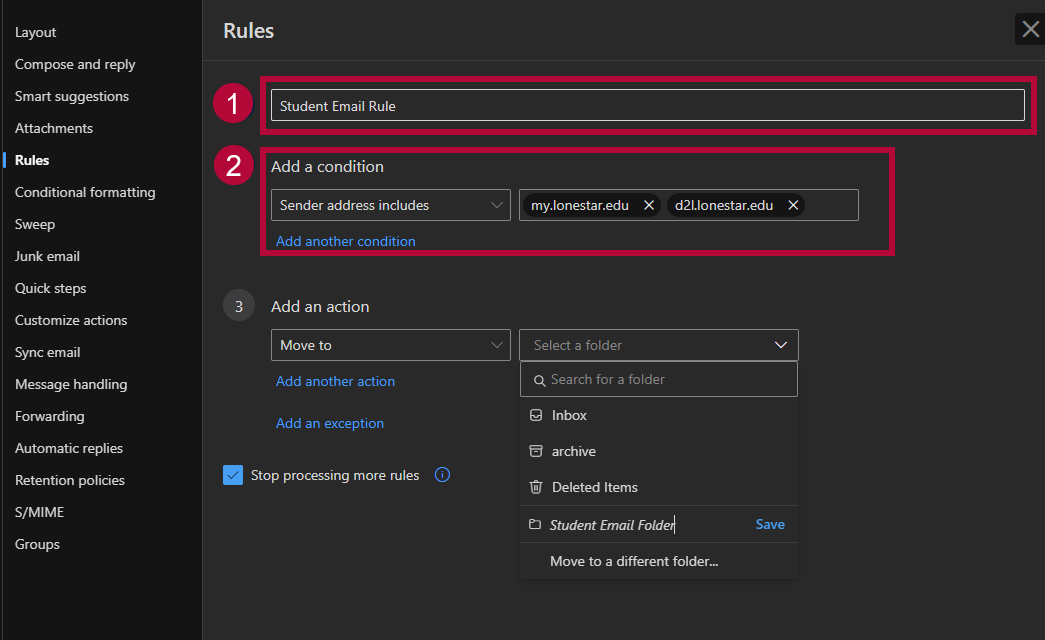
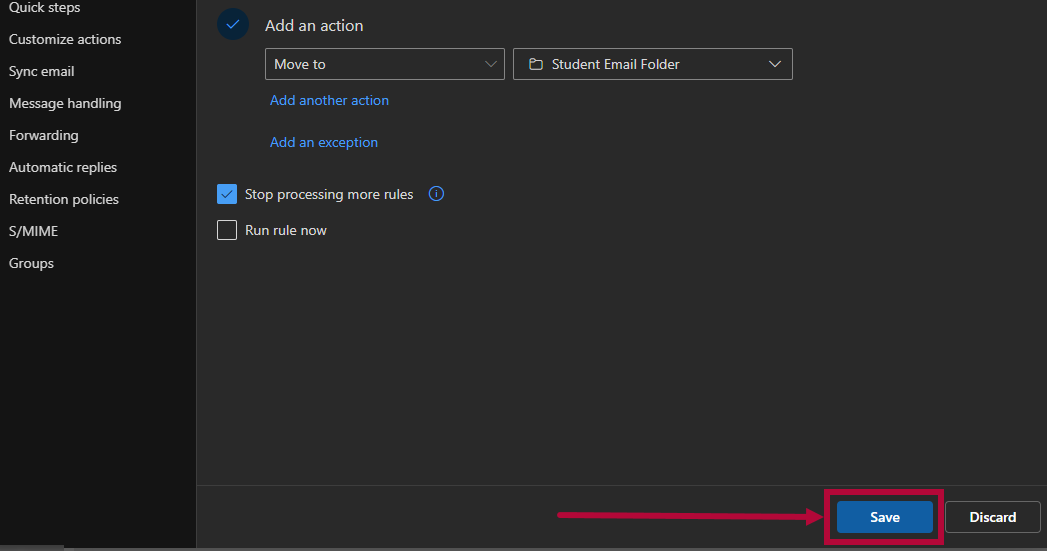
- Add the action [Move to] and [Select a Folder]. Select [Create a New Folder], give that folder a name like [Student Email Folder], then click [Save].
NOTE: my.lonestar.edu is the email domain students use for Outlook. d2l.lonestar.edu is the domain students use from D2L. We include the d2l domain here in case your Student emails you using the D2L Classlist email function because that email would have a d2l.lonestar.edu email address. (See VTAC Article Receive Email from Classlist section from Microsoft 365 - Send Emails To Your Students via the Compose-New-Message Window

- Click [Save] and you’re finished. Emails from students will now land in this newly created folder.


NOTE: For other inbox rule ideas check out Organizing Your Outlook Emails: A Guide for Faculty.