Adding users that already exist in D2L is most easily accomplished by using the Org Defined ID number (this is the user's Student ID# or Employee ID#). Usernames or first and last names may be utilized in the search as well. If you do not locate a user from their ID#, that user may not yet have an account and may need to have their account created in D2L. If you are unable to locate a user via the ID number or username, please contact the IT Service Desk.
If you have Group Manager access to a community group, you can add anyone in the system to your group by following the steps listed below:
Add Existing Users
- Click on the Community Group from your D2L Homepage.
- Click on [Collaboration] in the Navbar, then choose [Classlist].
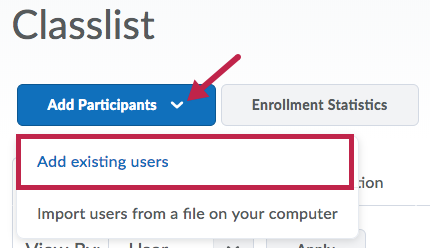
- Click on the [Add Participants] button at the top and choose [Add existing users].
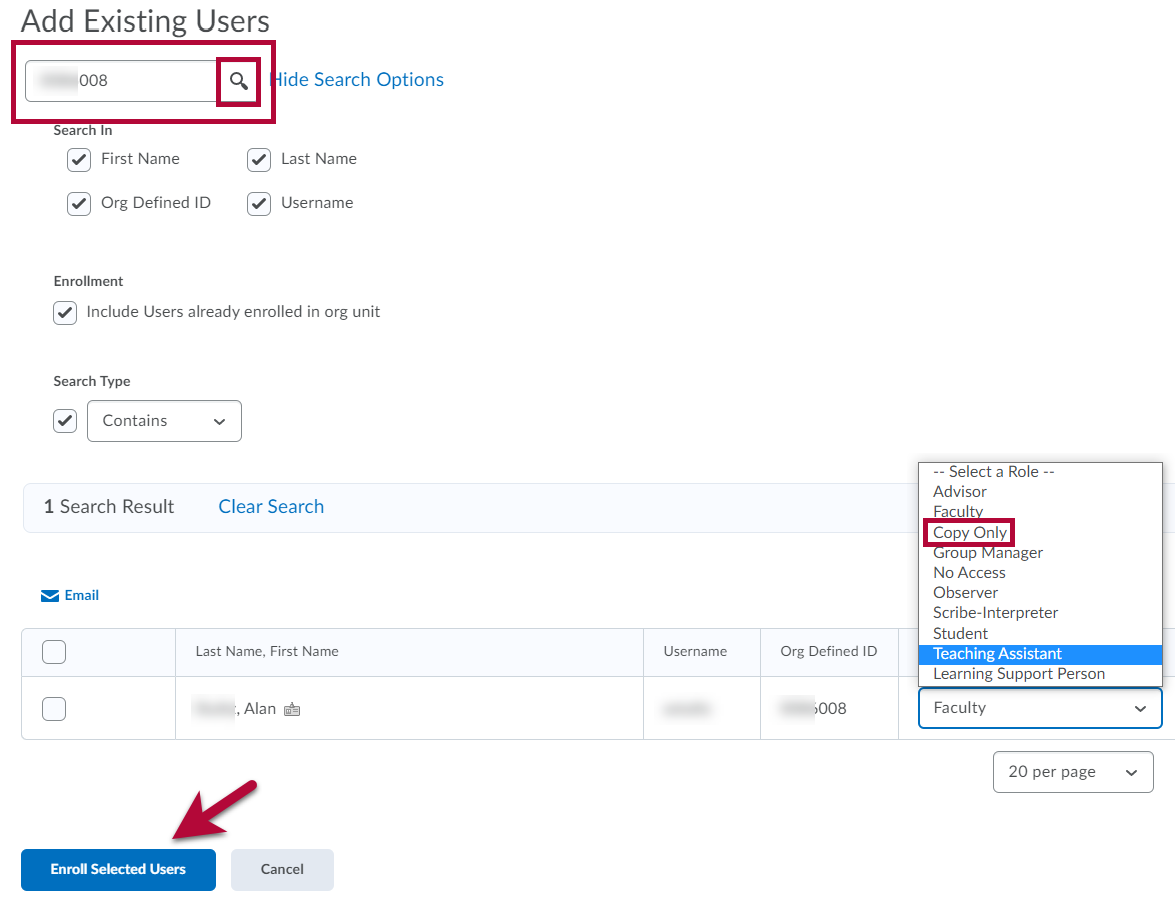
- Enter the Student or Employee ID number and click the [Search] icon to start your search.
- You may uncheck [Include Users already in the org unit] to return only users NOT already in the community group.
- You may uncheck [Include Users already in the org unit] to return only users NOT already in the community group.
- In the list of search results, select the role for the user. You can assign any of the roles listed. The [Copy Only] role is most useful for individuals you intend to have the ability to copy FROM this group into other courses or groups.
- After selecting the user and role, click [Enroll Selected Users].
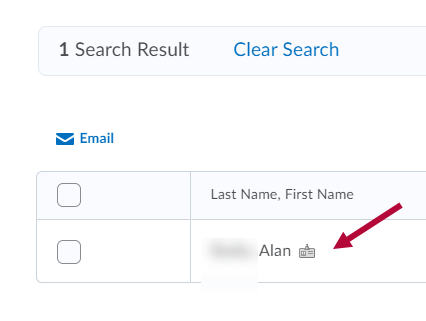
NOTE: If you see the [Already Enrolled] indicator on a username, that user is already enrolled in your group. Enrolling the user a second time may return an error. You may need to remove and re-enroll an already enrolled user to update their role.


Unenroll Users
If you need to remove a user for any reason, this is accomplished by going to the [Classlist]. If you have Group Manager access to a community group, you can remove anyone in the system from your group by following the steps listed below:
- Click on the community group from your D2L Homepage.
- Click on [Collaboration] in the Navbar, then choose [Classlist].
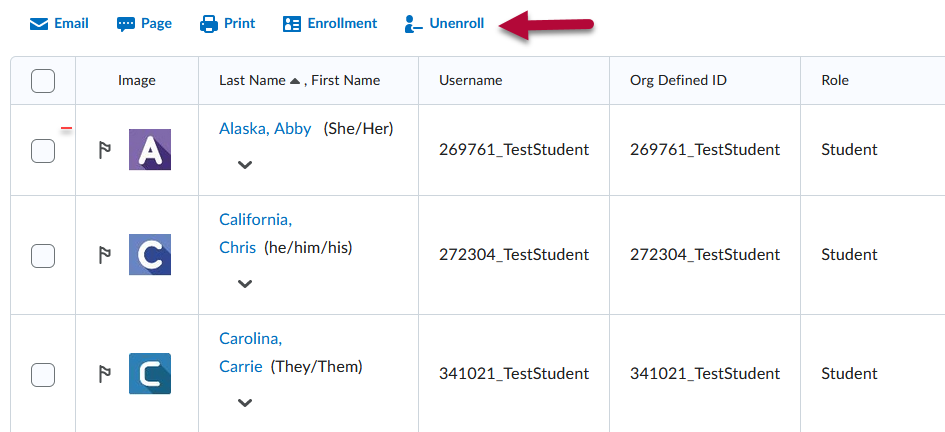
- Select the [checkbox] next to the user(s) you want to remove.

- Click [Unenroll] at the top.


Import Users From a File
If you intend on adding a large number of users at once, it may be more beneficial to bulk enroll users by importing a CSV file. To create the CSV file, it is best to use Excel.
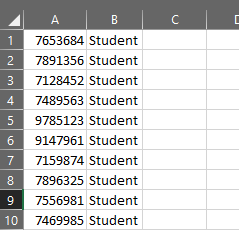
- Within Excel, list the ID numbers in Column A and the name of their role in Column B.
Example:
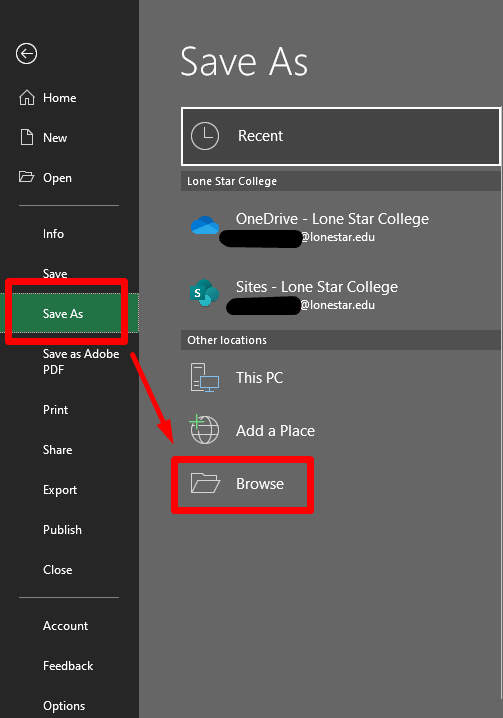
- Click [File] then [Save As] then [Browse] to open the Save As window.
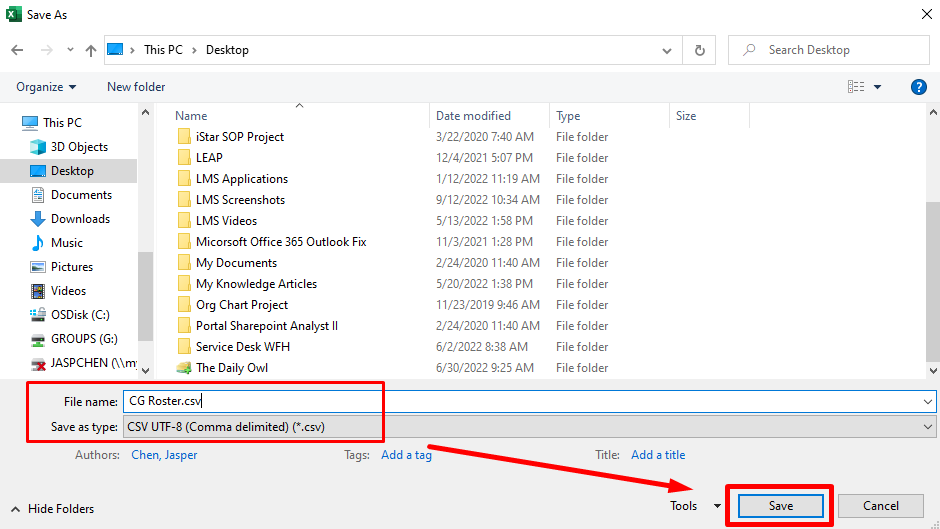
- Name your file and be sure to change the file type to CSV through the Save as type dropdown menu.
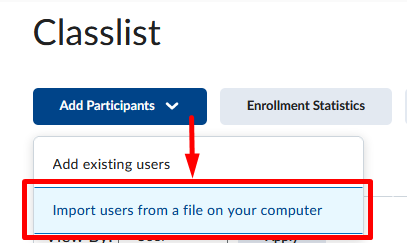
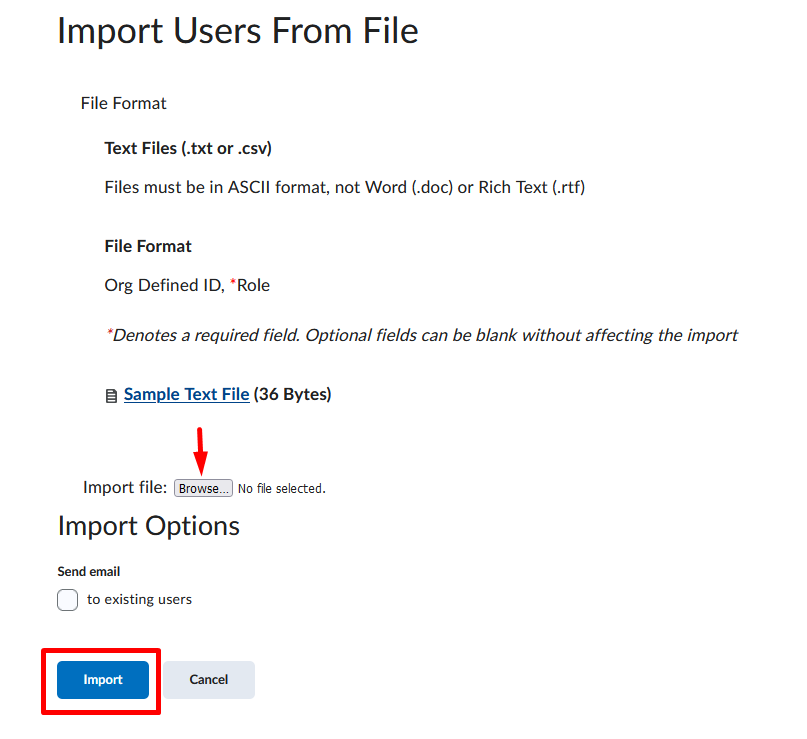
- Within your Community Group on D2L, go to [Classlist] then [Add Participants] then [Import users from a file on your computer].
- Click [Browse] to upload your newly saved CSV file, then click [Import]. The users listed in the file should now be enrolled into the classlist for your Community Group.


Roles Available in a Community Group
NOTE: View the D2L Roles Chart for additional details.
- Advisor — Users will have a limited view of student information but no editing ability in the course. Viewing access includes Class Progress, Classlist, Groups, Manage Files, and Quizzes.
- Faculty — Users added as faculty will have the same rights as the original faculty member, including editing content, quizzes, etc.
- Copy Only — Users cannot edit the course or content, but they can copy material from the community group.
- Group Manager — Users have full access to the Community Group and can add other members in any role.
- Observer — Users will have a similar role to students. Users will appear as a student in the classlist but will not show up in the gradebook. Observers can view student data, including User Progress. Observers cannot participate in discussions or copy courses, but they can view setup options and preview quizzes and surveys.
- Scribe-Interpreter — Users (scribes, interpreters) will have a similar role to students. Users will appear as a student in the classlist but will not be able to take quizzes or search for students.
- Student — Users can interact with content as a student only.
- Teaching Assistant — Users will have access to add and modify course content, the ability to post news announcements to the course, and the ability to participate in discussions. Teaching Assistants will also have faculty-level access to the course calendar.
- Learning Support Personnel (LSP) — Users have student-level access but will be able to view grades, feedback, and student feedback, as well as edit Quiz Submission Views. This role is often used in Dual Credit courses and is meant to facilitate student learning by providing users a view similar to that of students.
Troubleshooting and Support
If you need additional assistance, contact the IT Service Desk at 281.318.HELP (4357).