You can install the Webex Meetings app and participate in Webex meetings directly on your iPad. You will have the same options for participating in meetings as you do on a desktop or laptop.
Install and Log In to Webex Meetings
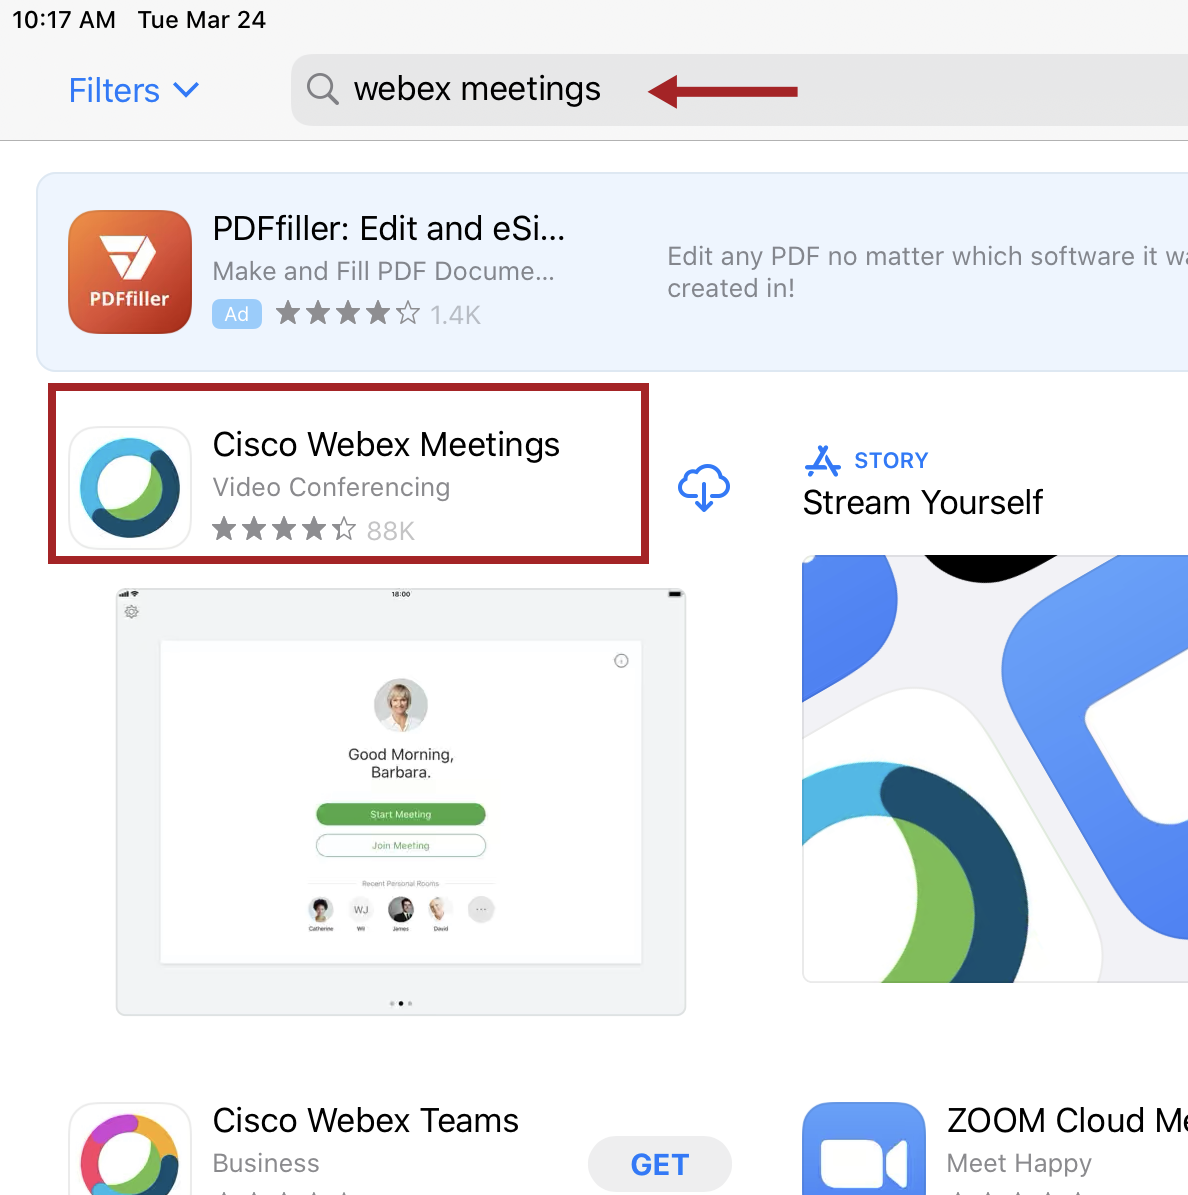
- In the app store, search for "webex meetings." You will see the Webex Meetings app, which is a free download. Install on your iPad.
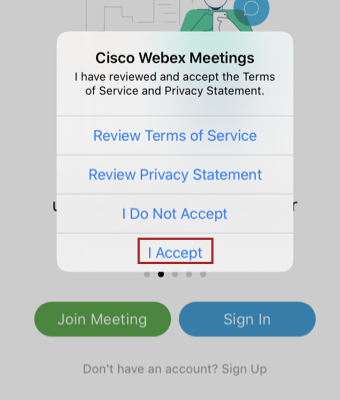
- Open the application. You will need to accept the terms of service by tapping "I Accept," then tap "Sign In."
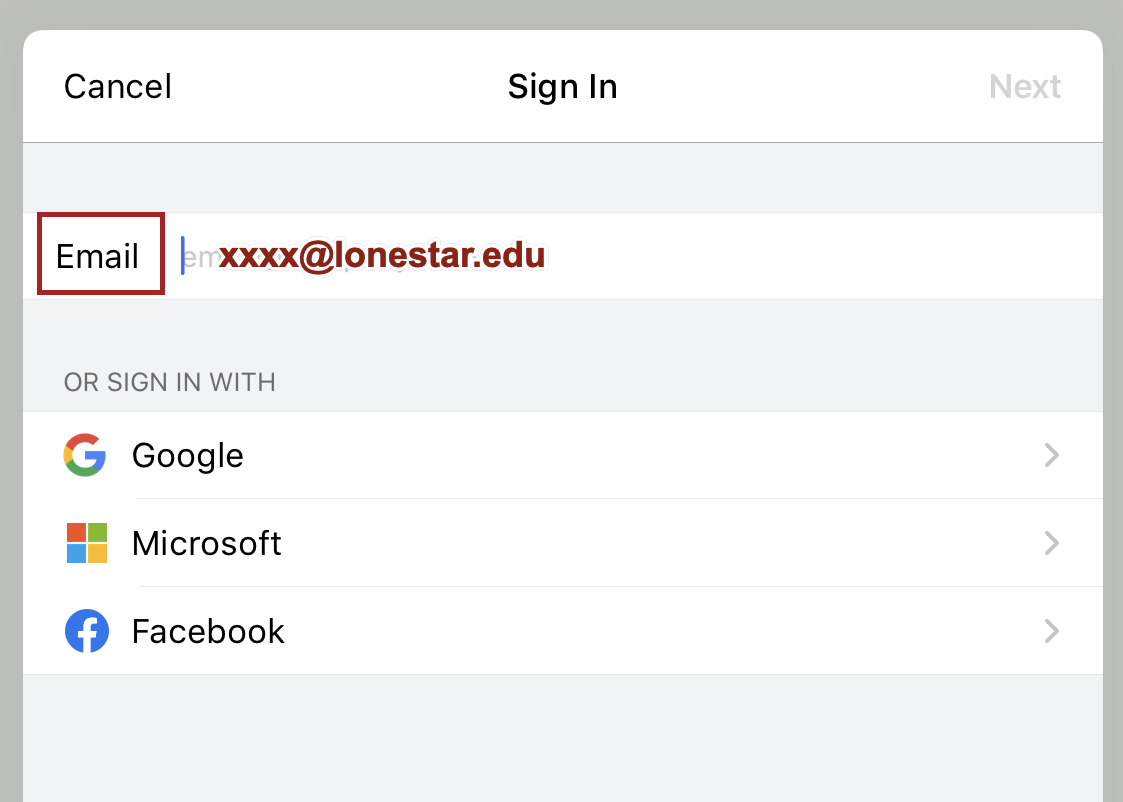
- Next to the "Email" prompt enter your lonestar.edu email address.
- Under "Select the Site," click on lonestar.webex.com.

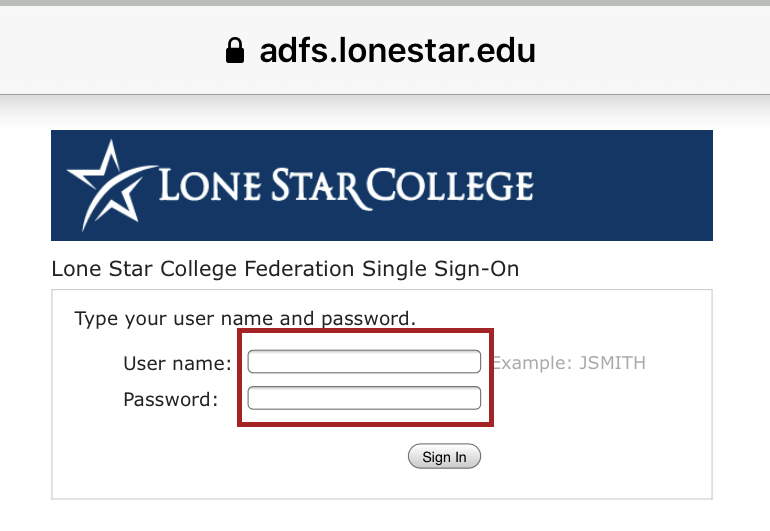
- In the window that opens, enter your Lone Star username and password, then tap the "Sign In" button.
- You will see a screen with some tutorials for navigation. Once you navigate past that screen, you will have a chance to set up the app for Touch ID if you prefer.
- You will see a screen that shows you a list of any scheduled meetings you have. The list on the left shows scheduled meetings, and the right side of the screen displays details for the meeting that is currently chosen. This is also where you can schedule future meetings (using the Create Meeting button).
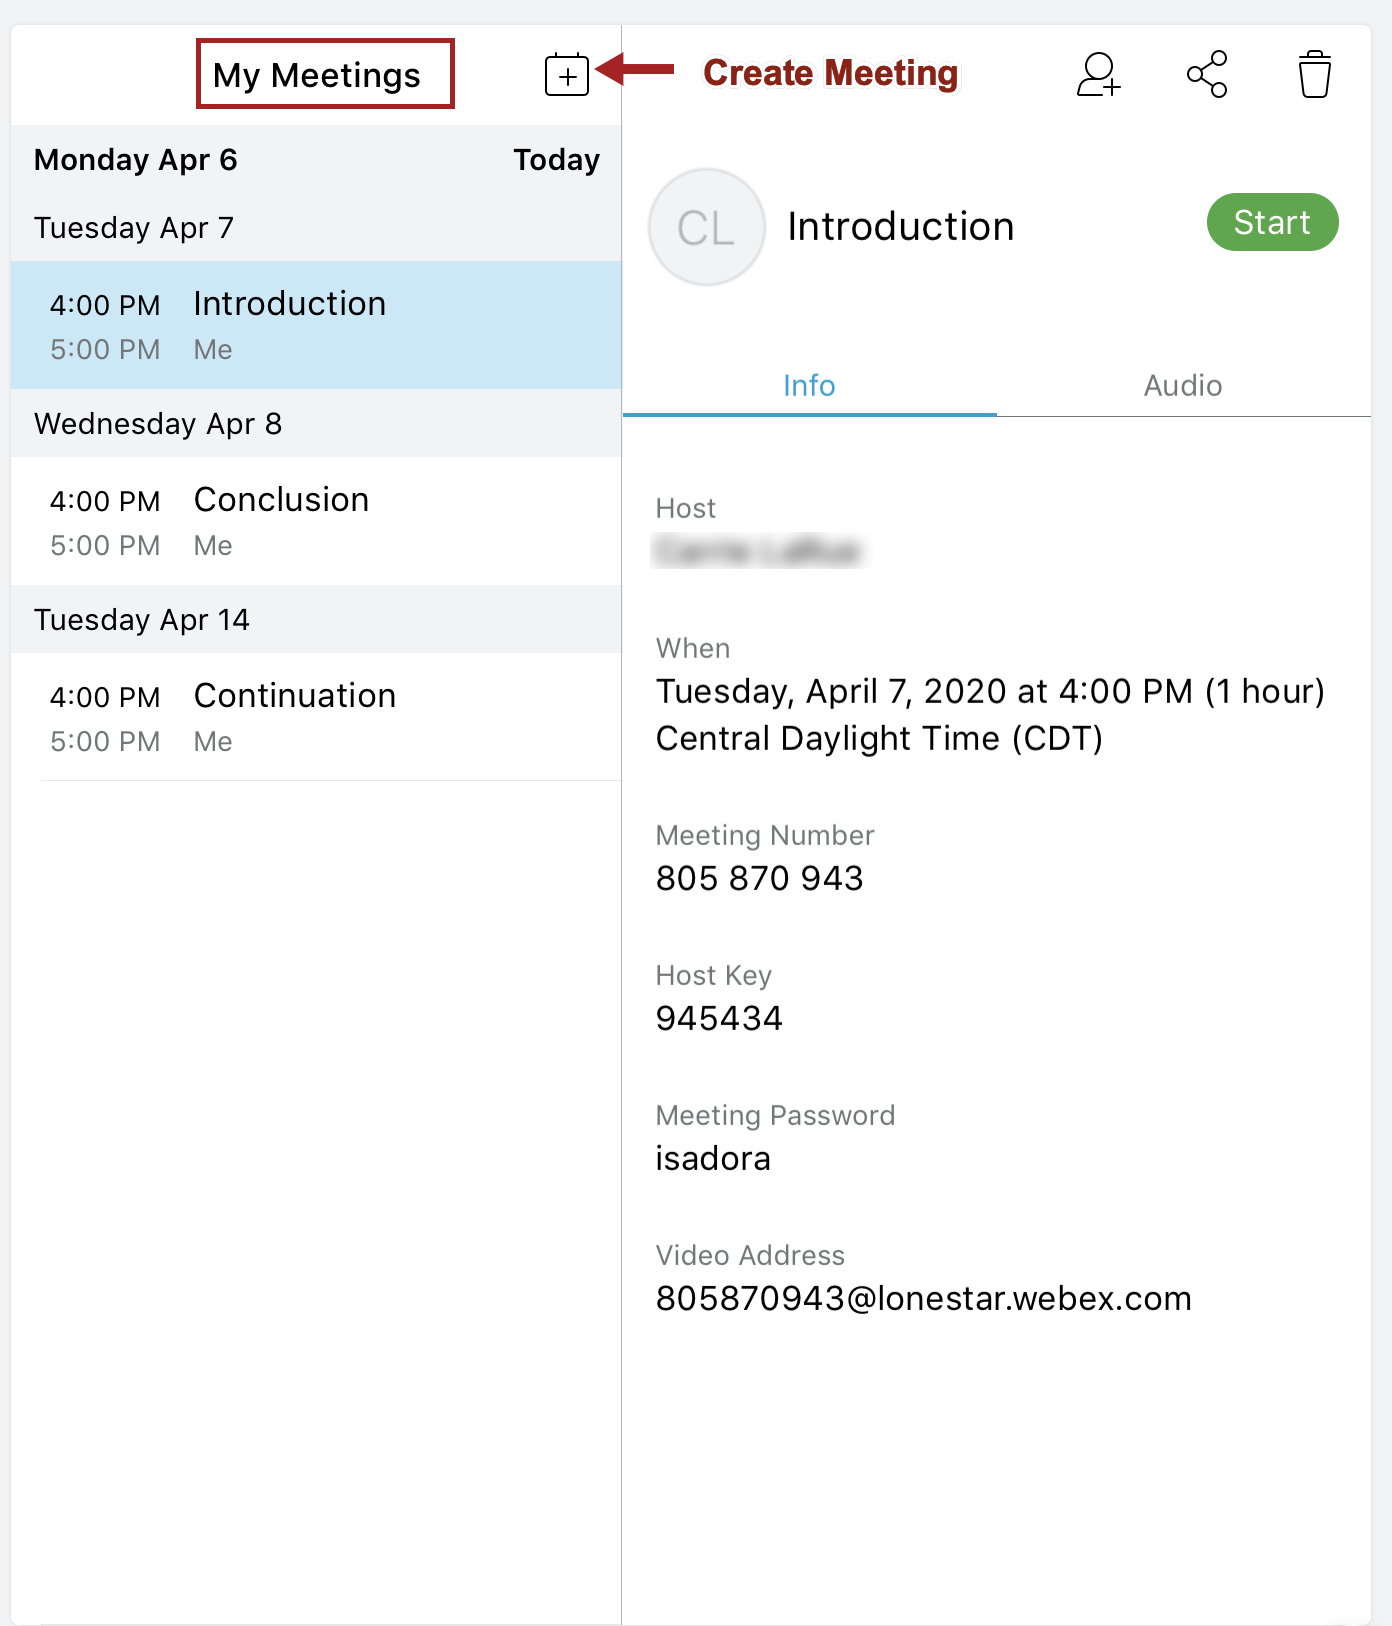 NOTE: You may see a message asking if the app can access your calendar. Respond with your preference; this is not required.
 - To schedule a new meeting, tap the Create Meeting button.
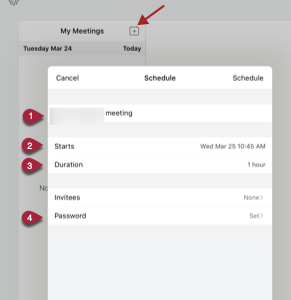
- Give your meeting a name, if you don't want to keep the default.
- Enter a start date and time.
- Enter the duration of the meeting.
- Set a password for the meeting.
This meeting will now show up in your list of upcoming meetings.
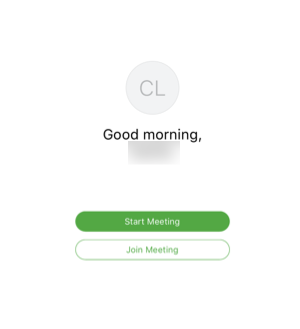
- If you swipe to the left, you will find your Personal Room, where you can always start an unscheduled meeting, and the button for joining meetings.
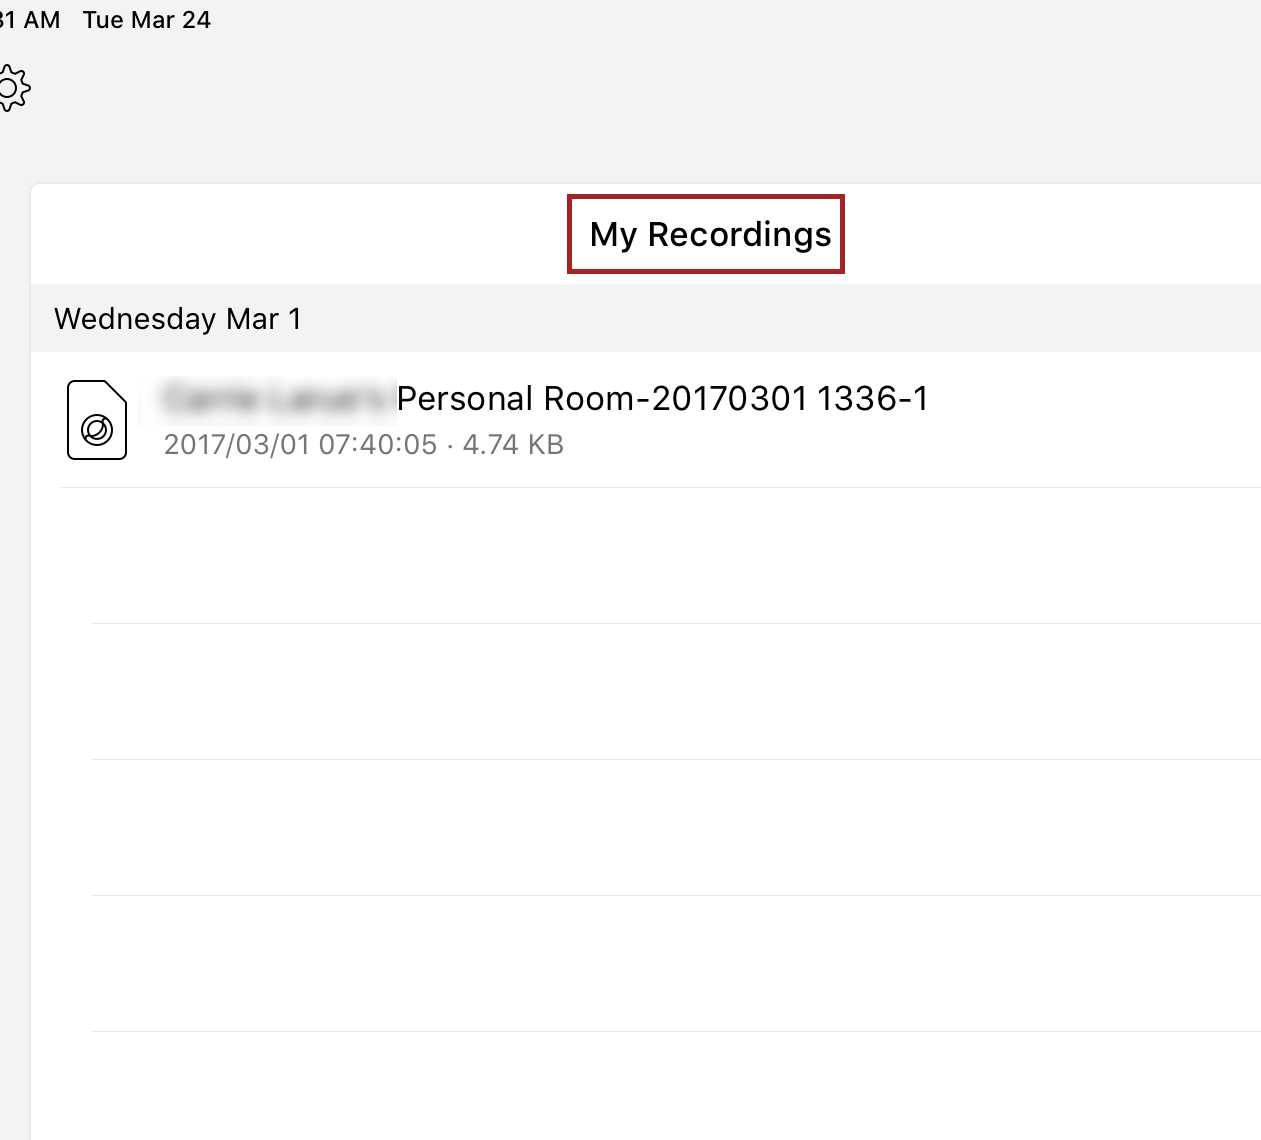
- If you swipe left again, you will see a list of your recorded meetings, if you have any.
- When you start a meeting, either a scheduled meeting or starting from your personal room, you will see a screen asking you if you want to allow the app to access the menu. In order to use audio through the meeting, you will need to tap okay.
- To navigate your meeting screen:
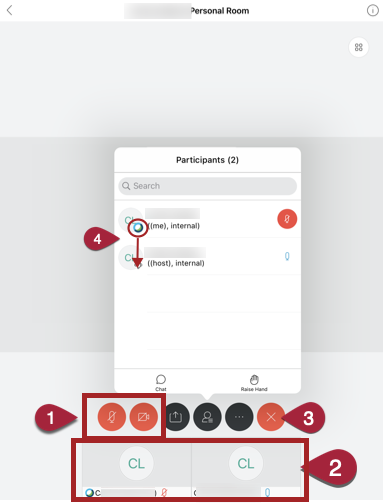
- The microphone and video buttons allow you to mute yourself and turn your camera off. These will be red when turned off and have black icons when turned on.
- Across the bottom of the screen, you will see the participants in the meeting. You will see their video feeds if their cameras are turned on, their still photos if they have updated their Webex profiles, or their initials.
- To leave the meeting (or end it, if you are the host), tap on the end button.
- To change the presenter (to allow other people to share files or screens), tap the black participants button, then drag the small green ball to the new presenter.
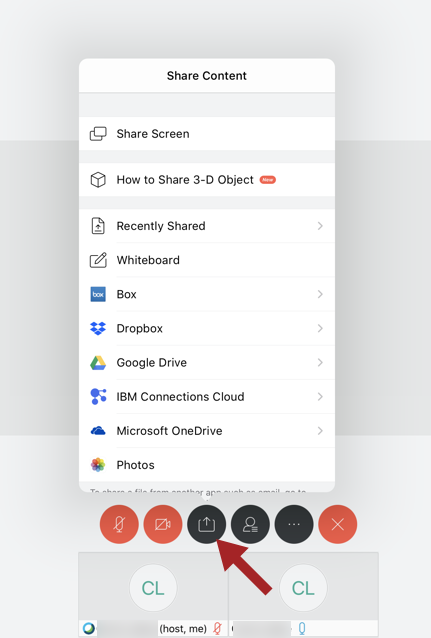
- To share material, the presenter should tap the share button and then choose what to share - the screen, a whiteboard, a file from one of many places, etc.