The pairing process for Cengage LTI 1.3 tools in D2L has been updated. If you're preparing your courses for the upcoming term, please be aware of these changes to ensure a smooth integration. You can find additional resources provided by Cengage here: cengage.com/coursepages/LSC_Faculty
Online Services does not have access to your Cengage account. For integration issues, please contact the Cengage representative to LSC, Megan Benitez-Daley at megan.benitez-daley@cengage.com.
- Customer Support: 800-354-9706 or www.cengage.com/support
- NEW Digital support site: https://www.cengage.com/services/
- Use Tech Check to see our platform performance: http://techcheck.cengage.com/
Watch the Star Bundle (VitalSource) & Cengage Open Lab for Spring 2026
Add Cengage 1.3 to Your Course
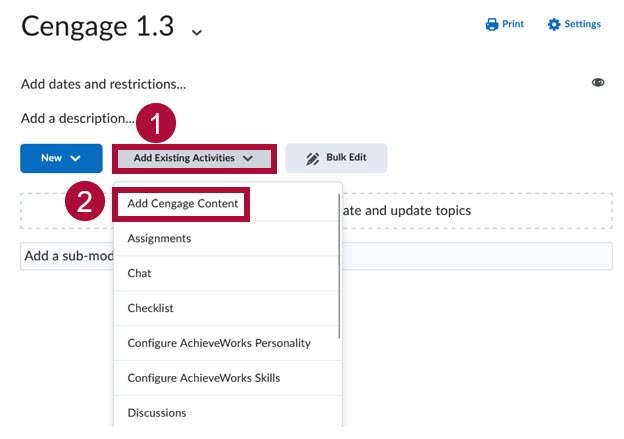
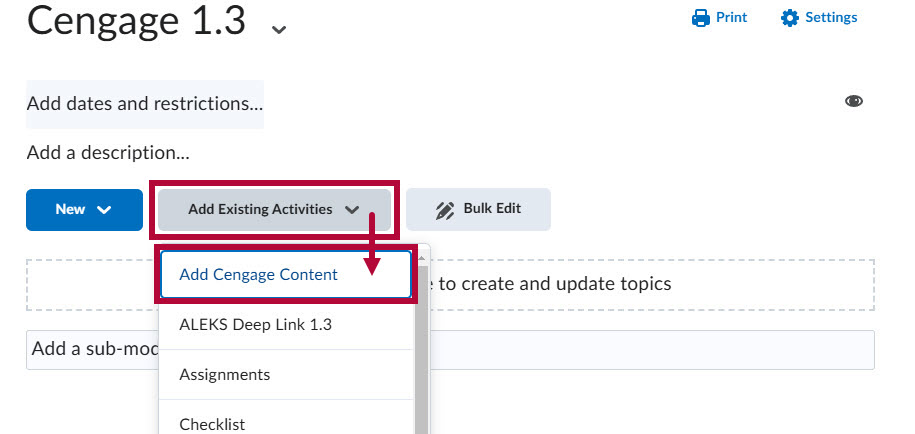
- Create a new module and name it Cengage 1.3. Click on [Add Existing Activities] then [Add Cengage Content].
NOTE: You may have to enable pop-ups on your web browser for the Cengage Content window to appear.
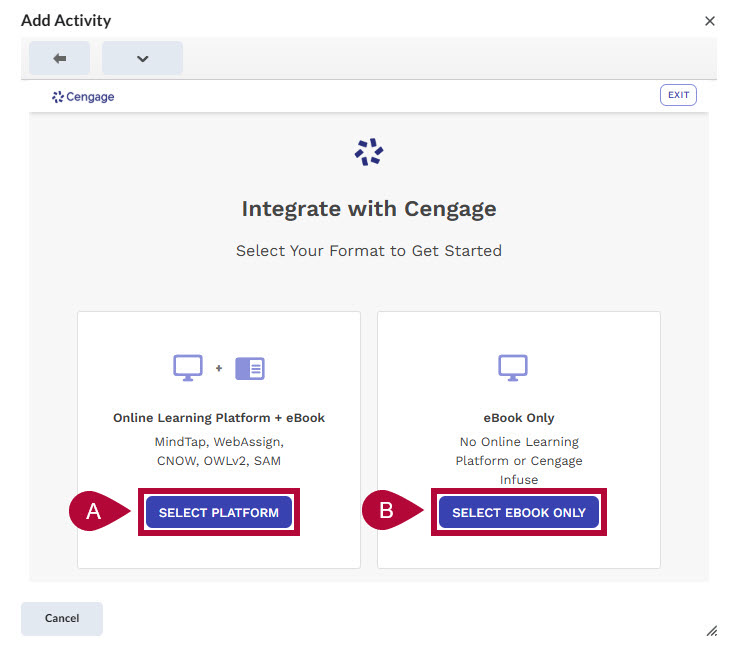
- On the following page, you'll be presented with the following options:
- Online Learning Platform + eBook — This option will include both the eBook and assignments. Click [Select Platform] for this option.
- eBook Only — This option will only include the eBook, with no assignments. Click [Select eBook Only] for this option.
- Online Learning Platform + eBook — This option will include both the eBook and assignments. Click [Select Platform] for this option.
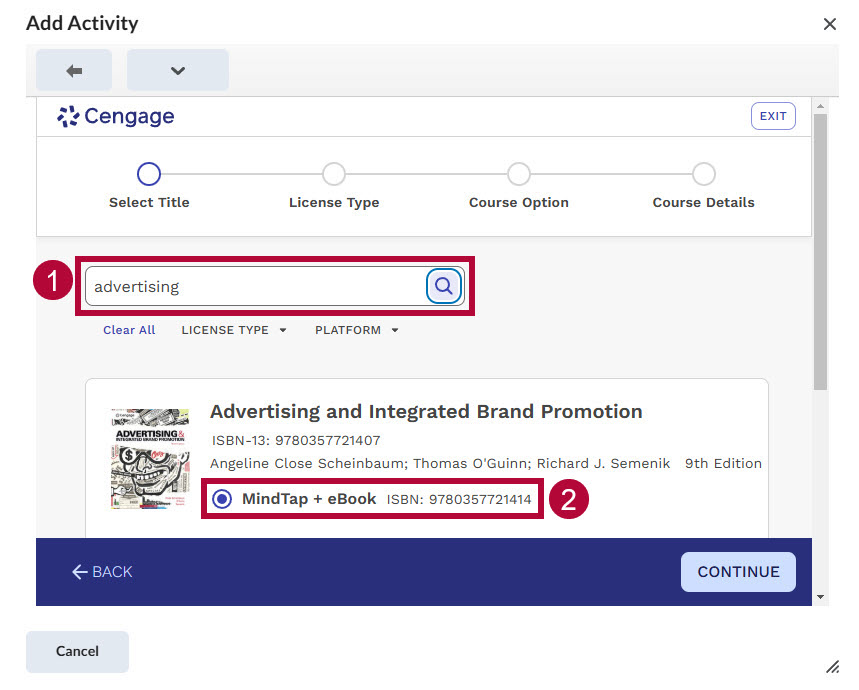
- In the Search field, use a generic word or phrase to find your textbook. Once the textbook is found, select the correct bubble listed under your textbook.
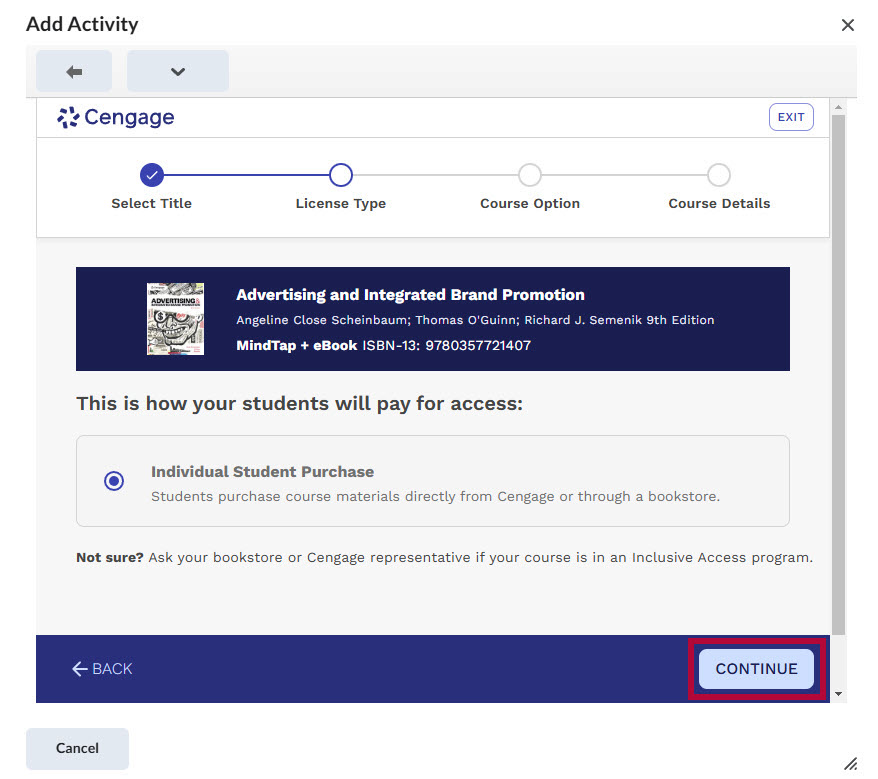
- [Individual Student Purchase] should be selected automatically for the License Type page. Click [Continue].
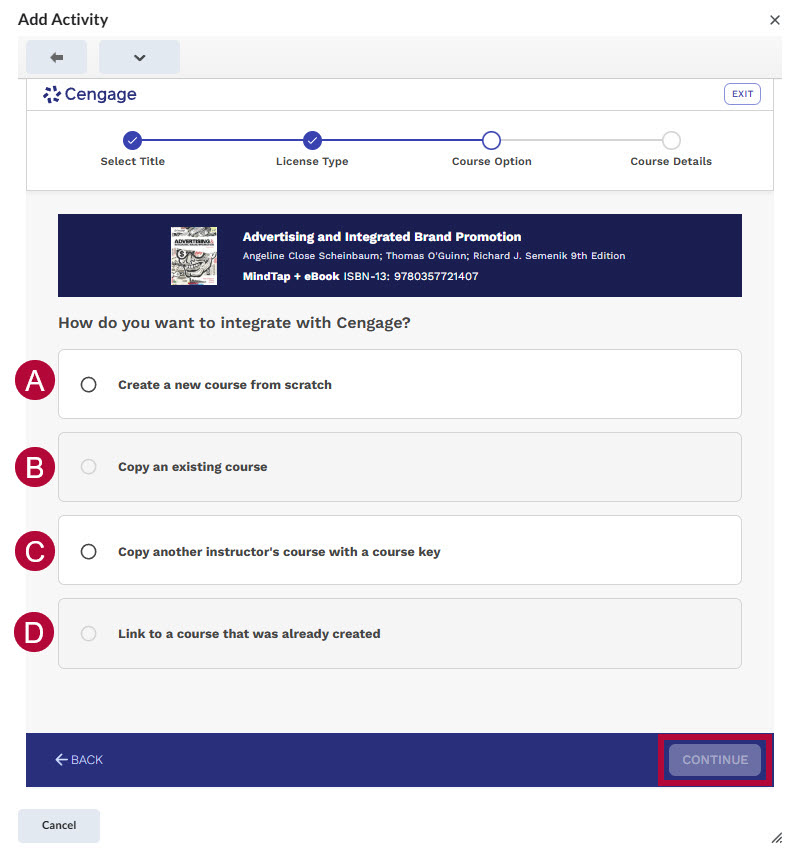
- On the following page, you'll be presented with the following options:
- [Create a new course]
- [Copy from an Existing Course] — Allows you to copy a course from a course that you previously built.
- [Copy another instructor's course with a course key] — Select this if your department has a master course to copy from. This requires a Course Key from the master course creator.
- [Link to a course that was already created] — Links the D2L course to an already existing Cengage course. For example, if you have already made a copy of your Fall course in the Cengage website to use in Spring, you can link the D2L course to the newly created Spring course in Cengage. It is important to note that you cannot link to an existing Cengage course if the Cengage course already has students enrolled.
Click [Continue] to complete this step.NOTE: The last three choices (B, C, D) can only be selected if there are no students in the Cengage course yet. If there are students, select [Create a new course from scratch].
- [Create a new course]
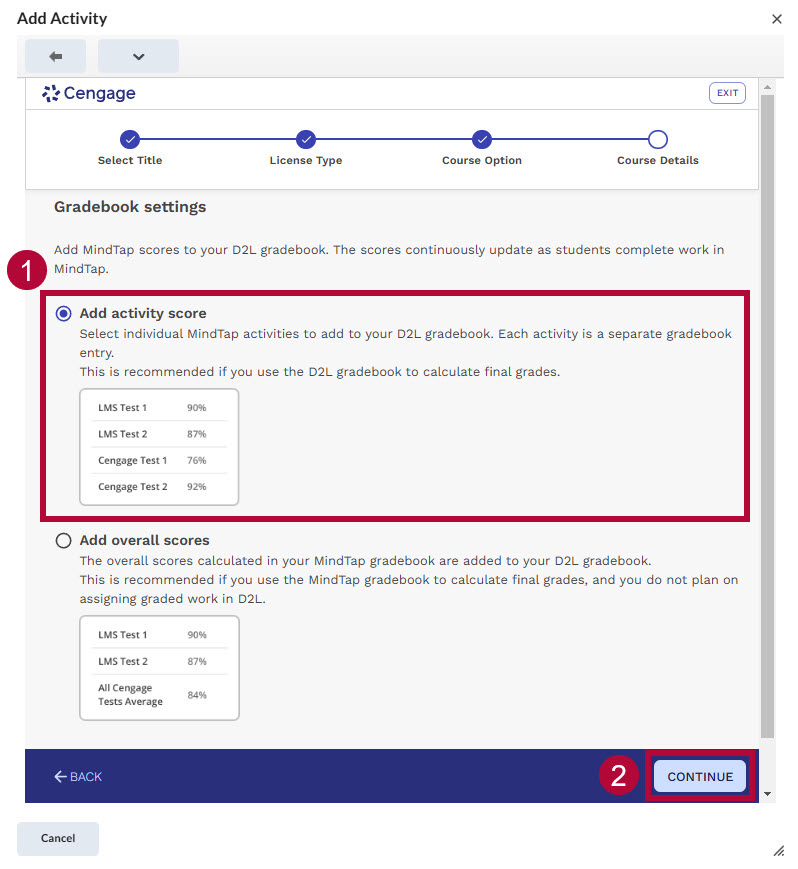
- Choose a Gradebook Setting. [Add Activity Score] will be selected by default — this is the recommended setting. After selecting a setting, click [Continue].
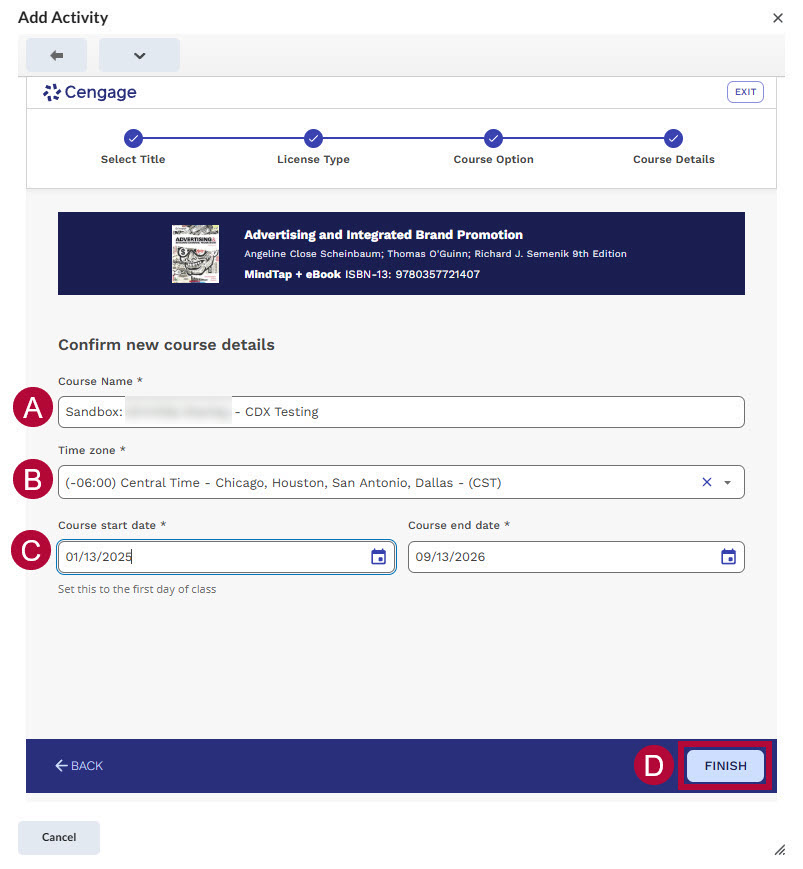
- Enter the Course Details.
- The Course Name will be imported from D2L. Feel free to change it if necessary.
- The Time Zone will default to Central Time.
- Choose a Start and End Date. This only controls student access to Cengage. Students should access Cengage content through the D2L course.
- Click [Finish] to complete this step.
- The Course Name will be imported from D2L. Feel free to change it if necessary.
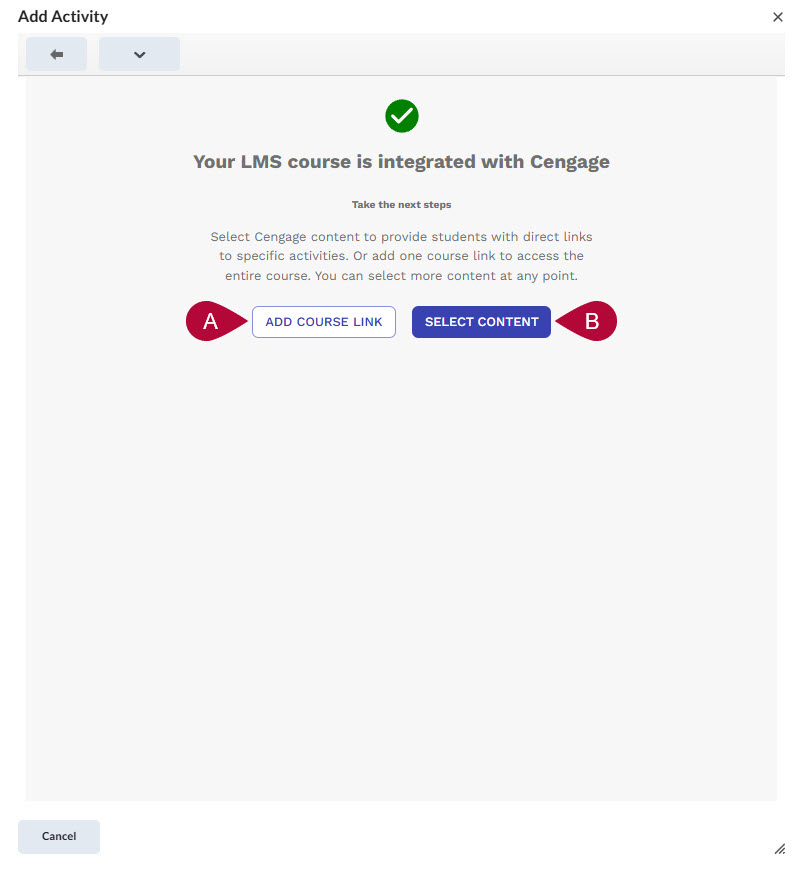
- On the next page, you can choose from:
- [Add Course Link] — This will create a single link through which students will access the entire Cengage course.
- [Select Content] — This will take you to a page where you will deploy individual Cengage assignment links to D2L.
NOTE: You can always deploy more assignment links later, regardless of which option you choose at this time.
- [Add Course Link] — This will create a single link through which students will access the entire Cengage course.
- If you chose [Add Course Link], the process is complete. If you chose [Select Content], on the following page you will select the assignments to deploy.
- First, expand the folders to find assignments, chapters, or parts of the textbook.
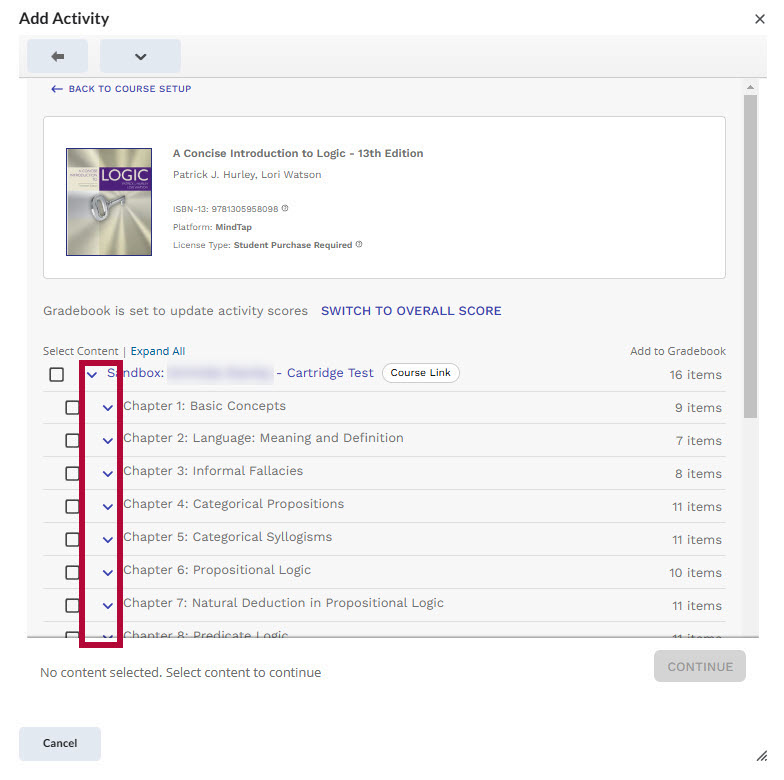
- The left [checkbox] will add the selected item to the Content Module.
- The right [checkbox] will add the selected item to the Gradebook.
- After making your selections, click [Continue].
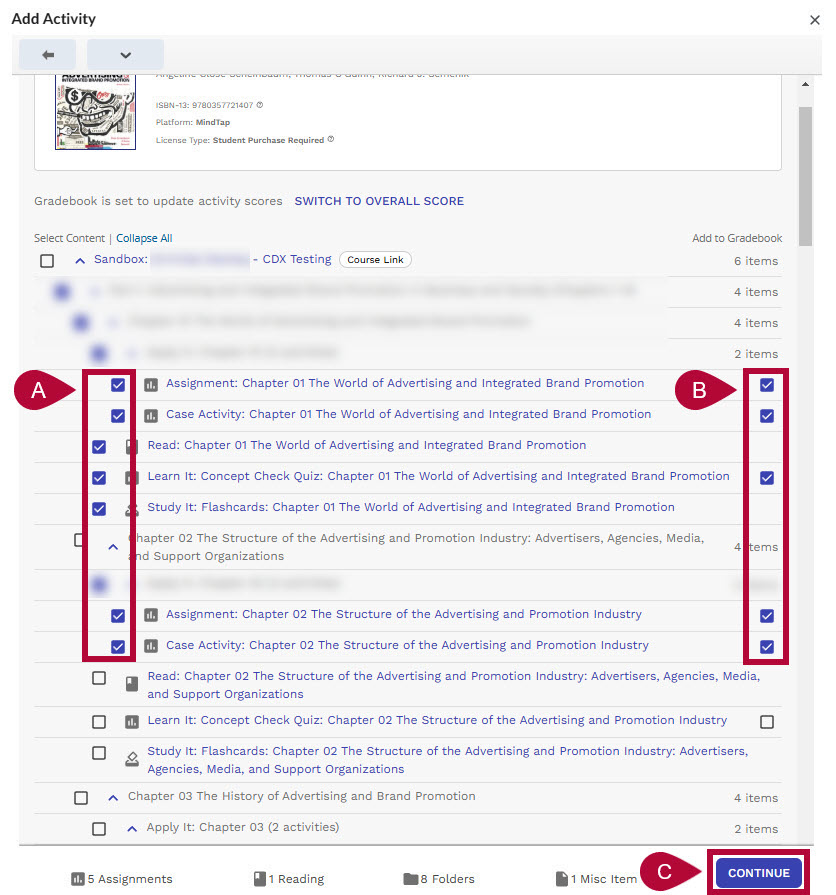
- First, expand the folders to find assignments, chapters, or parts of the textbook.
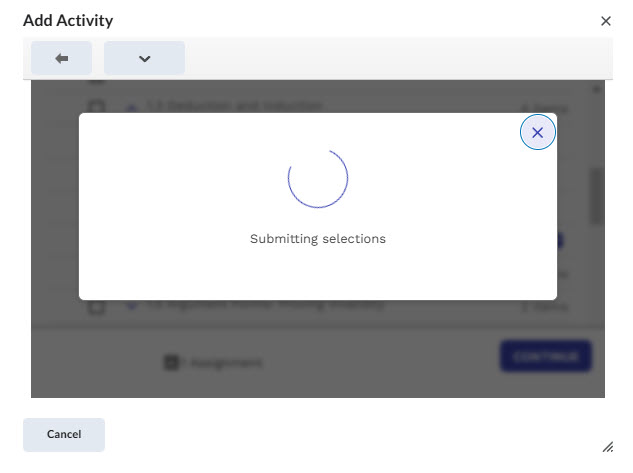
- You will see a loading screen that says Submitting selections. Please DO NOT exit out of this screen before it is finished.
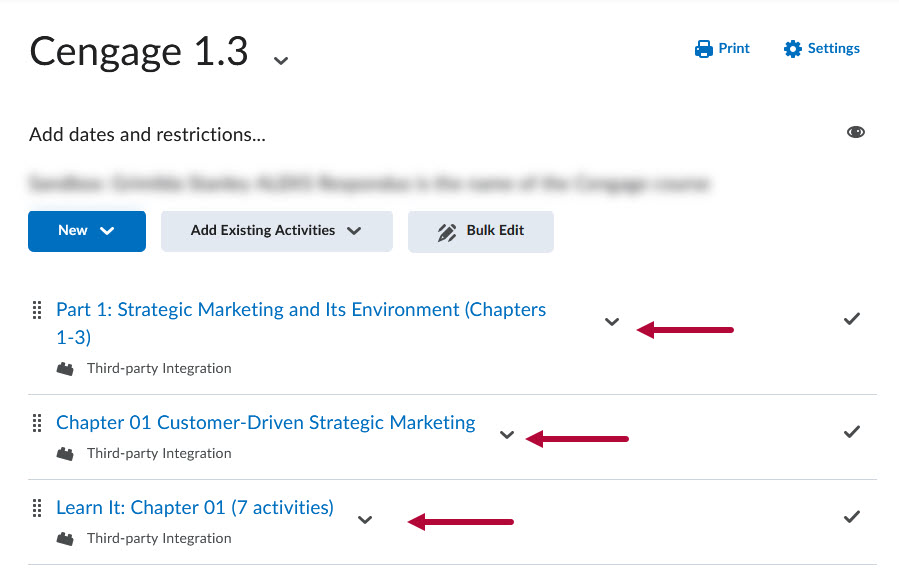
- Once this is done you will see the content you chose to deploy in the Cengage 1.3 module.


Deploy a Cengage Assignment Into D2L
NOTE: Make sure your quiz grade totals in Cengage are correct before deploying grade items into the gradebook to avoid mismatches between Cengage and the D2L gradebook.
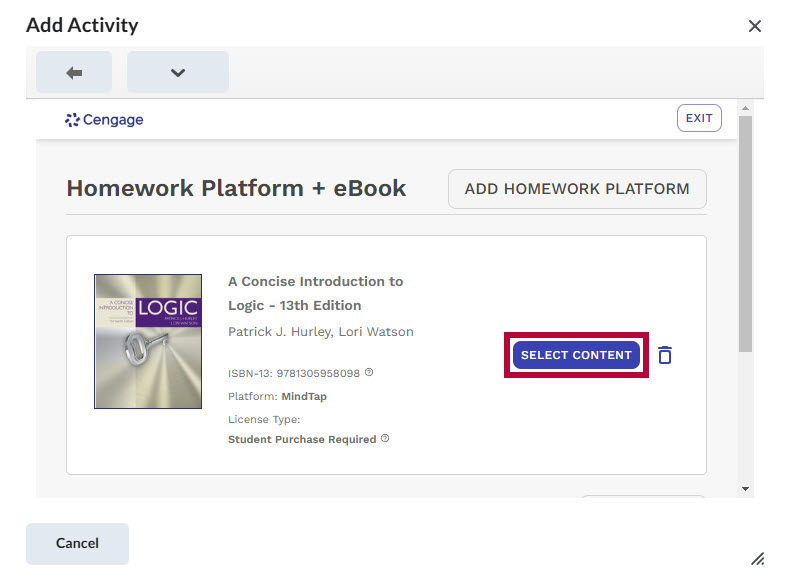
- Navigate to the module in which you wish to deploy Cengage content. Click on [Add Existing Activities] then [Add Cengage Content].
- You will see a screen with your textbook. Click [Select Content].
- From here, the steps will be the same as Steps 9 through 11 in the previous section.


NOTE: Any content items which have already been deployed to your D2L course will have a circle with a green checkmark next to them.

Troubleshooting and Support
If you need additional assistance, contact the IT Service Desk at 281.318.HELP (4357).