Groups are a useful tool for Dual Credit courses. Many dual credit students are in separate class periods at their high school but are placed in a single class section in D2L. By using the Groups tool to create a group for each class period, it is possible to organize and view students by their high school class period.
Creating Groups based on (High School) Class Period
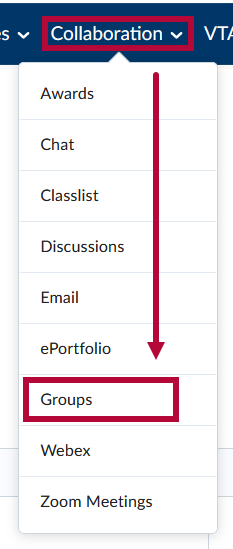
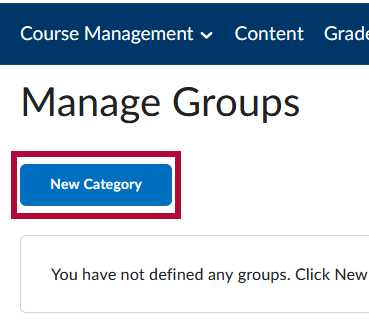
- Create a Group Category: In your course, go to [Collaboration], then click [Groups]. Then on the Manage Groups page, click [New Category].
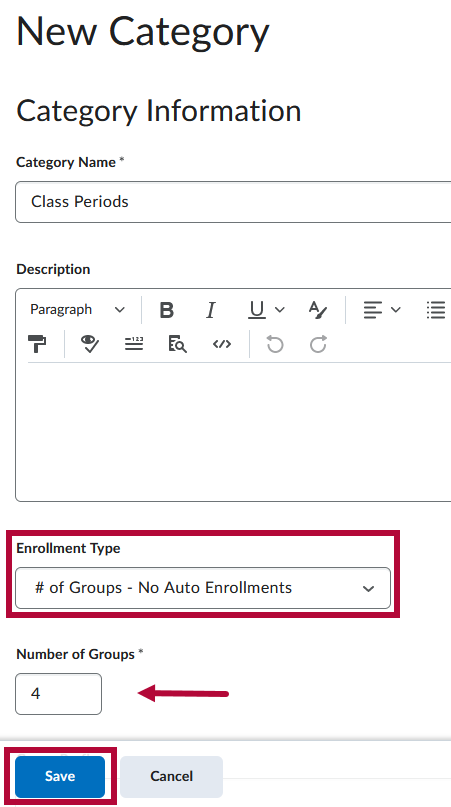
- On the New Category page, create a Category Name, and a Description if desired. For the Enrollment Type, choose [# of Groups - No Auto Enrollments]. For the Number of Groups, choose the number of class periods. When done, click the [Save] button.
NOTE: For further details on creating a Group Category, please refer to the Create Groups article.
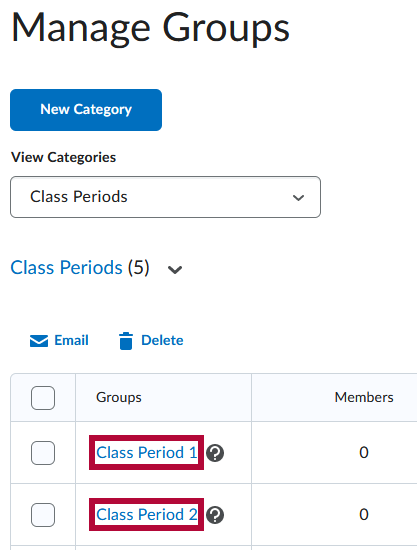
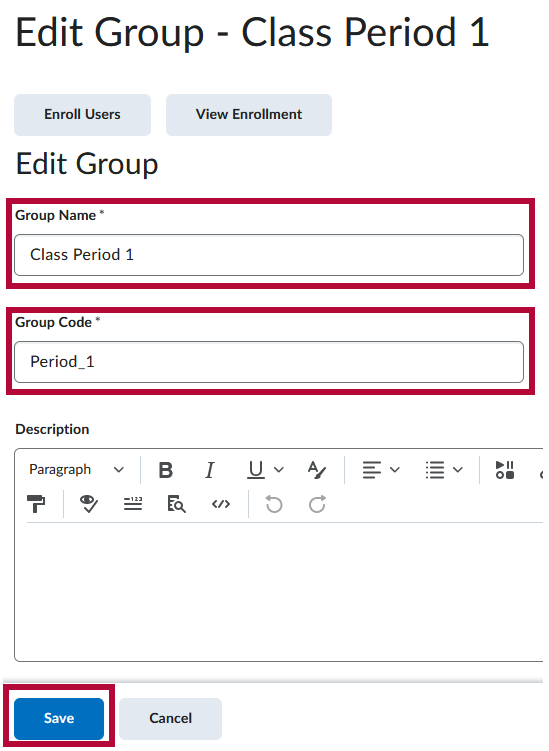
- Rename/Edit Groups: You will likely need to make edits to individual groups, including renaming the groups to match each class period. To edit a group, from the Manage Groups page, click any [Group Name]. This will take you to the Edit Group page, where you can edit the Group Name and Group Code. Click [Save] when done.
-
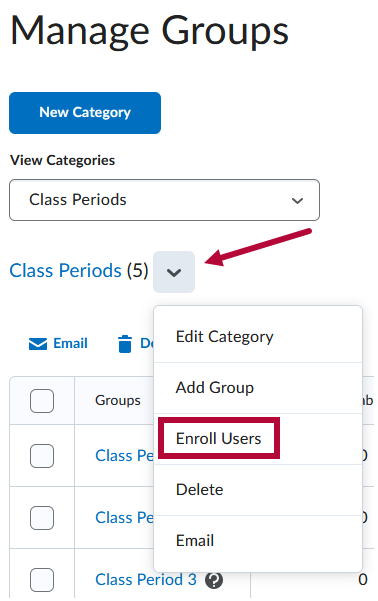
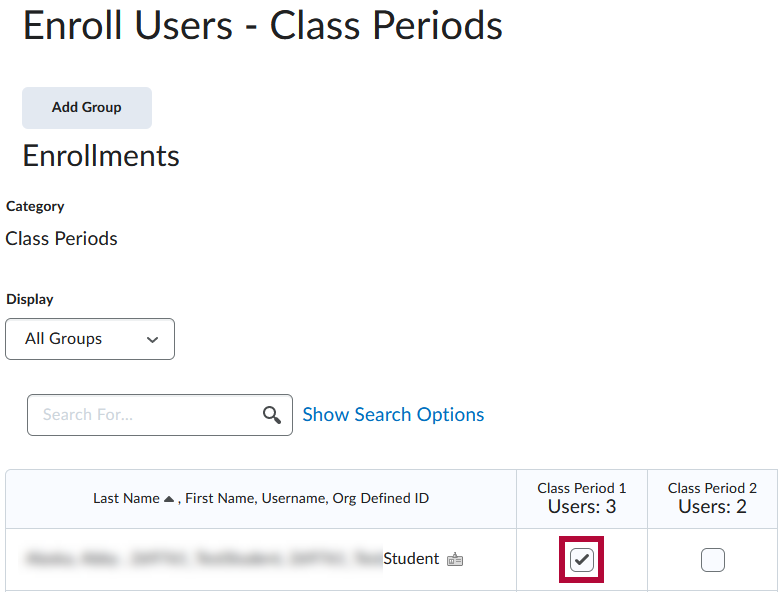
Enroll Students in Groups: On the Manage Groups page, click the context menu next to the category and click [Enroll Users]. That will take you to the Enroll Users page, where you can click the [checkbox] next to each student to add them to the appropriate group based on their class period.
NOTE: For further details on enrolling students in groups, please refer to the Enroll Students in Groups article.


Using Class Period Groups
Once you have created groups for your dual credit students based on their high school class period, and enrolled the students into the groups, you can use these groups to organize students by class period in the Gradebook, when viewing Class Progress, in the Classlist.
View Gradebook by Group
- To view only the Grades of the students in a single group in the Gradebook, go to the Enter Grades tab, and in the View By dropdown list, select [Groups], and click the [Apply]
button.
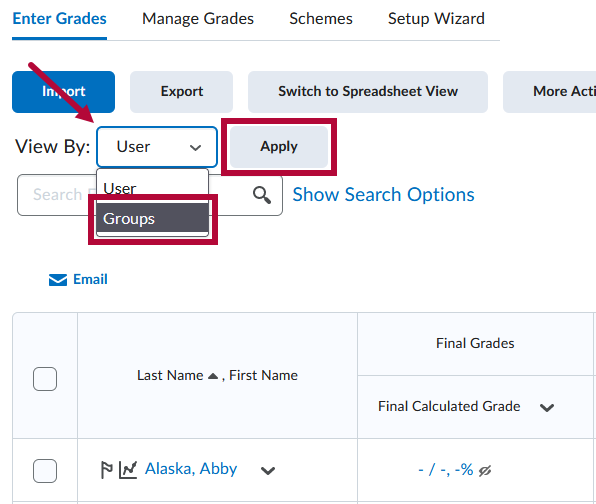
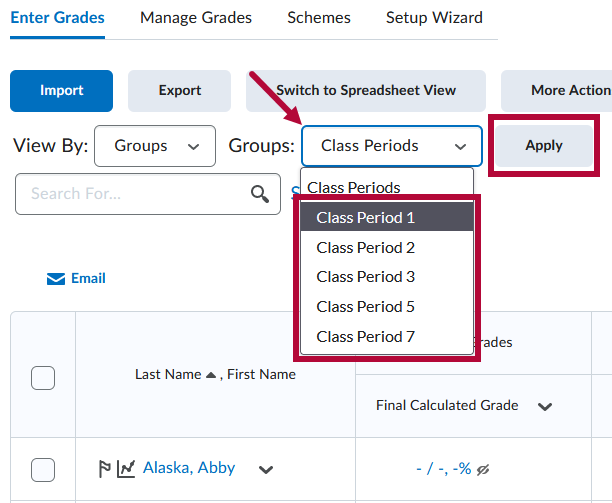
- Then in the Groups dropdown list, select the [Group Name] of the group for which you would like to view grades, then click [Apply] again.


View Class Progress by Group
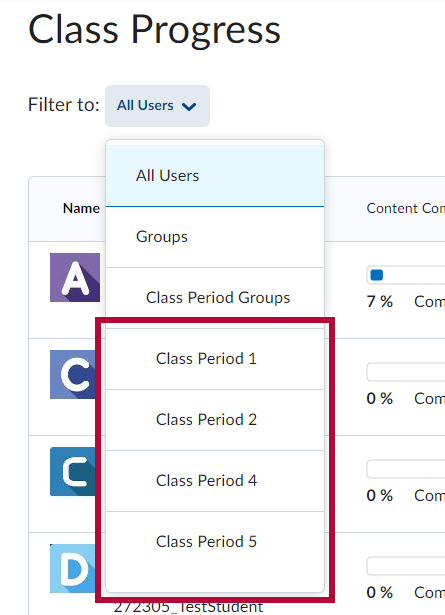
Go to Class Progress, and under the Filter to: dropdown, click the [Group Name] of the group you wish to view.
NOTE: For more details on using Class Progress, please refer to View Class Progress.
View Classlist by Group
- In the Classlist, click the View By drop-down list, select [Groups], and click the [Apply] button.
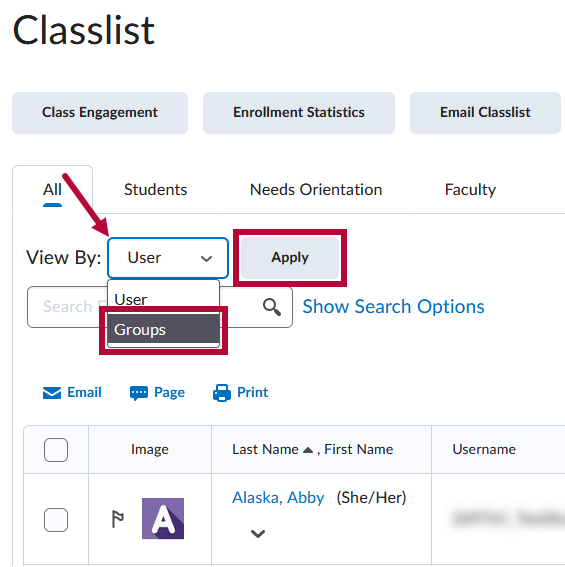
- Then in the Groups drop-down list, select the [Group Name] of the group which you would like to view, then click [Apply] again.
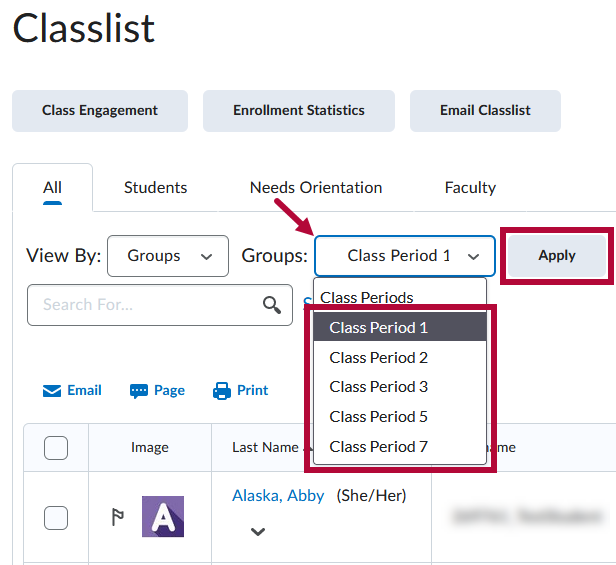
- Now your Classlist will only show the students in the desired Class Period group.


Sending Emails by Group via the Classlist
Once you have selected a class period group in the Classlist, you can send emails to that group only. You can either email select students in the group, or you can email the entire group at once.
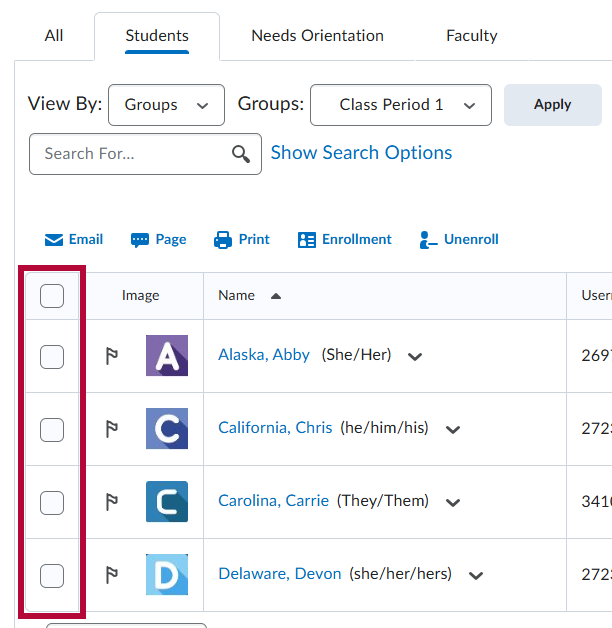
To Email Select Students
- Click the [Student Checkboxes] for the students you wish to email.
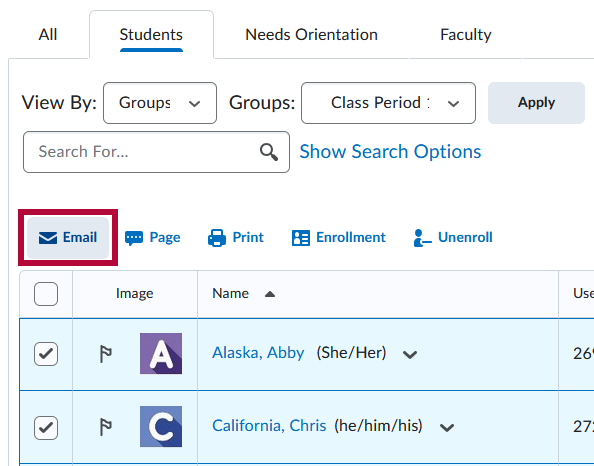
- Once you have selected the students you wish to email, click [Email].
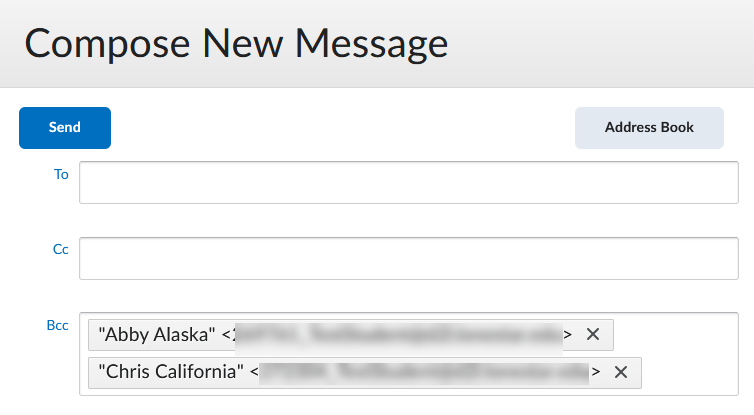
- This will open the Compose New Message window with the selected recipients inserted into the [Bcc] field. For further instructions on sending emails using the Compose New Message window, refer to the Send Emails to Students article.


To Email the Entire Group
-
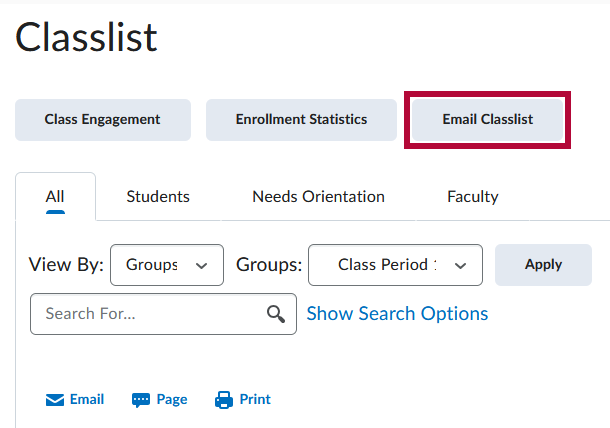
From the Classlist, click [Email Classlist].
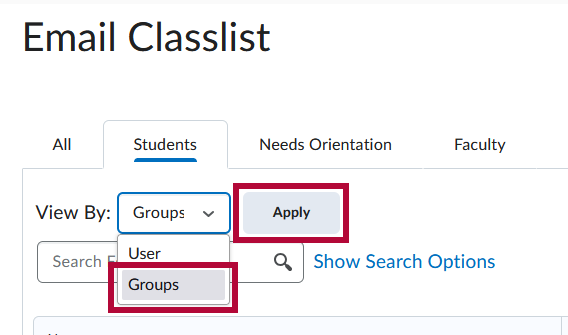
- On the Email Classlist screen, click the View By drop-down list, select [Groups], and click the [Apply] button.
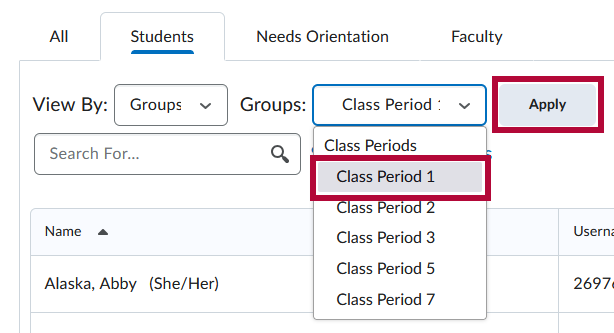
- Then in the Groups drop-down list, select the [Group Name] of the group which you would like to view, then click [Apply] again.
- Once you have selected the desired group, click [Send Email].
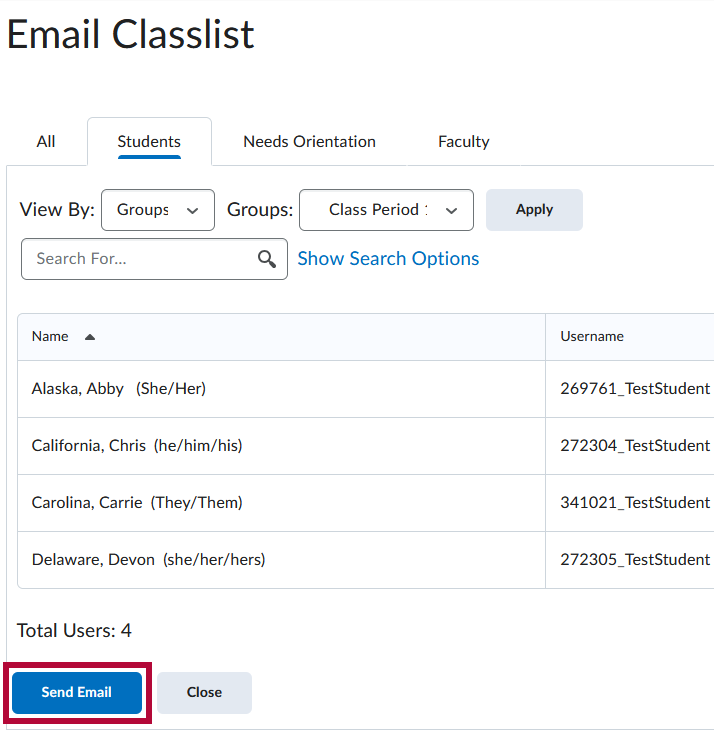
- This will open the Compose New Message window with the emails of all students in the group inserted into the [Bcc] field. For further instructions on sending emails using the Compose New Message window, see our Send Emails to Students article.


Using Groups with Discussions
You can restrict Discussion Forums and Topics based on Groups so that you can have only one class period or a particular set of class periods participate in one or more Discussion Topics.
NOTE: For information on creating Discussion Forums and Topics, refer to the Create Discussion Forums and Topics article.
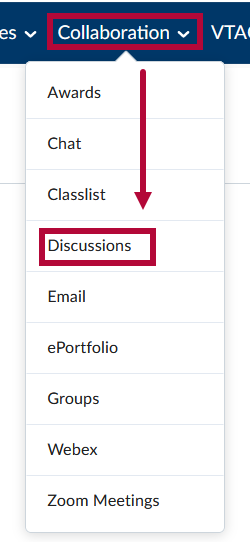
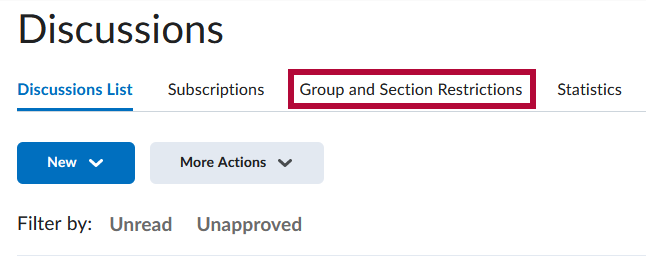
- Navigate in your course to [Collaboration], and then [Discussions], and then on the Discussions page, click the [Group and Section Restrictions] tab.
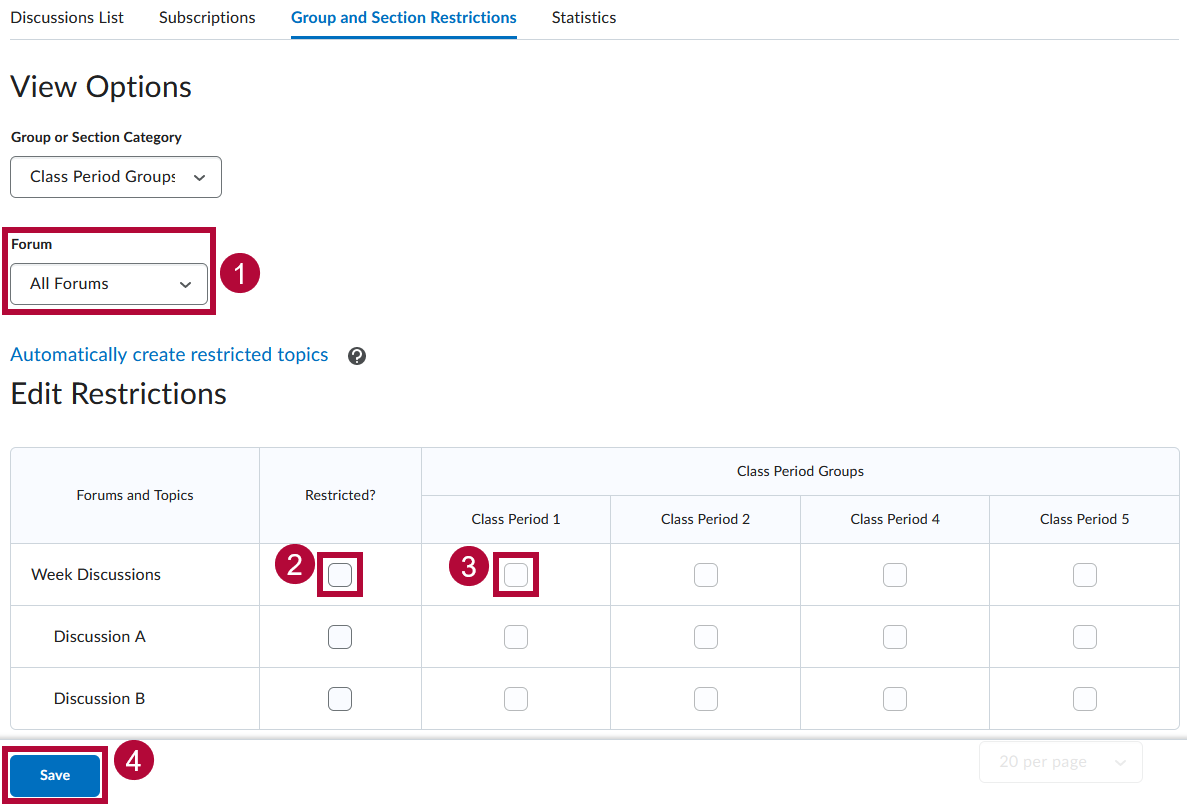
- On the Group and Section Restrictions tab, under Forum, select [All Forums]. Then click the [checkbox] under Restricted next to any forums or topics you would like to restrict to a certain group or groups, and then click the [checkbox] under the Group Name of the group or groups you would like to restrict that forum or topic to. When done click [Save].


Exporting Groups
You can export group enrollment data from the Groups tool to support easier attendance tracking, or to keep group-specific class lists outside of D2L.
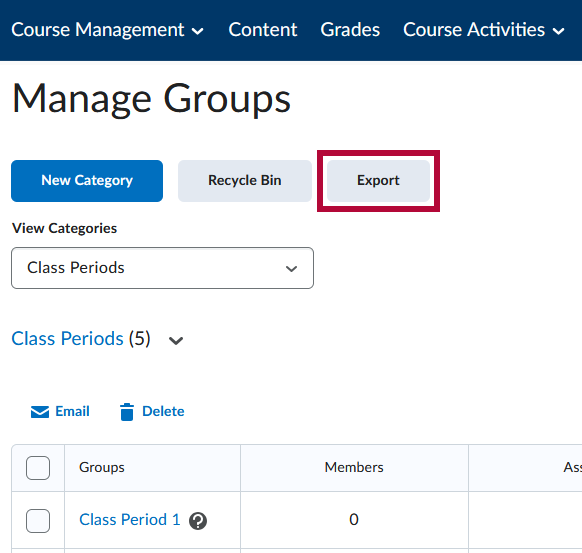
- From the Manage Groups page, click the [Export] button.
-
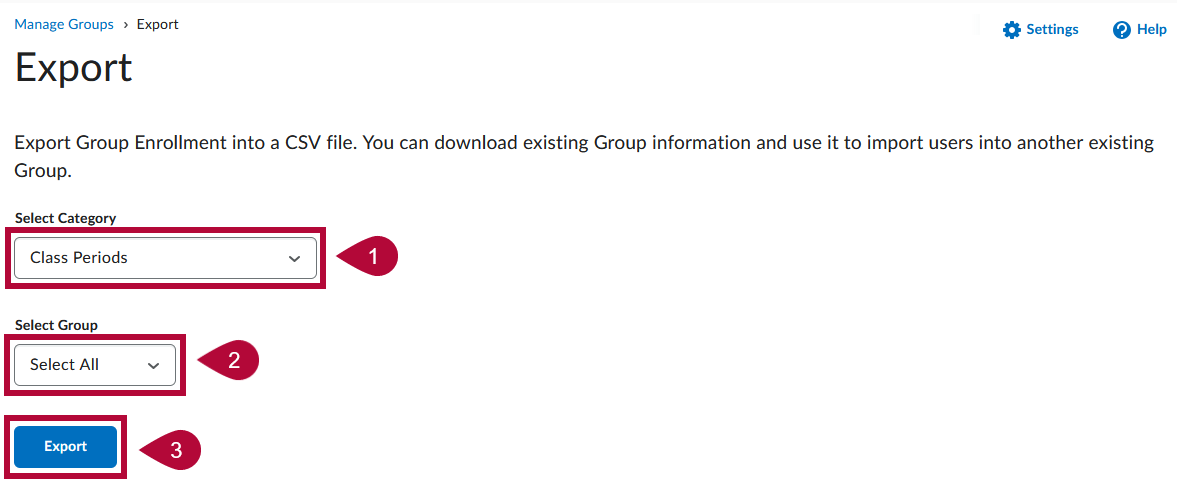
Under Select Category select the Group Category for the Group(s) you would like to export. Under Select Group, choose [Select All] if you would like to export all groups in the category, or choose the [Group Name] if you would like to export only one group. Then click [Export].
-
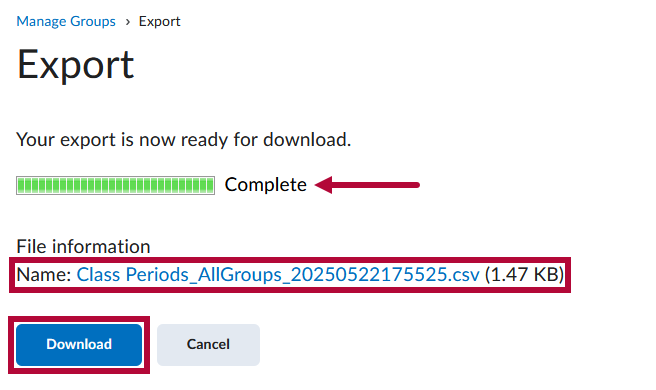
You will then see a page with a progress bar that will say Complete when finished. From here you can either click the [filename] or [Download] to download the export file. The export will be in a .csv format.