Course images are used for the My Courses Widget, the course image banner, and the D2L Pulse app. When you customize your course image, it adds more personality to your course and makes it easier for your students to find in their course list. D2L selects a default image for your course, and you have two options to change it:
- the Change Image link
- the Course Offering Information screen
Change Image from Change Image link
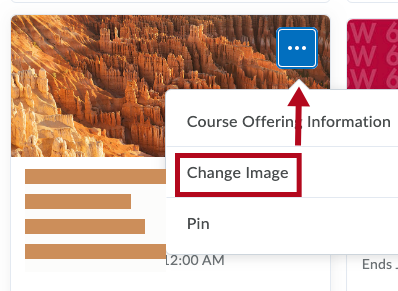
- Click on the Options menu (three dots) on the course image and select Change Image.
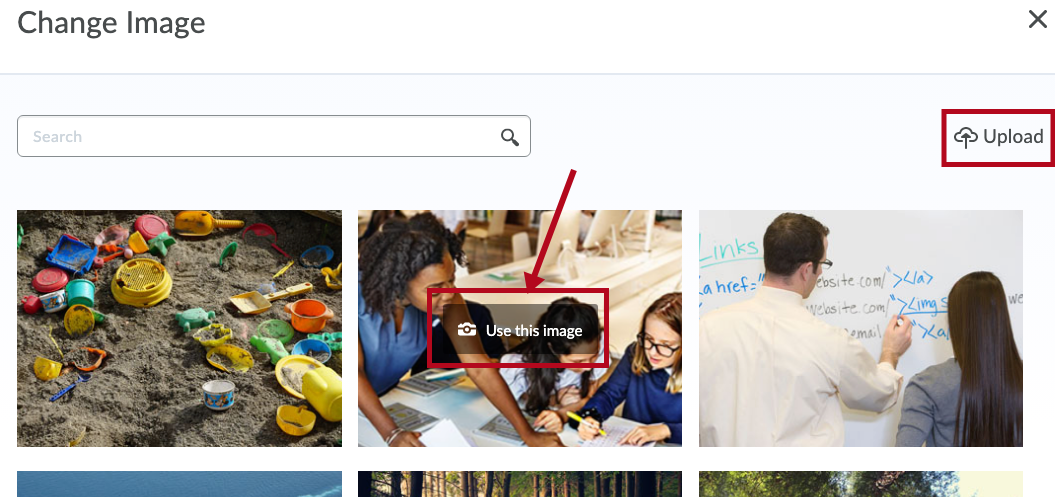
- On the Change Image screen, hover over the image you want and click Use this Image to change the course image. To upload your own image, click the Upload link.
 Follow steps 3-6 below to complete uploading your own image.

 Follow steps 3-6 below to complete uploading your own image.
Change Image from Course Offering Information
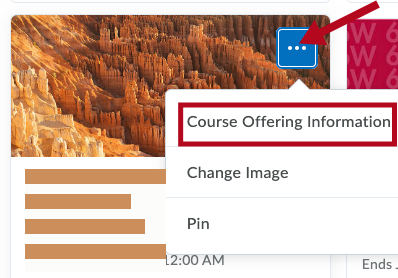
- Click on the Options menu on the course and select Course Offering Information.
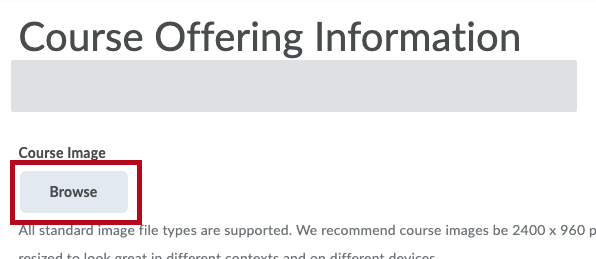
- Click the Browse button.
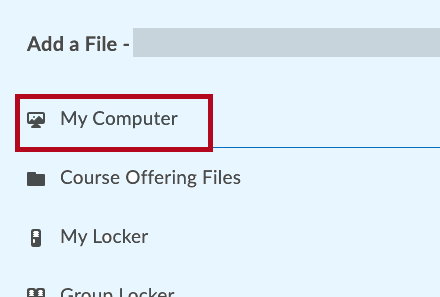
- Choose My Computer.
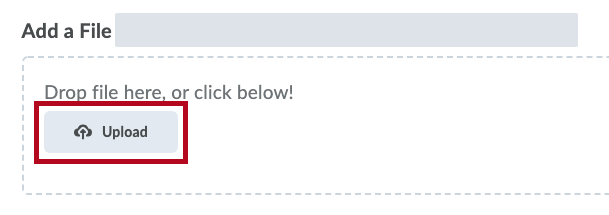
- On the next screen, either click the Upload button to browse for an image on your computer or drag an image into the box.
- After your image has finished processing, click the Add button.

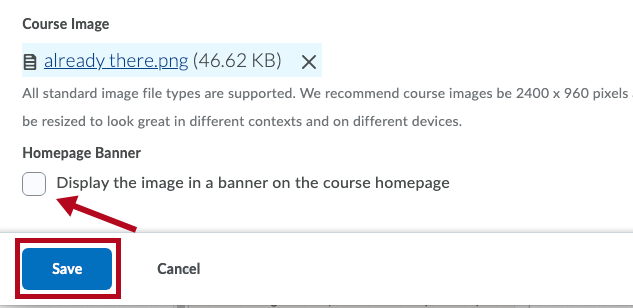
- The image you uploaded will display under the Course Image heading back on the Course Offering Information screen. In order for the image you uploaded to appear as the course image, you must click the Save button at the bottom of the screen.


NOTE: It is helpful to display the image in a banner on the course homepage. If you check the box for "Display the image in a banner on the course homepage," the course image will display as a banner on your course homepage.