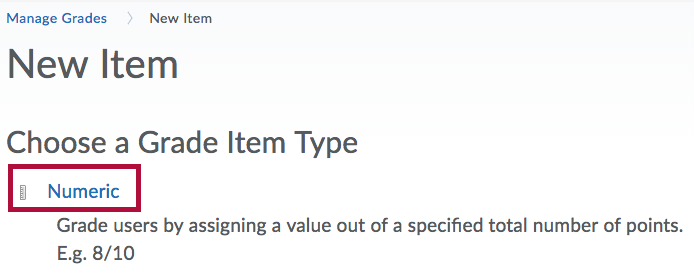
The Numeric grade item allows you to grade students by assigning a value out of a specified total of points (e.g., 8/10).
Creating a Numeric Grade Item
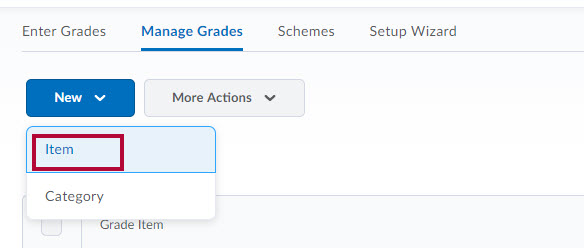
- Click [Grades] in the Navbar, then click the [Manage Grades] tab.

- On the Manage Grades page, click the [New] button, then select [Item].
- Click [Numeric].
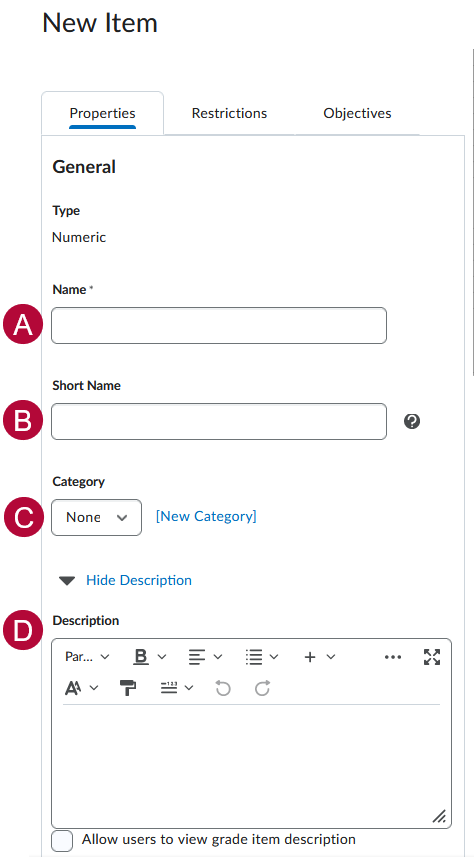
- Enter a [Name] for the grade item.
- You can enter a [Short Name] to display in the instructor gradebook (this is never seen by students).
- If you want the grade item associated with a category, select a category from the [Category] dropdown list or click [New Category] to create a category.
- Click [Show Description] to enter a description of the grade item. If you want the description available to users, select [Allow users to view grade item description].
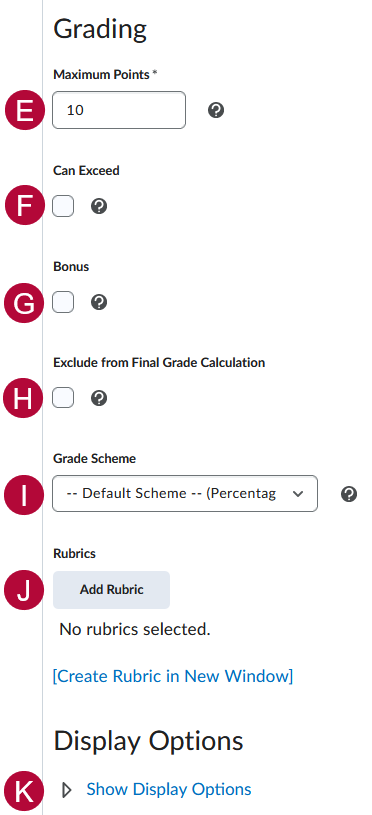
- Enter the [Maximum Points] possible for the grade item. If your gradebook uses the weighted system, enter the [Weight] you want the grade item to contribute toward the category or final grade.
- Check [Can Exceed] if you want students' grades to be able to exceed the Maximum Points for the item.
- Check [Bonus] if you want this item to be an extra credit item.
- Select [Exclude from Final Grade Calculation] to remove a grade item from the final calculated grade total.
- Select a [Grade Scheme] to associate with the item.
- You can click [Add Rubric] to attach a rubric, or click [Create Rubric in New Window] to create a new rubric.
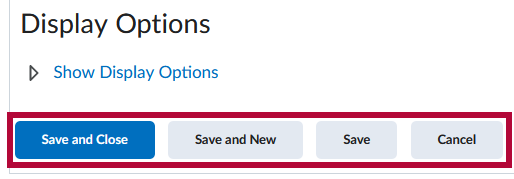
- Click [Show Display Options] if you want to change how the item displays to yourself or to your students.
- Enter a [Name] for the grade item.
- When finished, click [Save and Close], [Save and New], or [Save].


Troubleshooting and Support
If you need additional assistance, contact the IT Service Desk at 281.318.HELP (4357).