NOTE: The following question types now automatically filters out JavaScript and non-standard HTML: Likert, Ordering, Matching, Fill in the Blanks, Short Answer, Multi-Short Answer, Arithmetic, and Significant Figures. For existing questions containing JavaScript and non-standard HTML, the questions continue to display as intended until an instructor edits and saves the questions, which removes the JavaScript and non-standard HTML. D2L recommends reviewing all question types containing JavaScript and non-standard HTML and modifying as needed, ensuring that the questions display as intended for learners.
To get questions added to your quiz, you can create new questions within a quiz or import questions from the Question Library. The most effective practice is to create questions in the Question Library. (See Use the Question Library to do this.) Organizing your Question Library Sections into chapters, modules, or topics will help you create Question Pools (a randomized set of questions) and Quiz Sections (allowing randomized question order within the section).
Question Pools
If you would like your students to be served a randomized set of questions from a bigger collection (for example, each student gets 10 random questions from a pool of 30), you need to create a question pool. See Create a Question Pool.
Randomize Quiz Questions
To randomize the questions on your quiz, you have the option to shuffle the quiz at the quiz level. You can also randomize quizzes within a section. See Randomize Quiz Questions.
Add Quiz Questions
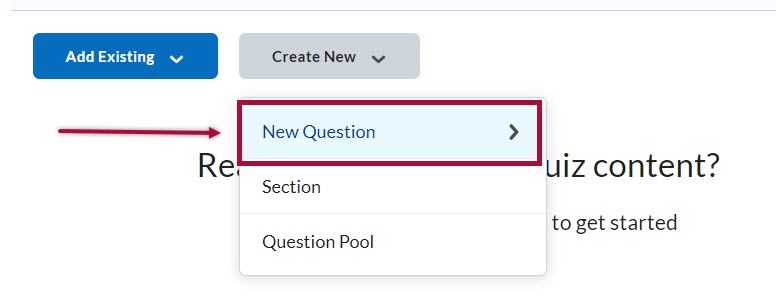
- On the Edit Quiz page, click [Create New] and then select [New Question].
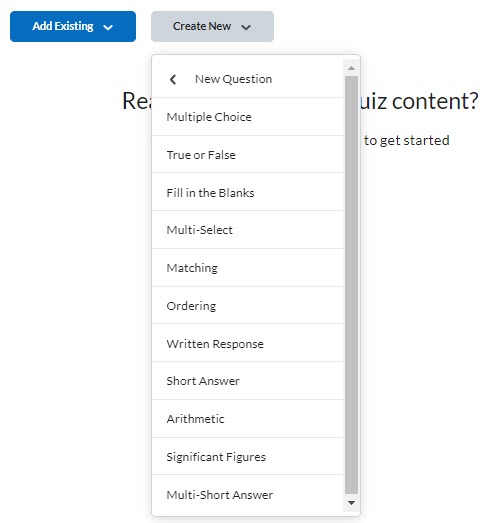
- Select the Question Type.
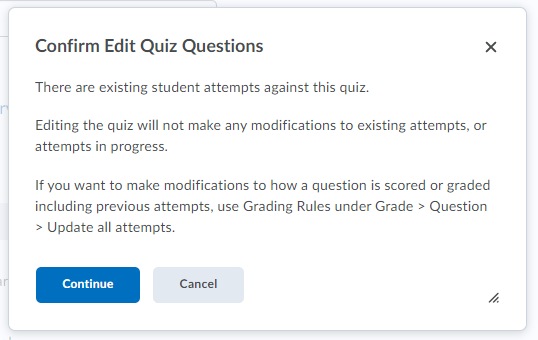
- If the quiz has existing student attempts, you will be asked to confirm your edits. You should grade all attempts before editing the quiz. The edits will not become part of the quiz until it is reset or copied to another course.
- Complete the options for your question type.
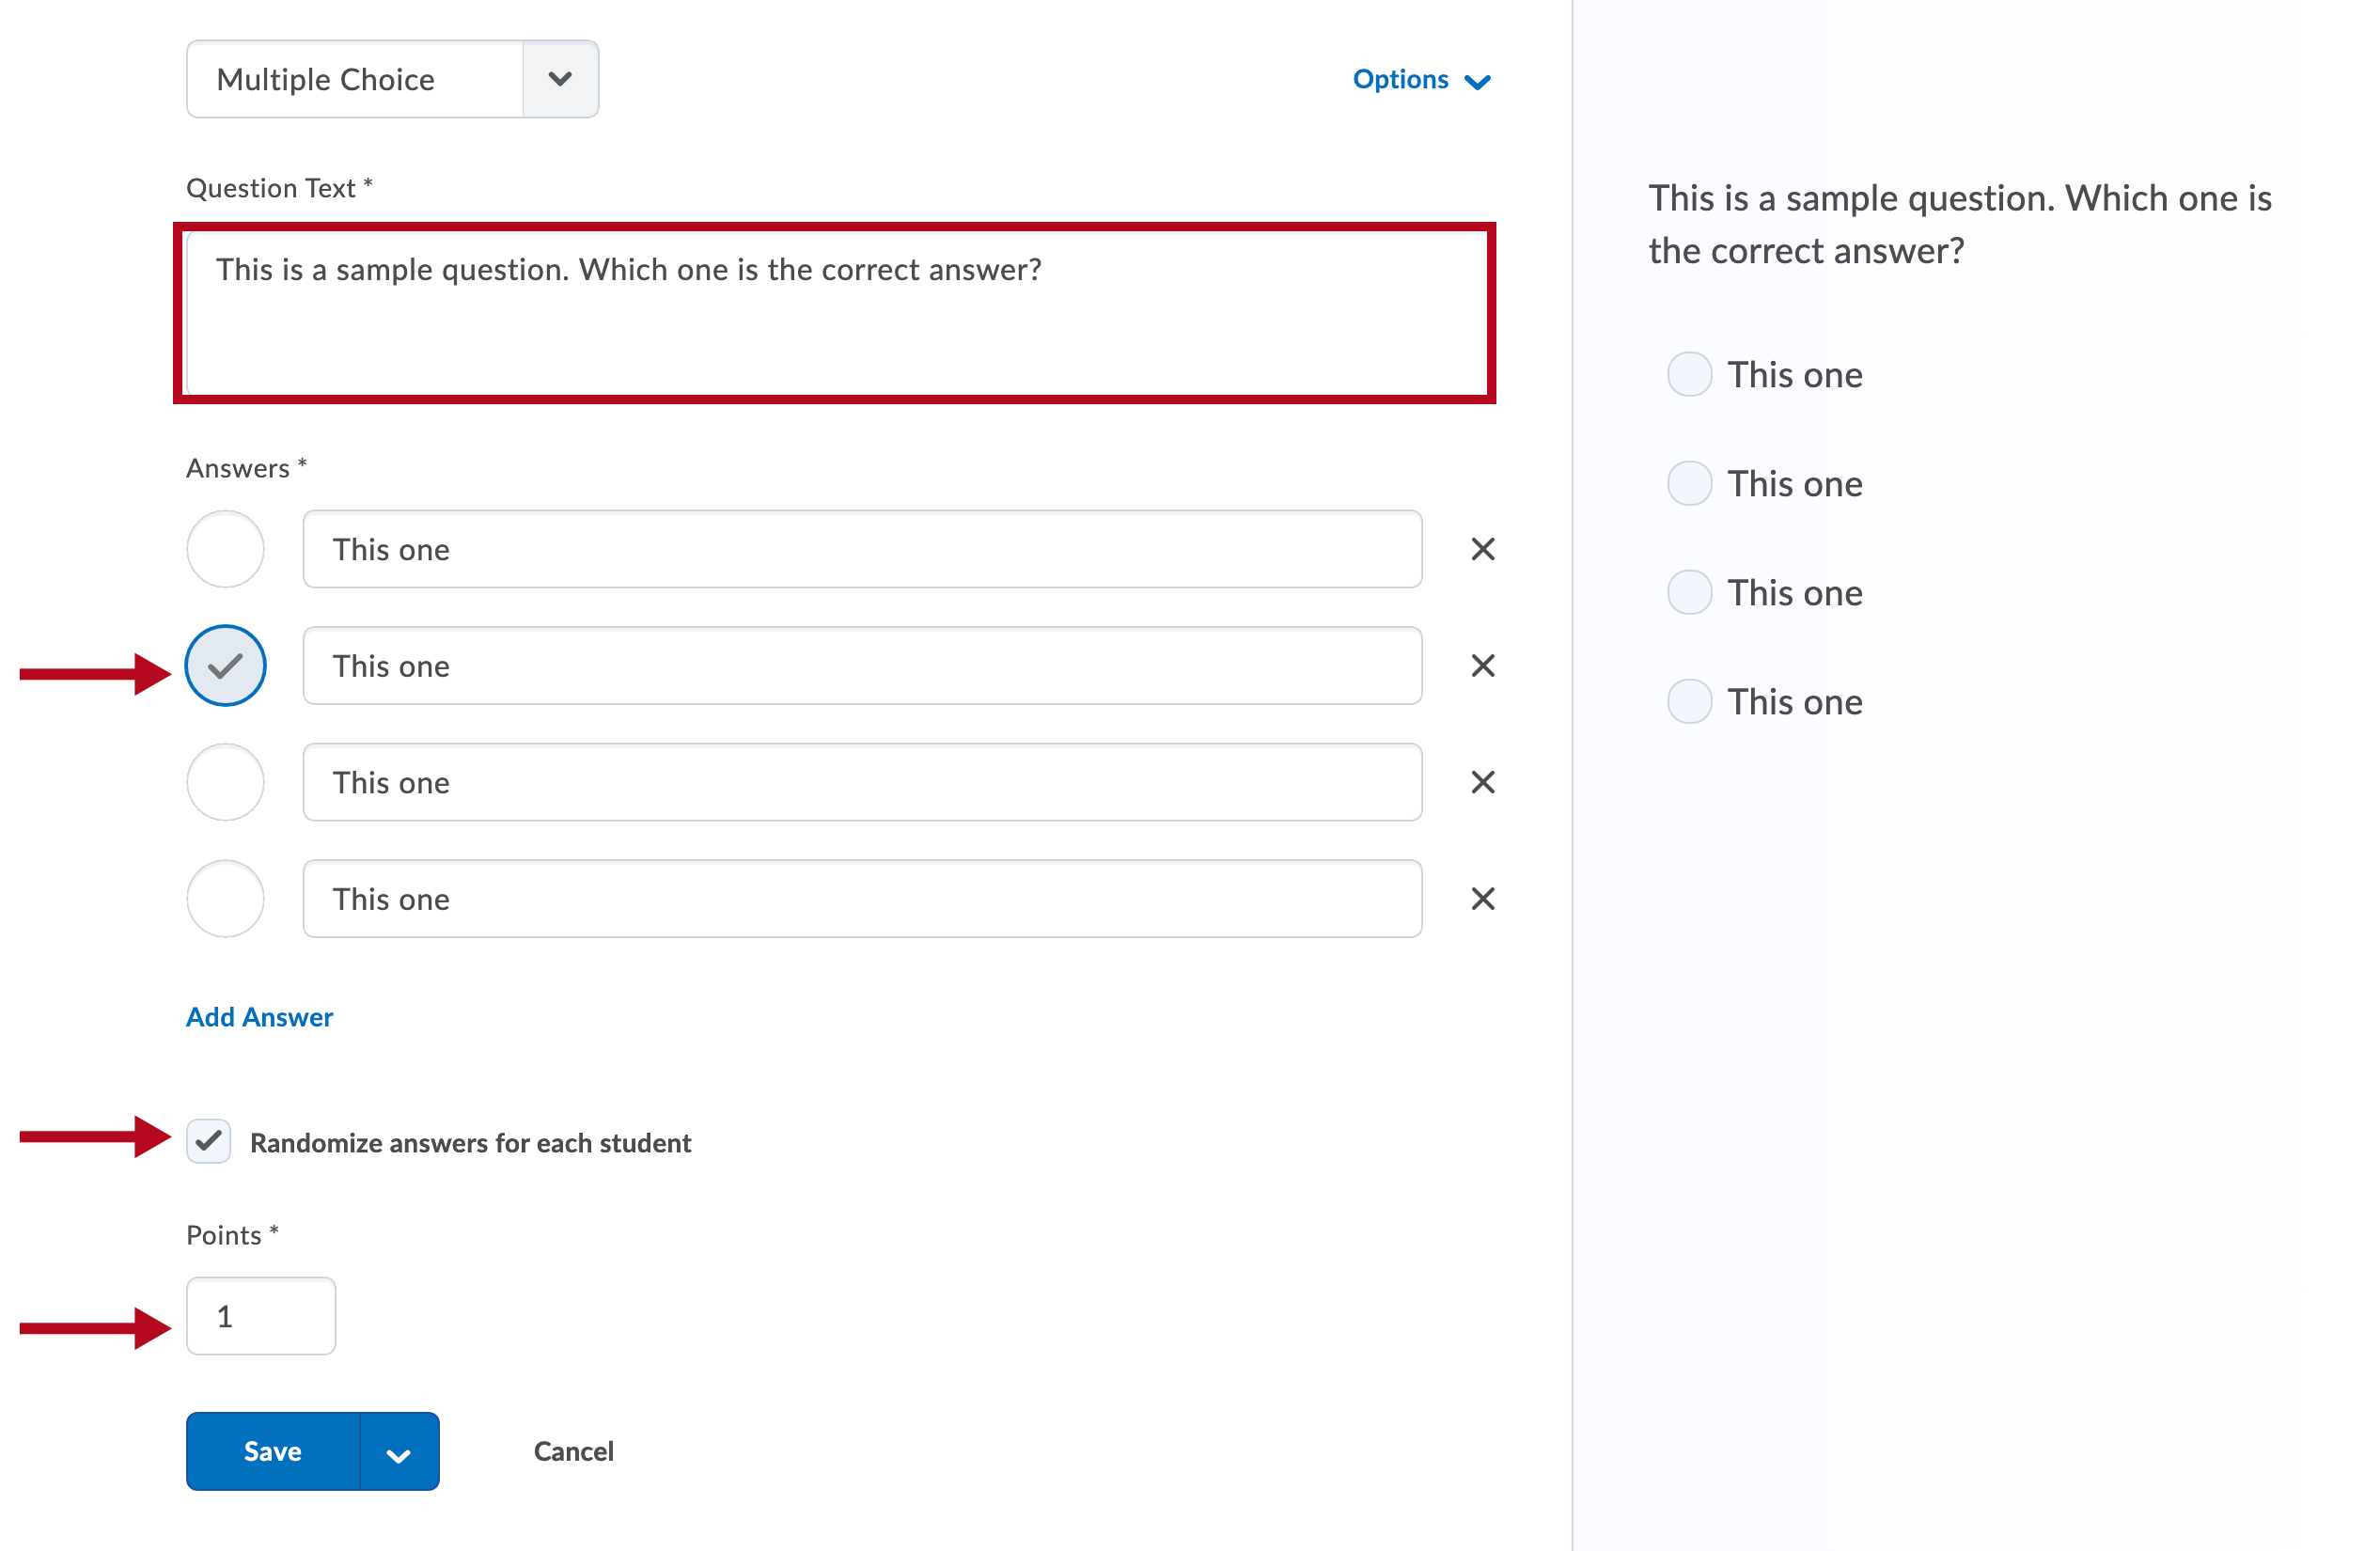
- Enter the question text. When you put your cursor into the text box, a toolbar will pop up on the right side of the text box.
- Enter your question answers. If you need more answer possibilities, click [Add Answer].
- Click the circle next to the correct answer.
- Click the text box next to the [Randomize answers for each student] checkbox if you would like the answers to the question randomized each time the question is displayed.
- Enter the number of points you want the question to be worth (this can always be changed on the quiz).
- You can see a preview of the question on the right of your screen.
- Click the [Save] to save your question and return to the Add/Edit Questions screen.
- There are some advanced options that you can select from the [Options] dropdown above the Question Text box.
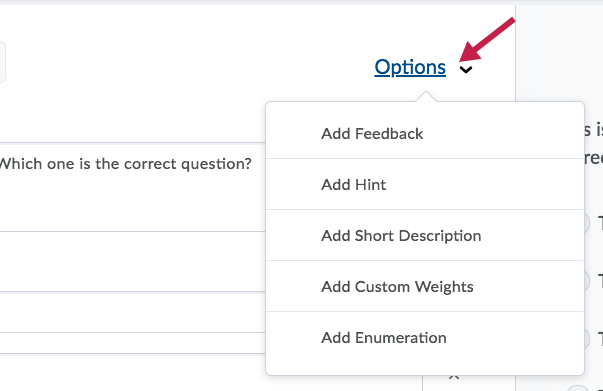
- [Add Feedback] will allow you to add feedback for each answer, and for the question overall.
- [Add Hint] will allow you to add a hint for the question.
- [Add Short Description] allows you to a title description to the question.
- [Add Custom Weights] will allow you give students weighted credit for each answer.
- [Add Enumeration] will allow you to add your desired enumeration to the answer choices.


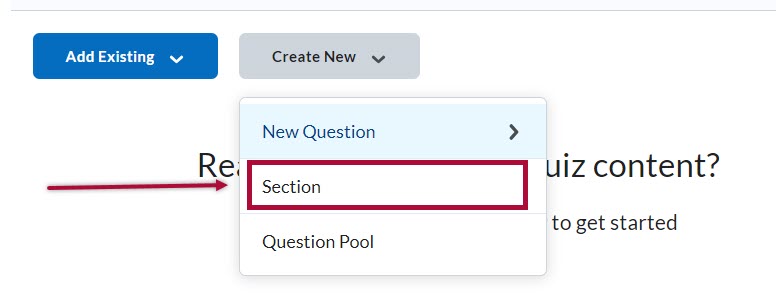
Create a New Section
NOTE: Sections are OPTIONAL, however they are very useful if you want to shuffle questions within a section (Ex: you can create a section for each chapter in your Final Exam), or if you wish to separate different question types.
- Click on [Create New] and choose [Section].
- Complete the section fields. You can choose to [Hide Section Title from students] on this screen, you can also choose to [Shuffle questions in this section]. You will see a preview of what the section header will look like on the right side of your screen.
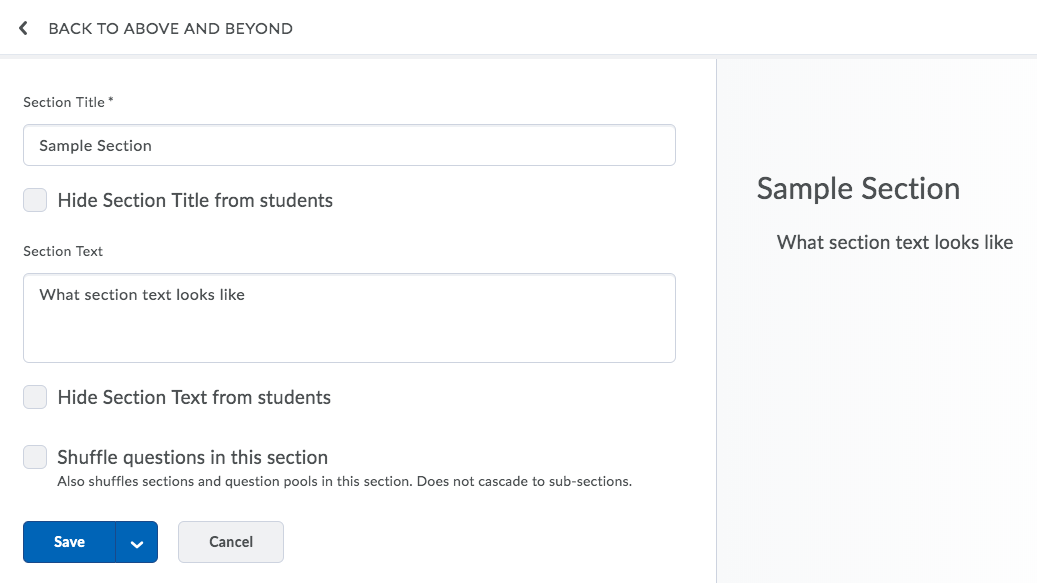
- Click [Save] to save your section, and you will be returned to the Add/Edit Questions screen for your quiz.


Create a Question Pool
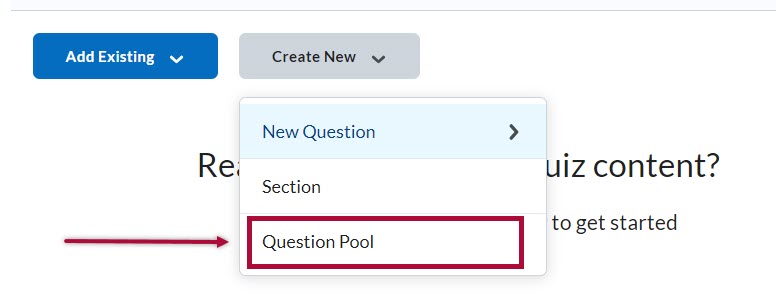
- Click [Create New] and choose [Question Pool].
- Fill in the title of the Question Pool, enter the number of questions to select on each quiz, and how many points you want each question to be worth.
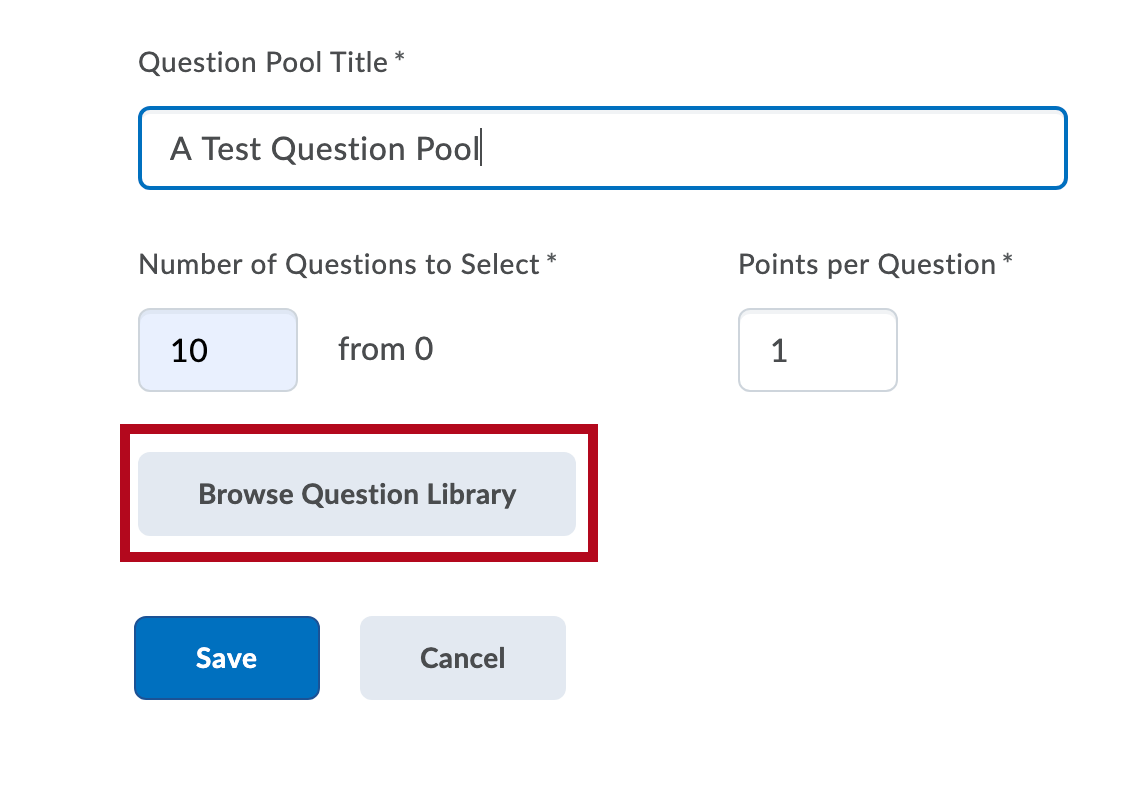
- Click [Browse Question Library] to add questions to the Question Pool.
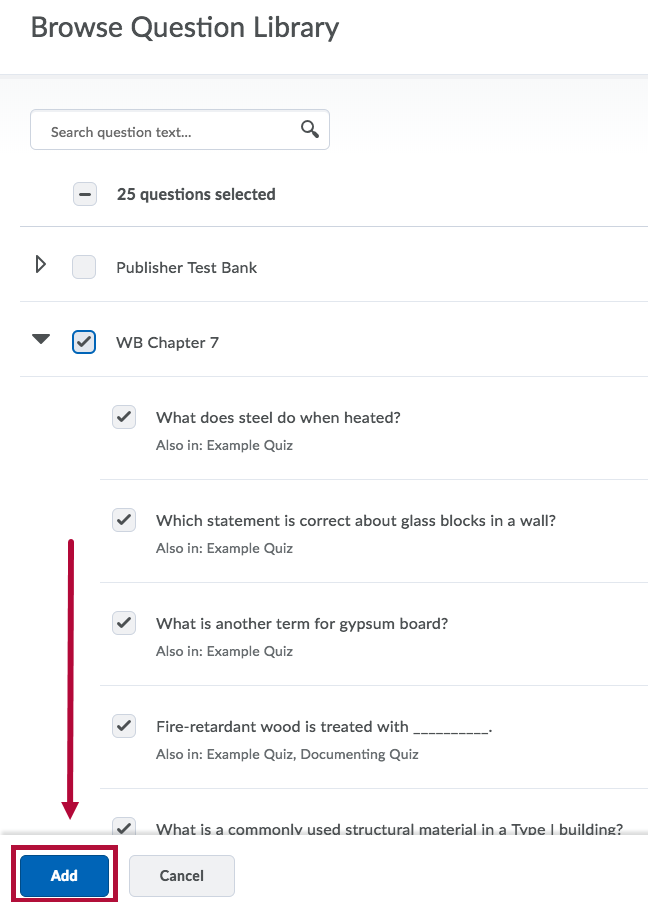
- Choose the questions you would like to add to your Question Pool, then click [Add].
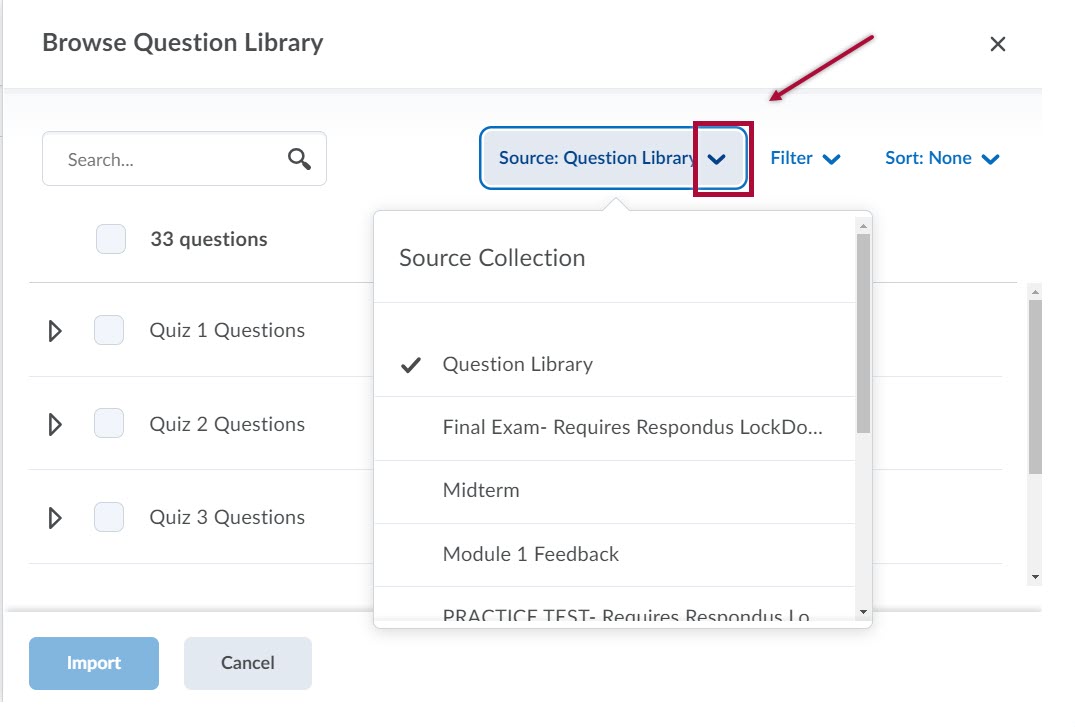
- It is possible to add questions from other quizzes to the question pool. On the [Source: Question Library] field choose the desired quiz from the dropdown menu and select the desired questions.
- When you return to the question pool screen, make sure all the options are filled in and then click [Save].


Importing Quiz Questions
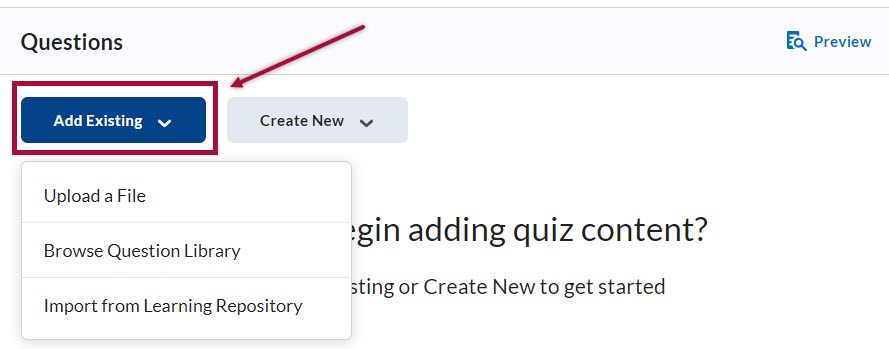
- Click [Add Existing] on the Edit Quiz page.
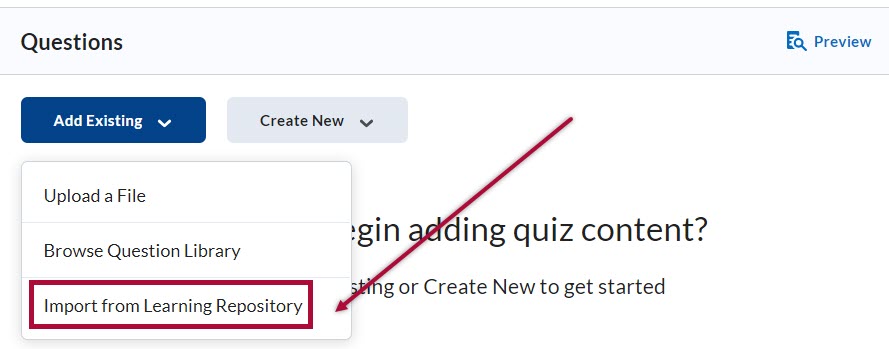
- Choose from the following selections: [Upload a File], [Browse Question Library] or [Import from Learning Repository].

Import Questions by Uploading a File
NOTE: The Import Zipped Content procedure described in the link is a preferred method of importing zip files.
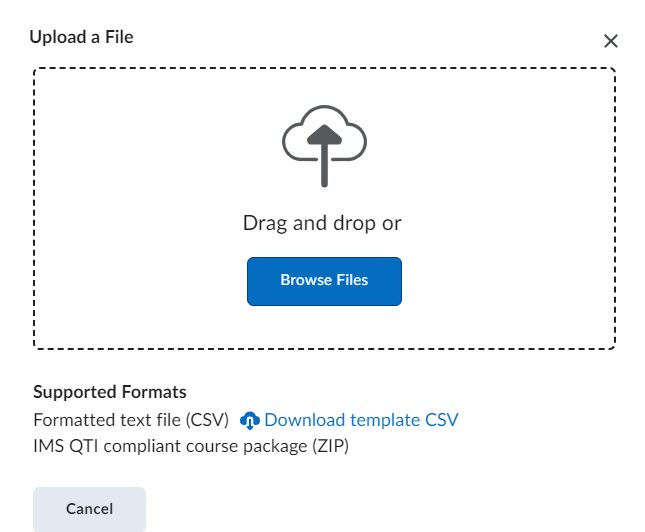
- Click [Add Existing] and select [Upload a File].
- Click [Browse Files] or drag and drop the file in the drop zone. This option supports importing ZIP files or specifically formatted CSV files.
- Once the file has been successfully uploaded, you will see a green checkmark.
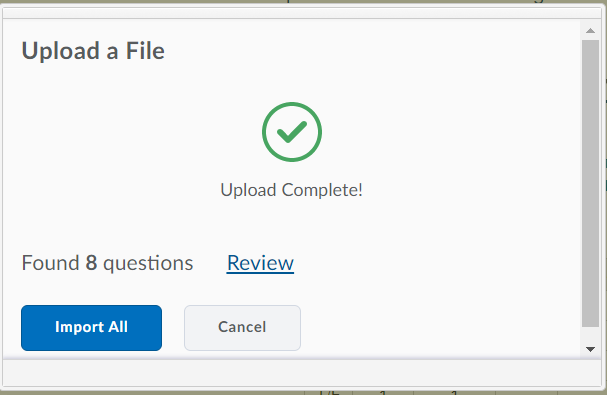
-
Click [Import All], or click [Review] to individually select questions to import.


NOTE: For individualized help with importing or creating questions, contact your local Online Services representative. See Meet Your Online Services Representative for contact information.
Import Questions by Browsing the Question Library
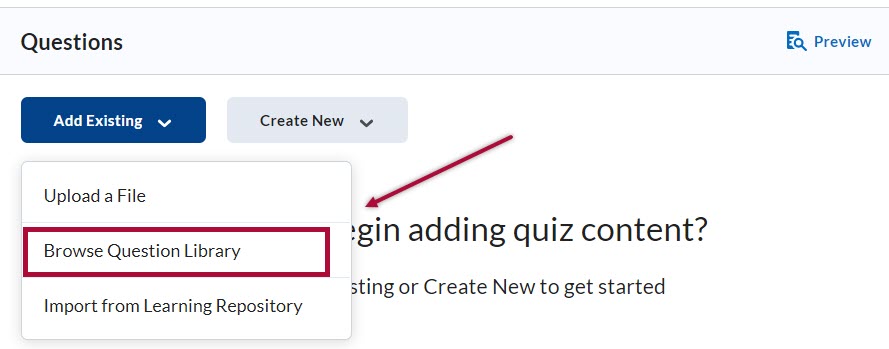
- Click [Add Existing] and select [Browse Question Library].
NOTE: When you import questions from the Question Library, your quiz will contain a copy of the questions, not the original questions.
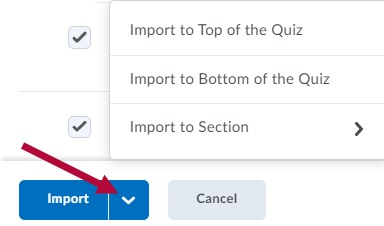
- Select the quiz questions to include in the import and click [Import] to place the questions at the bottom of the quiz. You can also click the arrow beside Import to select where the questions will be added.
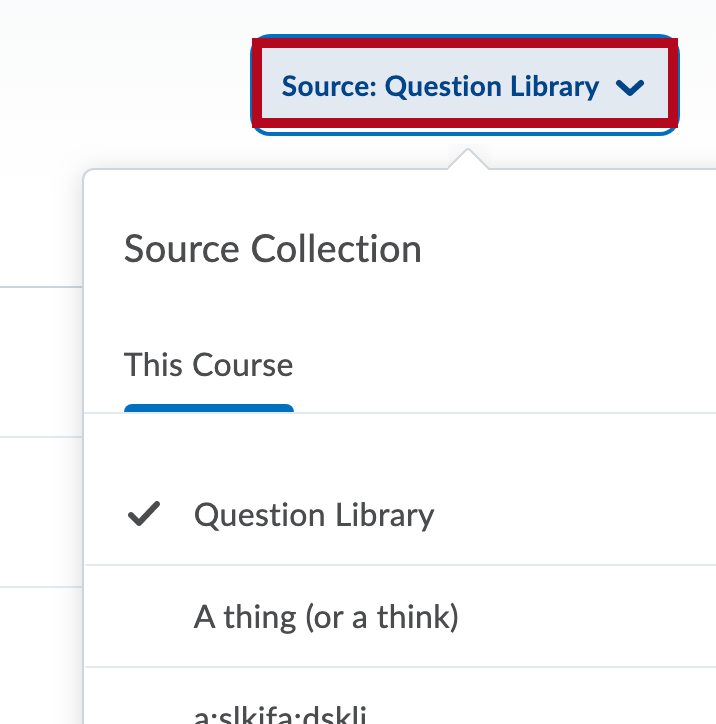
- You can also import questions from other quizzes or surveys in the course. In the [Source:Question Library] drop-down list, select the source where the existing questions reside.
- In the Source [Filter] dropdown list, choose [Filter by] and check the box next to the type of questions you would like to import (e.g., True or False, Multiple Choice, Matching, Short Answer or Multi-Select).
- In the Sort dropdown list, select the option you want to sort by.

- Select the questions you want to import, then click [Add].


Import Questions from Learning Repository
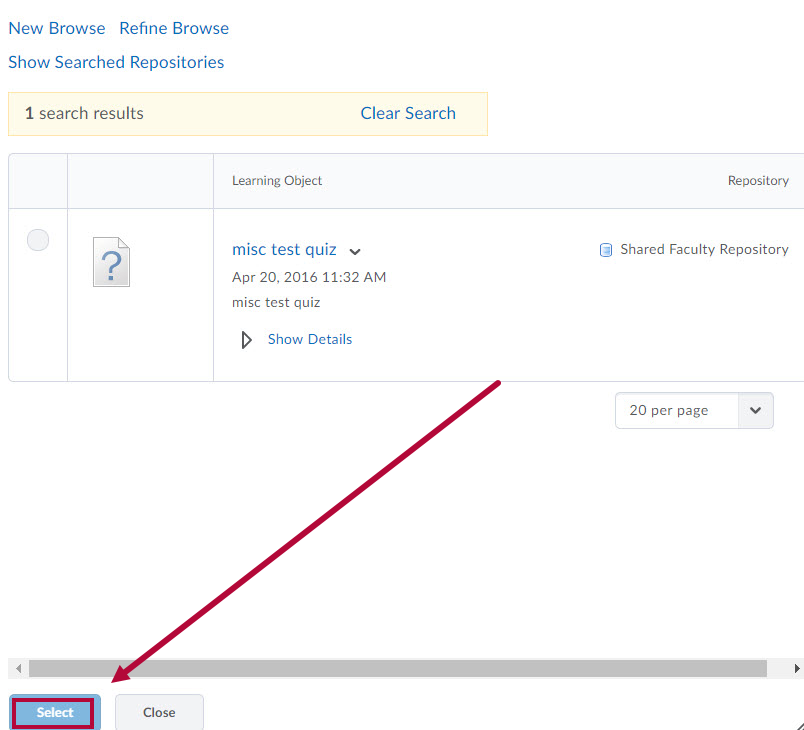
- Click [Add Existing] and select [Import from Learning Repository].
- Search the online repository for questions to import.
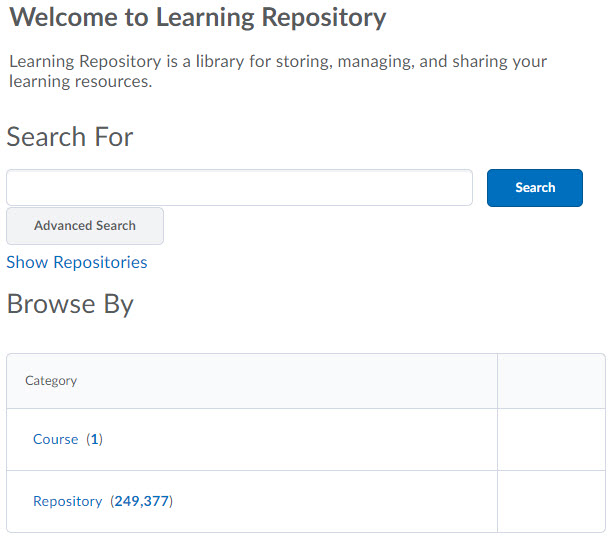
- Select a quiz under Category.
- Click [Select] to import from Question Library.


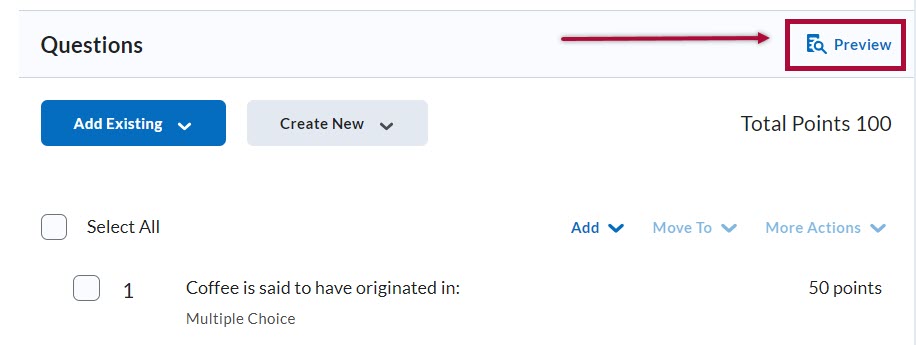
Preview the Quiz from Add/Edit Questions
To preview the quiz, click on [Preview] on the quiz editing page. The quiz preview will open in a new browser tab.
NOTE: The following question types now automatically filters out JavaScript and non-standard HTML: Likert, Ordering, Matching, Fill in the Blanks, Short Answer, Multi-Short Answer, Arithmetic, and Significant Figures. For existing questions containing JavaScript and non-standard HTML, the questions continue to display as intended until an instructor edits and saves the questions, which removes the JavaScript and non-standard HTML.
D2L recommends reviewing all question types containing JavaScript and non-standard HTML and modifying as needed, ensuring that the questions display as intended for learners.
Toggle a Quiz Question as Bonus
- Go to the [Course Activities] menu in the navbar and select [Quizzes].
- On the Manage Quizzes page, click the title of the quiz.
- Select the questions you want to set as bonus, then click [More Actions] and select [Toggle Bonus].

- The label BONUS will appear under the question points.
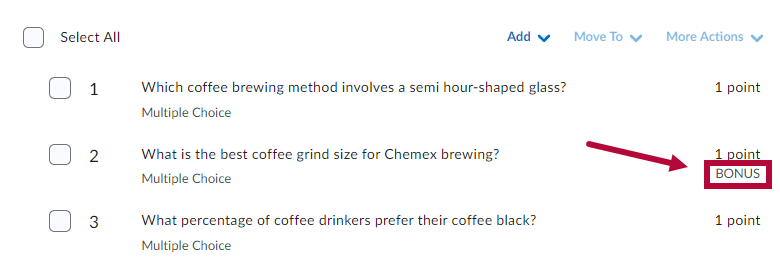
NOTE: Randomly drawn questions from a Question Pool cannot be marked as bonus. The bonus value is equal to the points value assigned to the quiz question.


Toggle a Quiz Question as Mandatory
- Go to the [Course Activities] menu in the navbar and select [Quizzes].
- On the Manage Quizzes page, click the title of the quiz.
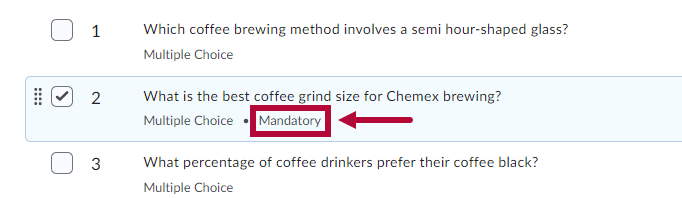
- Select the questions you want to set as mandatory, click [More Actions] then select [Toggle Mandatory].

- The label Mandatory will appear below the listed question.


Attach a Rubric to Written Response Question
- Go to the [Course Activities] menu in the navbar and select [Quizzes].
- On the Manage Quizzes page, click the title of the quiz.
- Select the Written Response question for which you want to attach a rubric.

- Select [Add Rubric] and choose between two options:
- Select [Create New] to create a new rubric.
- Select [Add Existing] to choose one of your previously created rubrics. In this example, we will select Add Existing
.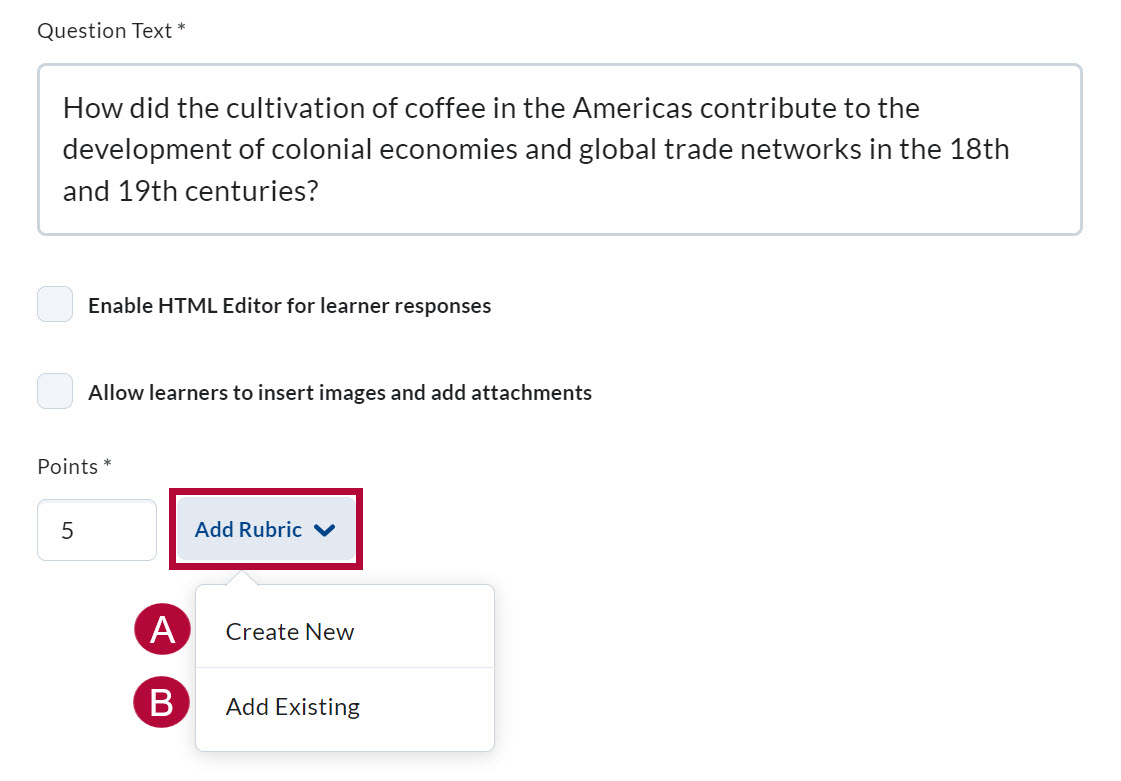
- Select [Create New] to create a new rubric.
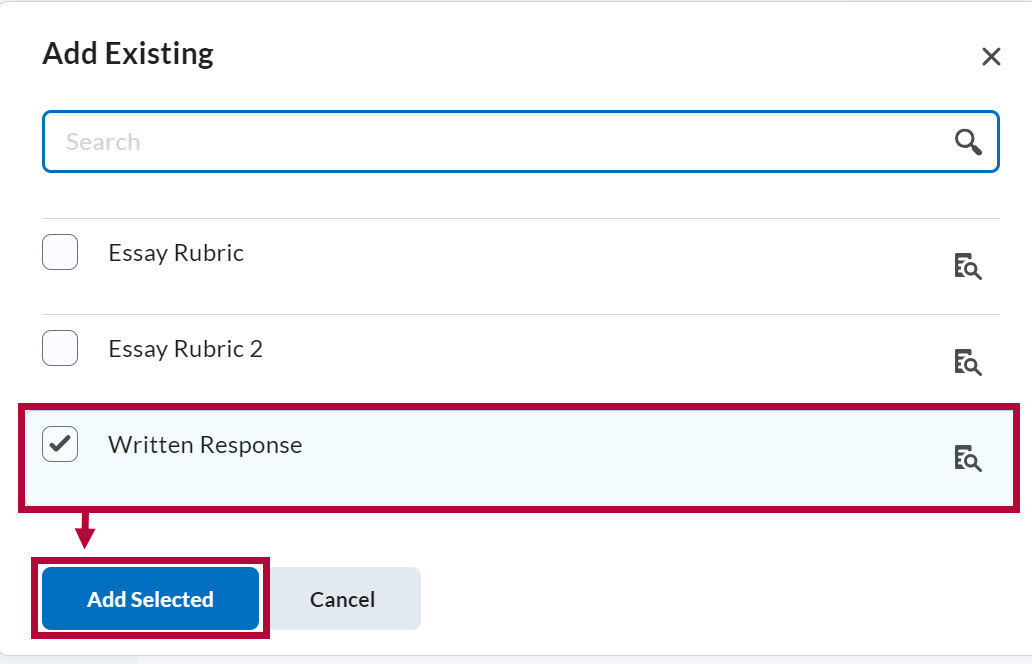
- Select the Rubric you want to add and select [Add Selected].
NOTE: Only Published rubrics will appear as choices. If you do not see the rubric you wish to add, you may have to set the rubric to Published
- The Rubric you added will display under Rubrics. Select [Save] when finished.

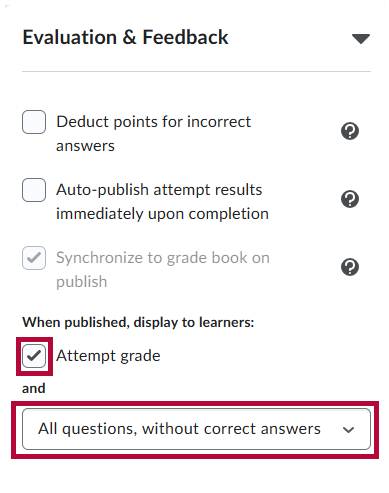
- Verify that in the Quiz Settings, the Evaluation & Feedback setting for When published, display to learners is configured to show questions. If the questions are not showing, the rubric will not be visible to students. We recommend selecting [All questions without correct answers].