To Access the Form: Scroll down to the red button under Ready to fill out the form?.
Alternatively, you can access this form by selecting [VTAC Self-Service Forms] in the upper-left navigation menu, then choose the appropriate form from the list.
The Merge Course Rosters form allows you to combine multiple section rosters into one D2L course.
- What is the purpose of merging course rosters?
- If an instructor is teaching the same course material across multiple sections of the same course, it is easier to maintain one shell of the courses. Merging course rosters would be useful in these scenarios.
(Example: ENGL 1301 5302 can be merged under ENGL 1301 5301).
- If an instructor is teaching the same course material across multiple sections of the same course, it is easier to maintain one shell of the courses. Merging course rosters would be useful in these scenarios.
- When should you merge course rosters?
- We recommend merging course rosters at the beginning of the semester, before the instructor has placed content into the courses.
- We recommend merging course rosters at the beginning of the semester, before the instructor has placed content into the courses.
- What courses can be merged?
- For courses to be merged, they need to be the same session, same campus, and have the same Start and End Dates.
- For courses to be merged, they need to be the same session, same campus, and have the same Start and End Dates.
- Why am I not seeing my courses in the [Select a Secondary Course] box?
- If you do not see your courses listed in the secondary course panel, it is possible that these courses are either still active, or contains Groups. A course must be inactive first before it can be merged, and contain no Groups.
- If you do not see your courses listed in the secondary course panel, it is possible that these courses are either still active, or contains Groups. A course must be inactive first before it can be merged, and contain no Groups.
- Should I merge my lecture and lab for the same course?
- If a lecture and lab section are being taught for the same course and you wish to merge the lecture and lab section, you want to designate the Lecture to be the Primary Course, and the Lab section as the Secondary Course.
NOTE: All content and grades in the Secondary Course will be LOST upon merging with the Primary Course.
To Merge Course Rosters (Classlists)
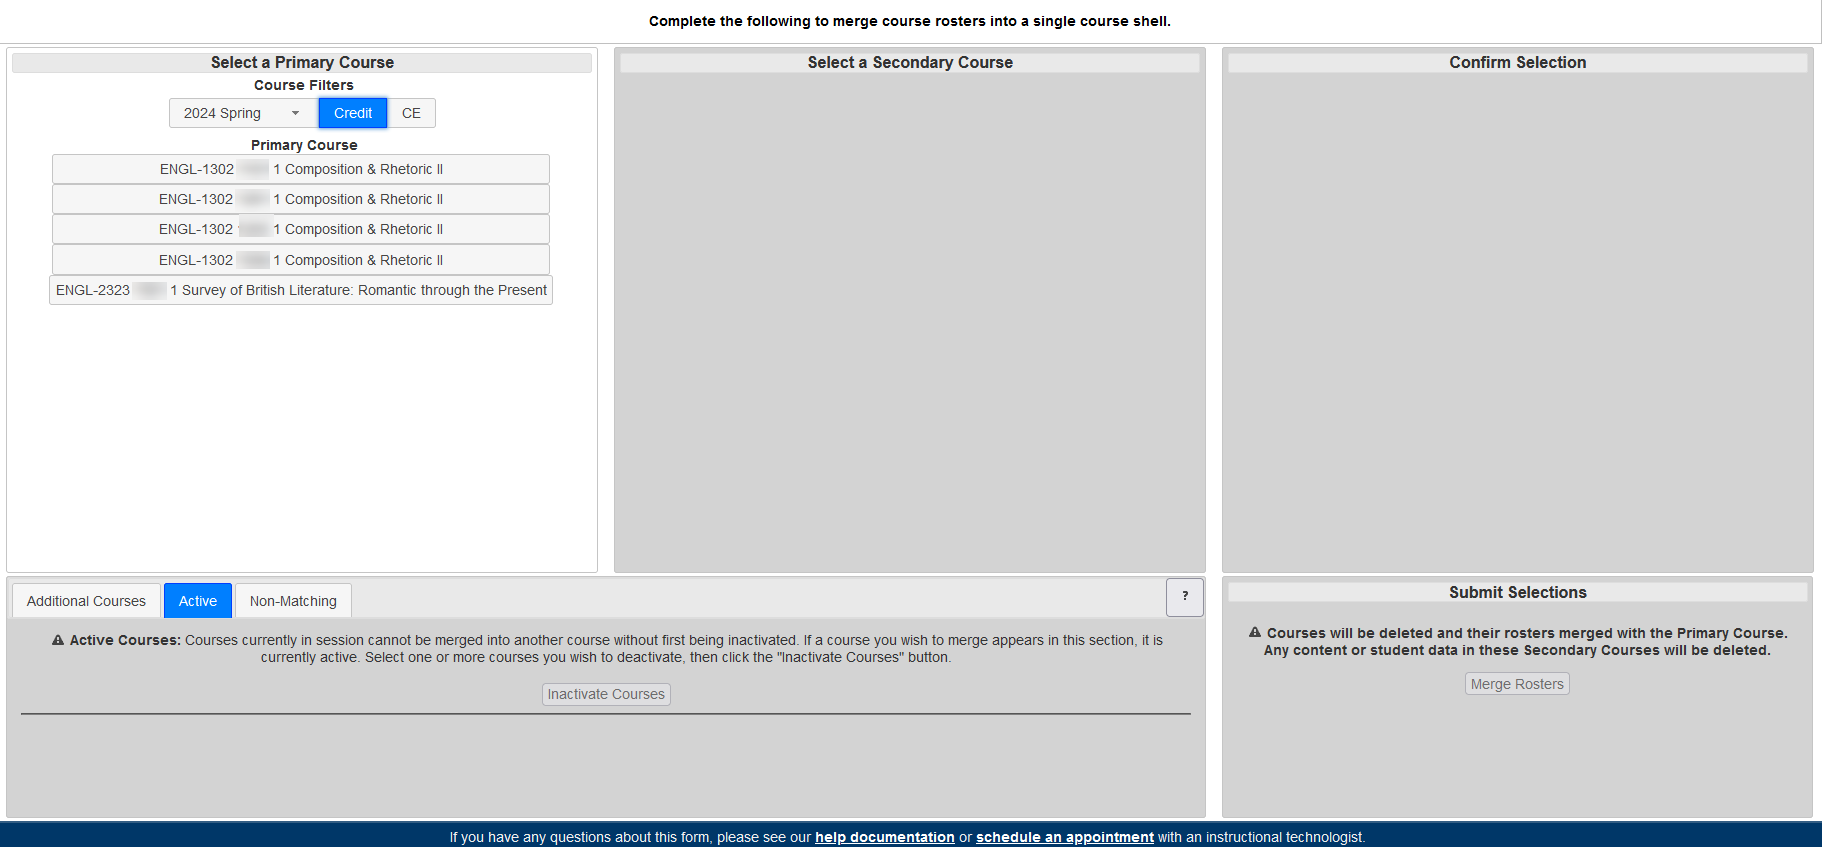
- In the new window that opens, under Course Filters, select the desired semester. Select [Credit] or [CE]. Select the desired Primary Course from the list of courses that appear.
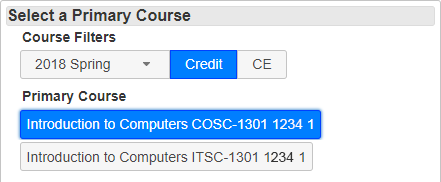
NOTE: If you intend to merge a Lecture and Lab together, please be sure to set the Lecture course as the Primary Course, and the Lab section as the Secondary Course.
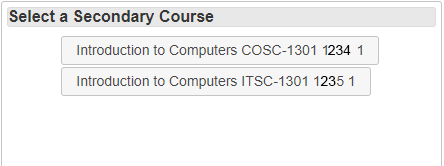
- The second (center) panel will show you all the secondary courses that are possible to merge with the primary course you selected in the previous step. You may combine more than one secondary course into the primary. Click all sections that you want to be combined.
NOTE: This process is difficult to reverse so make sure you are choosing the correct sections. If unsure contact LSC-Online staff through VTAC@lonestar.edu.
IMPORTANT:
1) If you do not see your courses listed in the secondary course panel, it is possible that these courses are already active, or they are considered to be Non-Matching sections. See instructions below for solutions.
2) Before merging, verify that there are NO groups in the Secondary Courses. Groups existing in the secondary courses during the merge will generate an error message in the SNOW queue: "Error=Groups Found"- Active courses will appear on the Active tab at the bottom of the form. Select the courses you want to inactivate and click the Inactivate Courses button.

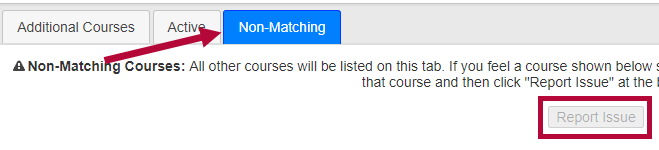
- Non-Matching sections will appear on the Non-Matching tab. Select the courses you would like to merge, and click the [Report Issue] button. This will generate a support ticket that will be resolved by an Instructional Technologist.
- Active courses will appear on the Active tab at the bottom of the form. Select the courses you want to inactivate and click the Inactivate Courses button.
- The third panel shows you a summary of what you have chosen - which secondary courses will be merged into the primary course.
- When the merge is performed, the secondary courses are deleted, and any content and student data in them is lost.
- If you have any doubts, stop now and look at the email and tools of the secondary course(s).
- Click the [Merge Rosters] button at the bottom right of the screen to merge your rosters.

Processing should only take a few moments but wait until you see an alert message that says the process is complete.
- Close the alert.


