There are several ways to take attendance using Qwickly Attendance. You can allow students to check in themselves using a web browser or you can manually enter attendance yourself.
Check In
- Select [Course Activities] on the navbar and choose [Qwickly Attendance]. A new window will open for the Qwickly Attendance tool.
- Select [Attendance] in the menu on the left-hand side of the page and select [Check In] to allow students to check in through a web browser on their own devices.
- Select the [Start Check In] button to begin the session.
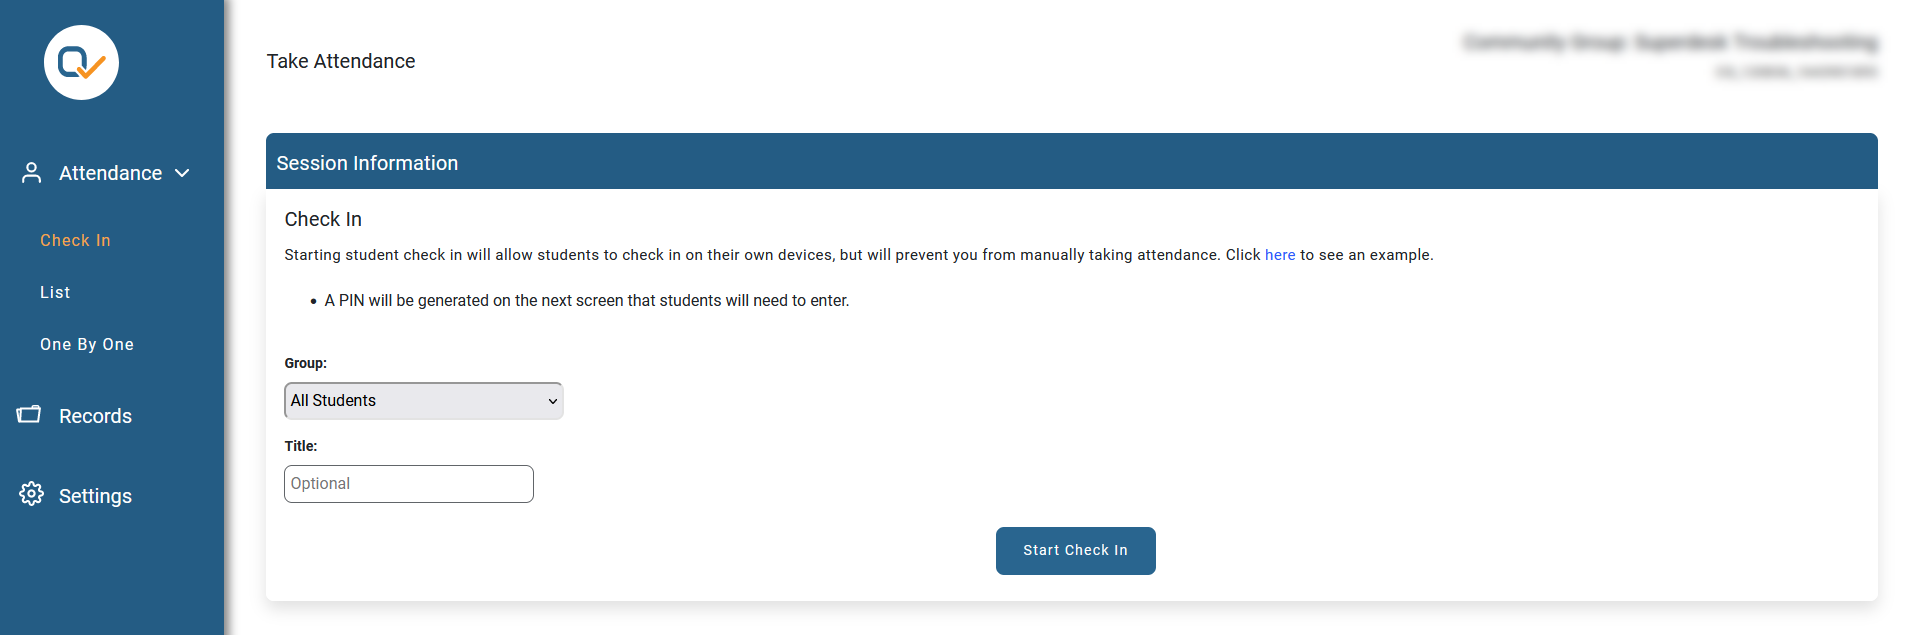
- Group - The Group option will only appear if you have created Groups in your course.
- Title - Give the session a name.
-
Selecting the [End Check In] button will end the session and take you back to the previous page.
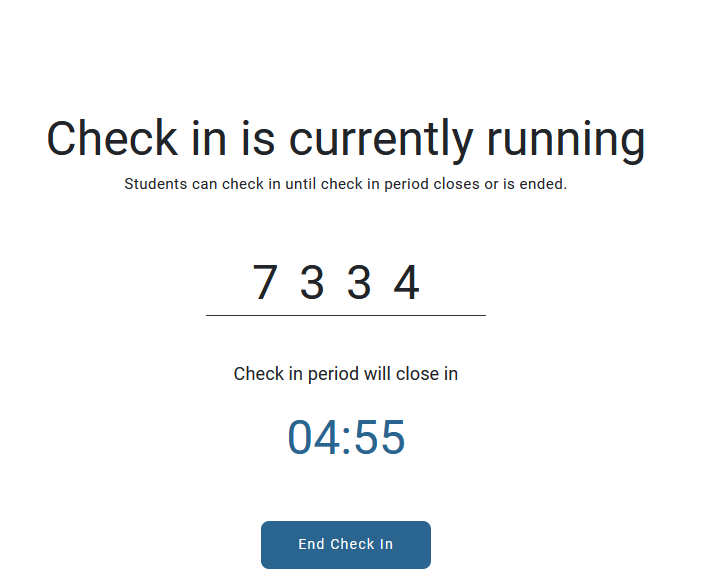
- A PIN and Timer will only appear if you previously enabled them in Settings - see Set Up Qwickly Attendance.
- A PIN and Timer will only appear if you previously enabled them in Settings - see Set Up Qwickly Attendance.
-
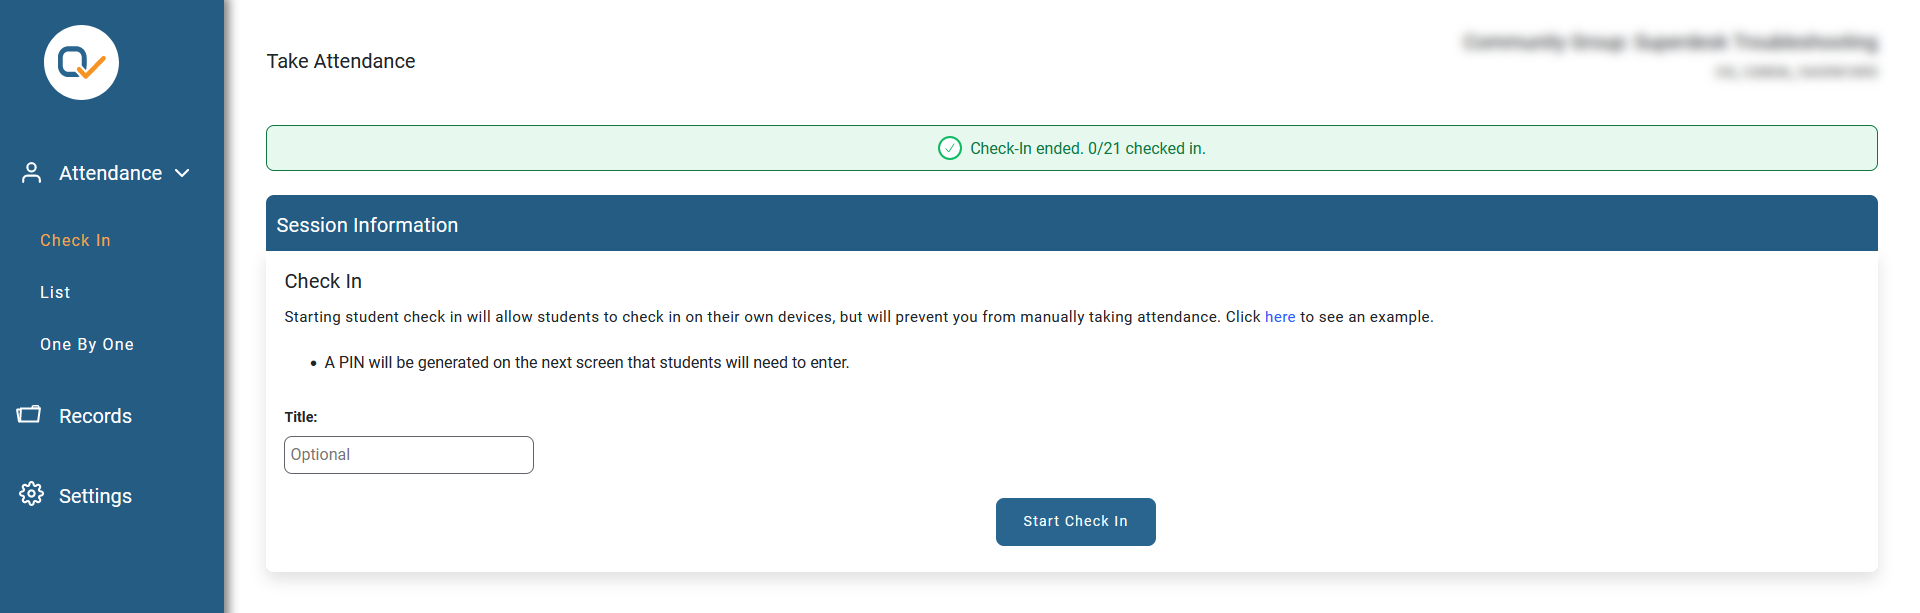
The green box at the top of the page will tell you the number of students that checked in.


List
- Select [Course Activities] on the navbar and choose [Qwickly Attendance]. A new window will open for the Qwickly Attendance tool.
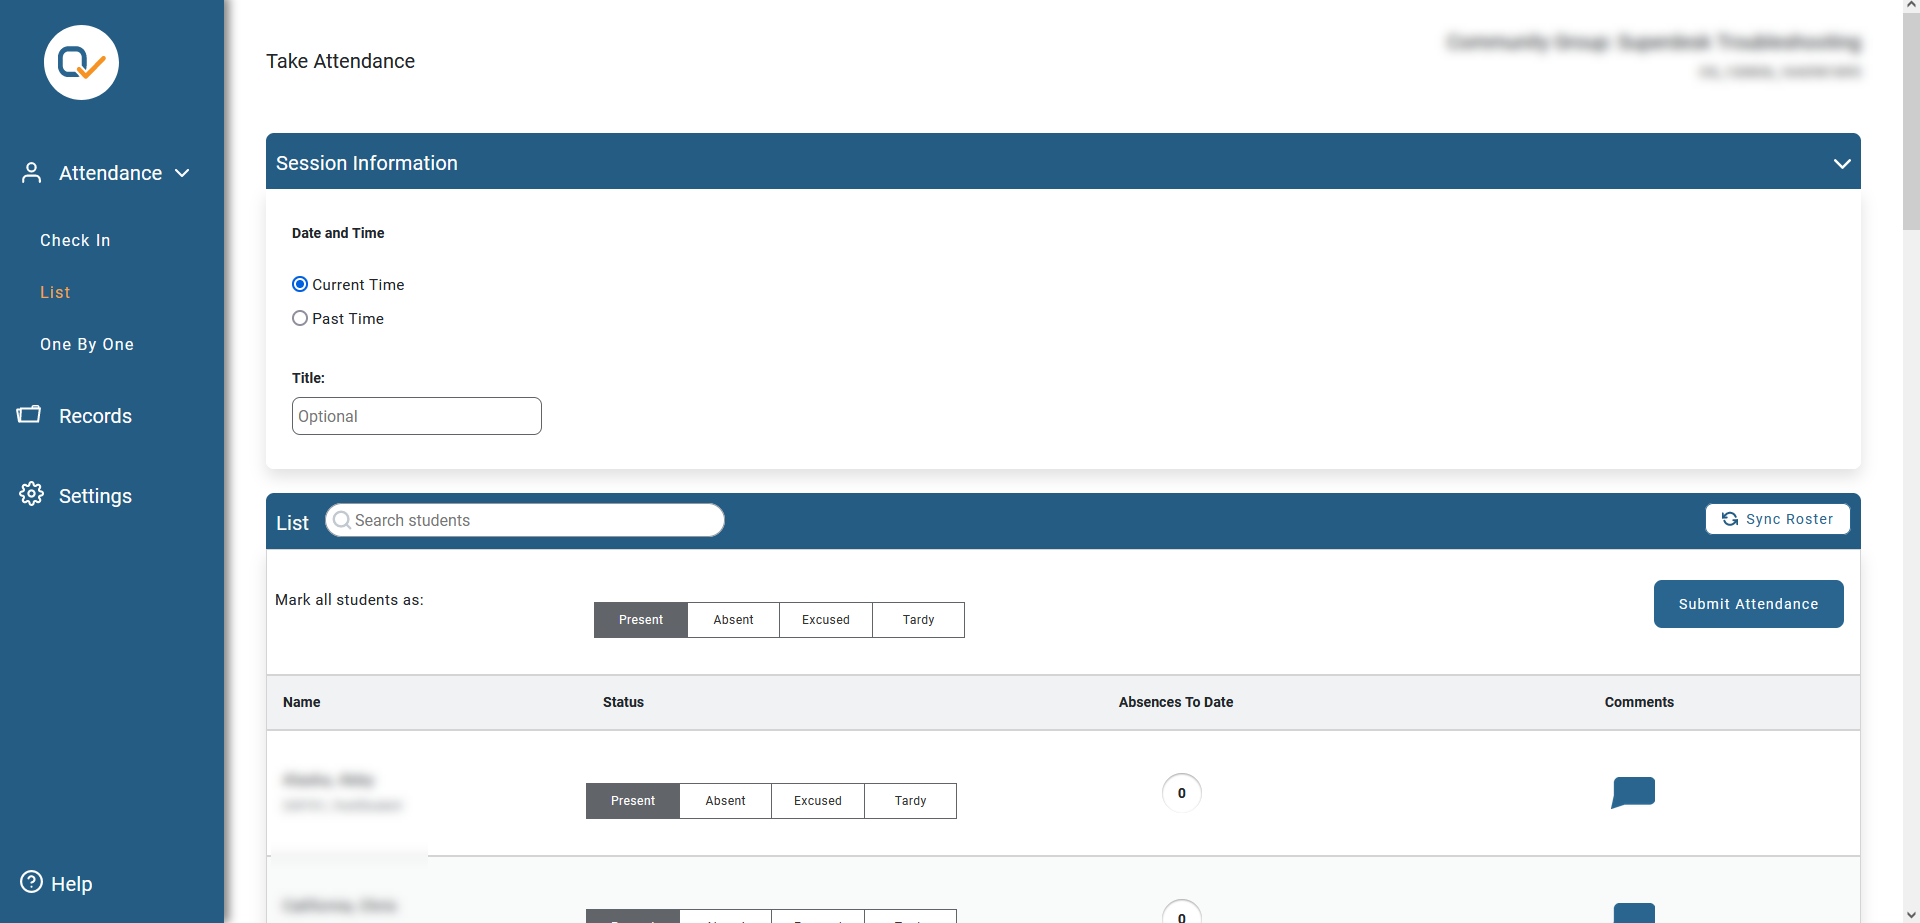
- Select [Attendance] in the menu on the left-hand side of the page and select [List] to manually enter student attendance yourself.
- Under Session Information, you can choose the Current Time or enter a Custom Time, and then give the session a Title if desired.
- Under Session Information, you can choose the Current Time or enter a Custom Time, and then give the session a Title if desired.
- To take attendance you can freely choose on any status for each student.
- You can also comment on each student's status by selecting the blue chat icon.
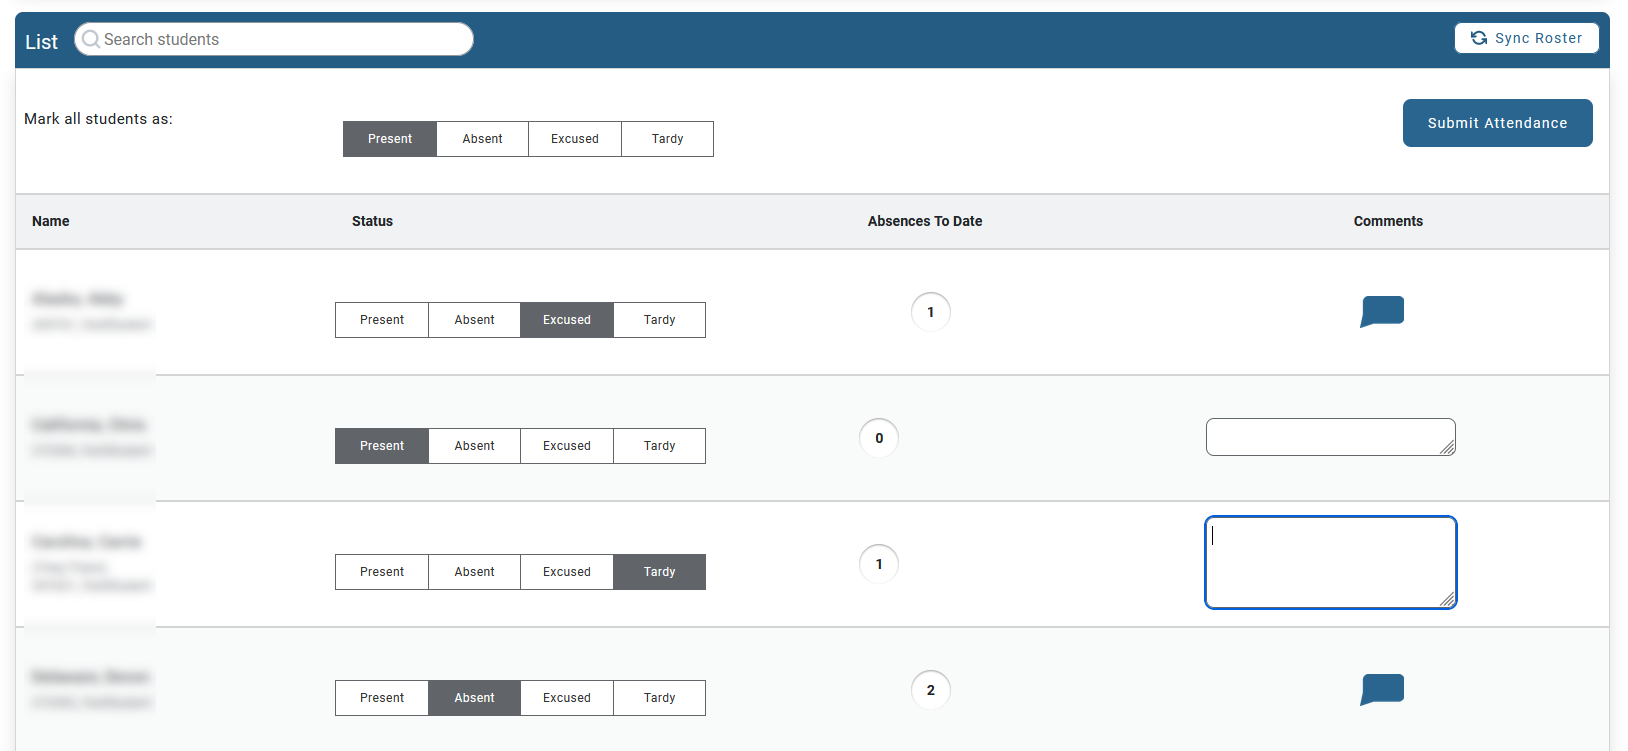
-
Once you have marked the attendance for all students, select the [Submit Attendance] button at the top of the list.


One By One
- Select [Course Activities] on the navbar and choose [Qwickly Attendance]. A new window will open for the Qwickly Attendance tool.
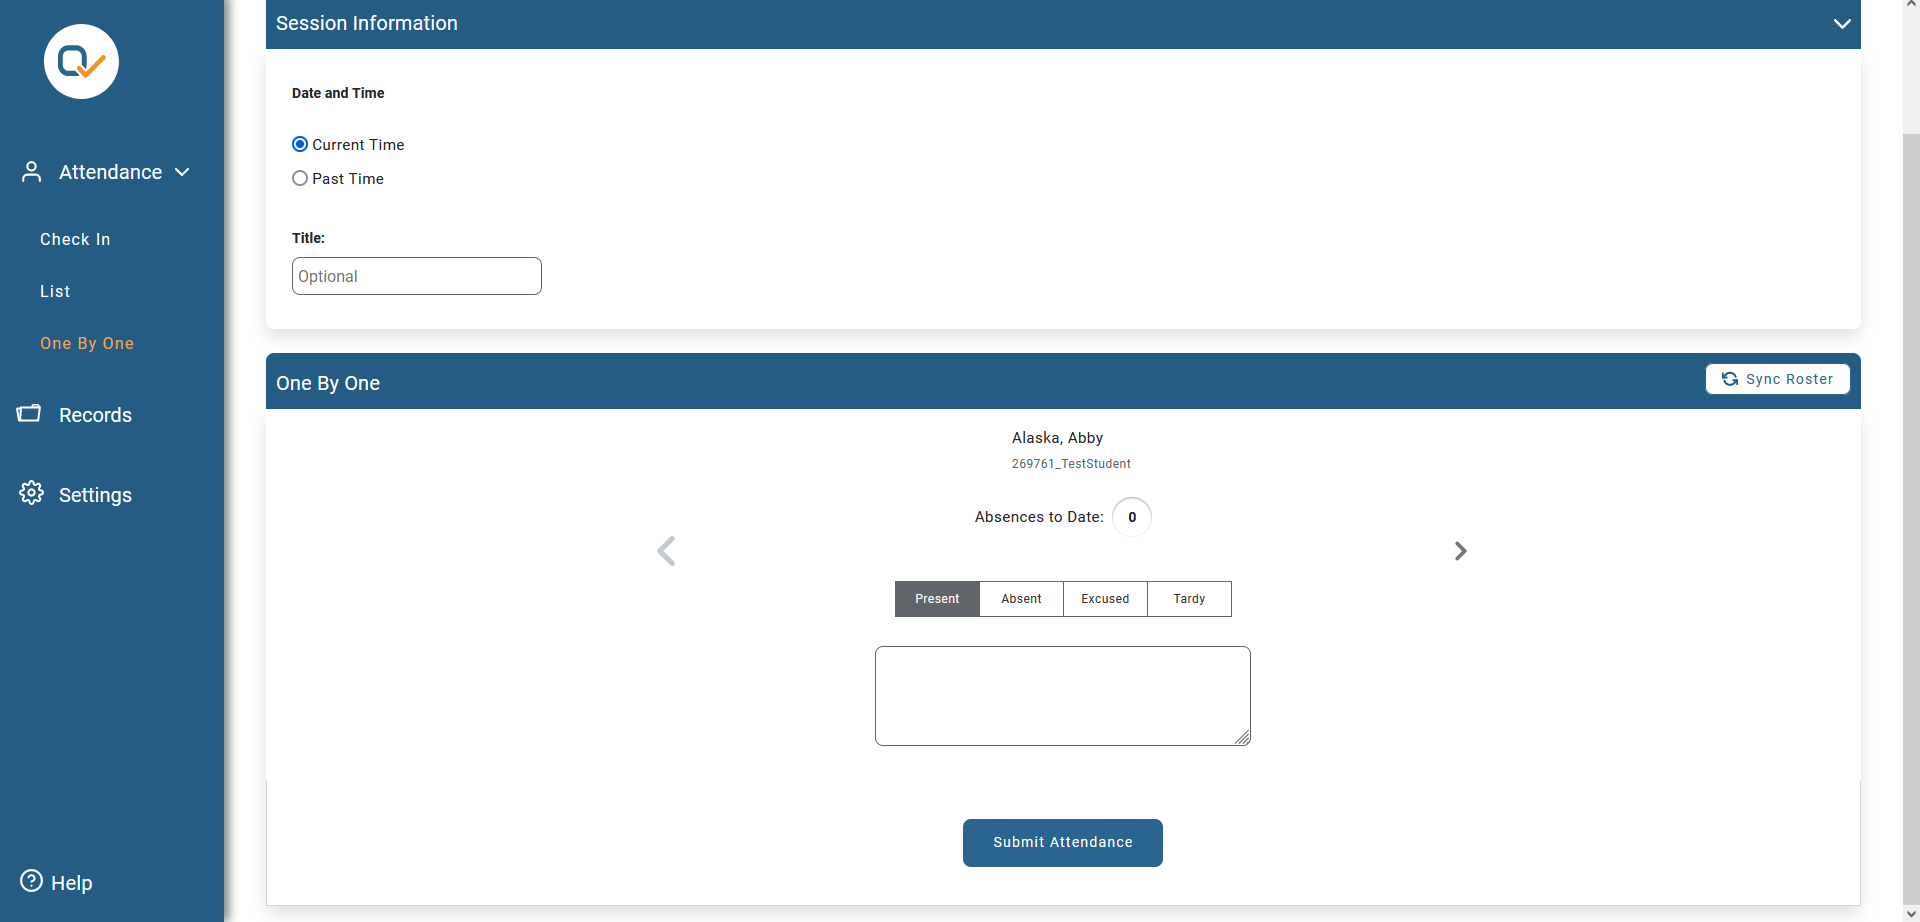
- Select [Attendance] in the menu on the left-hand side of the page and select [One By One] to display a single student at a time.
- Under Session Information, you can choose the Current Time or enter a Custom Time, and then give the session a Title if desired.
- Under Session Information, you can choose the Current Time or enter a Custom Time, and then give the session a Title if desired.
- To take attendance you can freely choose the status of each student and select the arrows to move from student to student.
- Select the [Submit Attendance] button at the bottom of the screen once you have marked the attendance for all students.