Intelligent Agents are tools that can be used to track certain student behaviors. You can use these agents to identify students who are not actively participating in the course, who have missed important assignments, or whose scores on quizzes or assignments are low. Once those students are identified, you can follow the Early Alert for Faculty Job Aid (Reviewer, Faculty, Staff) job aid to submit an early alert form.
For other uses of Intelligent Agents, see D2L's Intelligent Agents Templates.
Updating the the "From" and "Reply-To" Fields in Settings
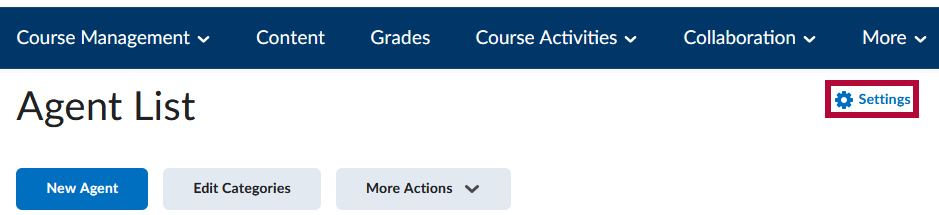
- To change the From and Reply-To fields in the email so that messages appear that they are sent by the instructor, and for student replies to be delivered to your inbox, go to the [Settings] link in the top right corner.
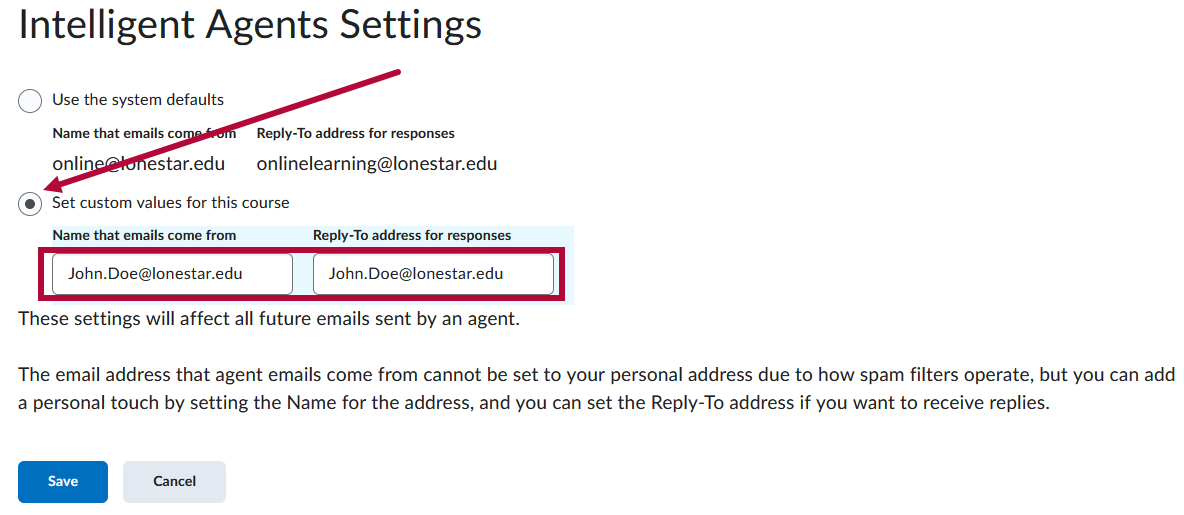
- Choose the [Set custom values for this course] option, then enter the email address you would like the emails to come from and the email address you'd like to use as the Reply-To addresses.
NOTE: This will allow students to reply to an IA email. Otherwise, they get a bounce back error. - The user-specific data is not transferable when the Intelligent Agent is copied from one course to another. This is due to the fact that the data is tied to the user account. Hence, it is necessary to manually input the user-specific data, such as the instructor's name and email, in the settings of the Intelligent Agent for each course.

Setting Up an Intelligent Agent
- Click on [Course Management] and choose [Course Admin].
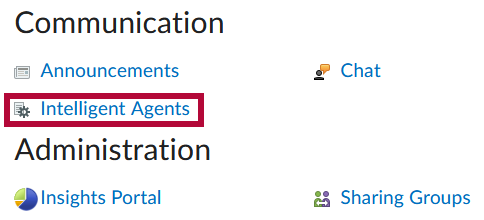
- Click on [Intelligent Agents].
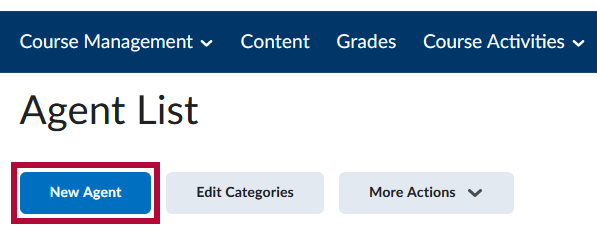
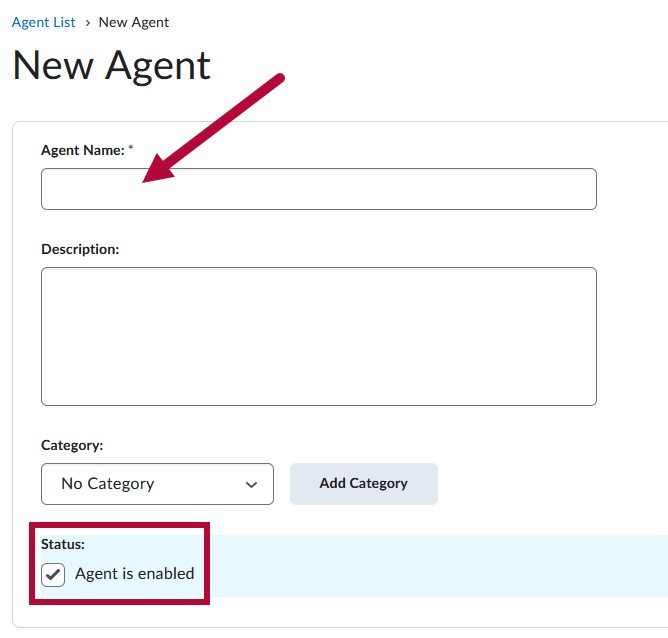
- Click [New Agent].
- Enter a name for your agent, and check the [Agent is enabled] checkbox.
- Under Scheduling, choose a Frequency to bring up options.
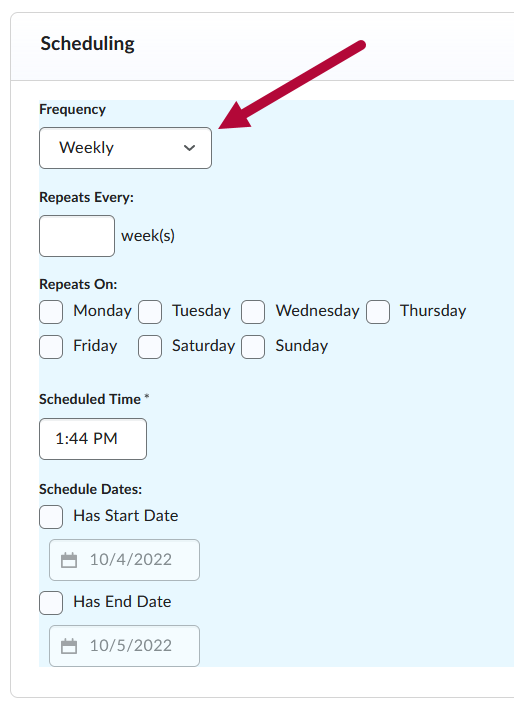
- A schedule will determine when the agent will run. With No Schedule selected for the Frequency, you will need to manually run the Intelligent Agent from the Agent List.
- Under Criteria, you can choose which users the agent evaluate and why.
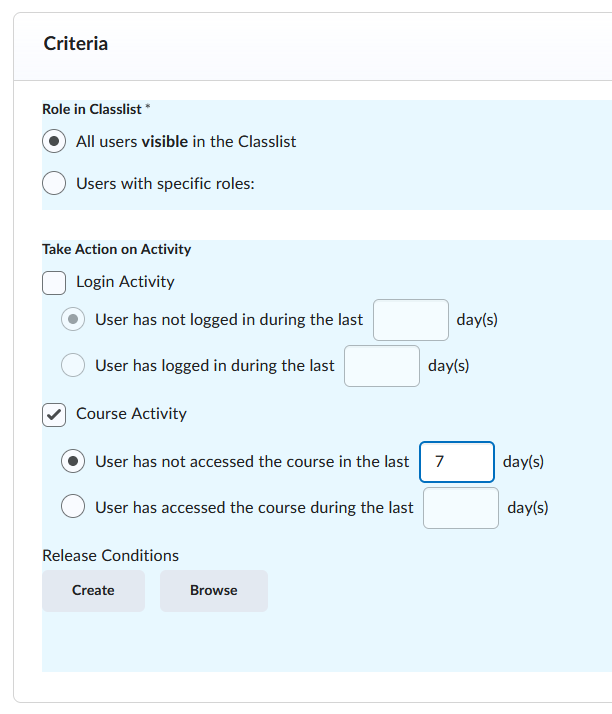
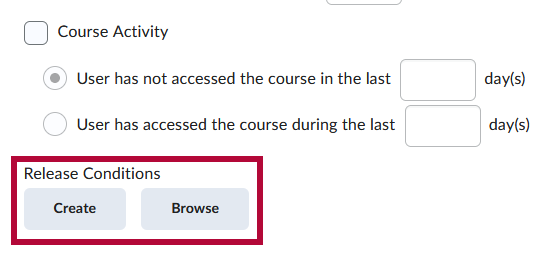
NOTE: Login Activity is when a user simply logs into D2L, while Course Activity is when a user goes inside the course. The activity options are useful for setting up Student Inactivity Alerts.
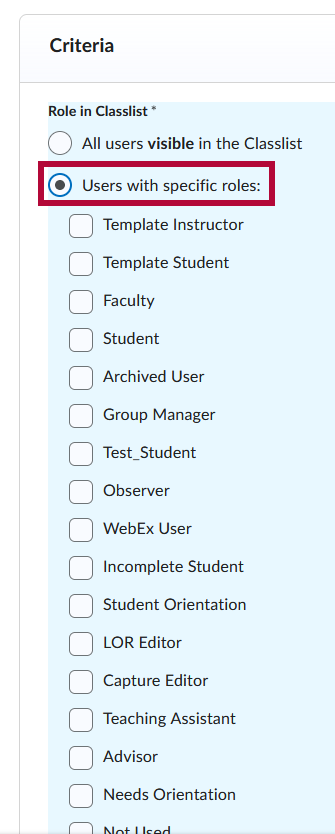
- The Role in Classlist options will allow you to choose specific users to have the agent evaluate. This will usually be [Student].
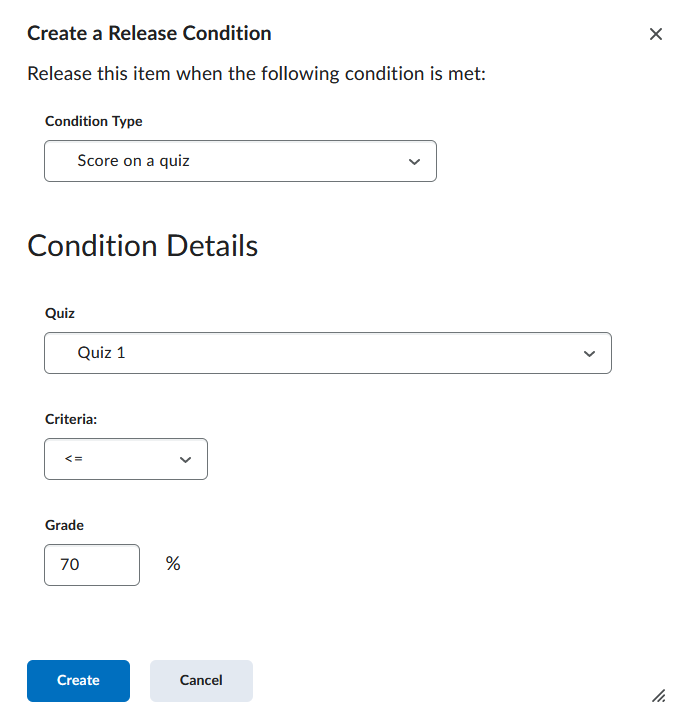
- You can also set release conditions that have to be met for the agent to be triggered. Examples include:
- A student has scored less than 50% on a quiz.
- A student has not completed an assignment.
- A student who has not visited a specific content module.
- To set the release condition, click [Create], or [Browse] if you already have release conditions created.
- Create a Release Condition.
NOTE: If you copy your Intelligent Agent to another course, you need to make sure you copy any attached Release Conditions (this will happen automatically if you copy the entire course).
- Under Actions. You can change the repetition to [Take action every time the agent is evaluated and the agent’s criteria are satisfied for a user].
- Click [Send an email when the criteria are satisfied]. With both this and the previous option selected, an email will be sent to the user every time they meet the criteria when the agent is run.
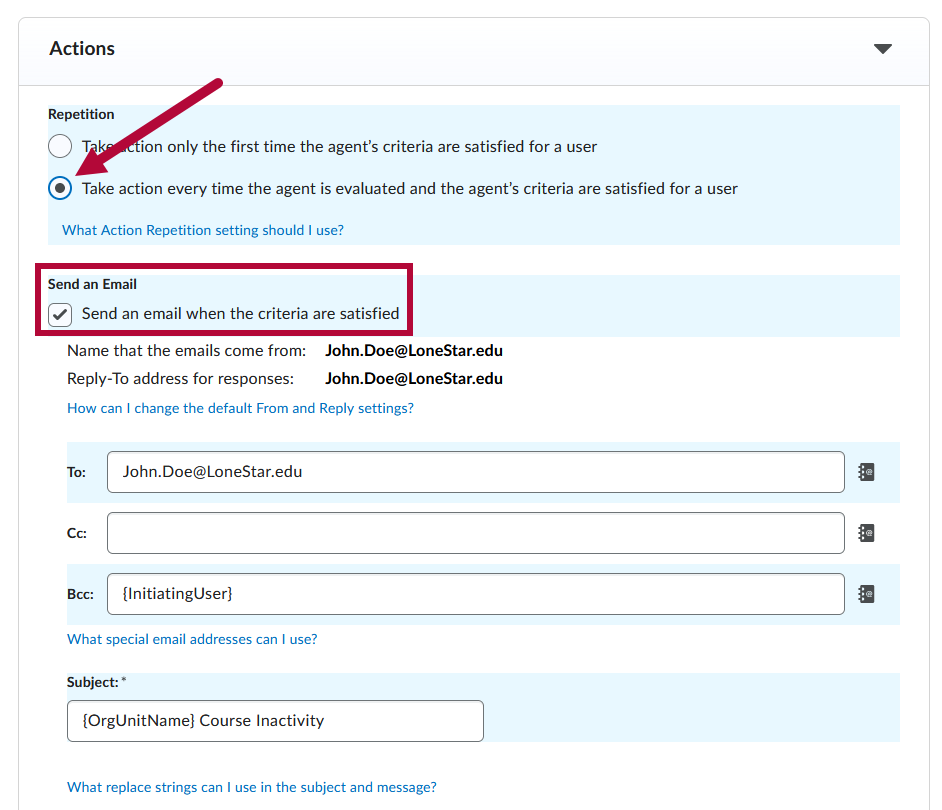
- Enter the email address(es) of those who need to be notified (e.g. the Instructor, an Online Student Advisor, the assigned Advisor for a specific HUMD/Developmental Education course, and/or the student).
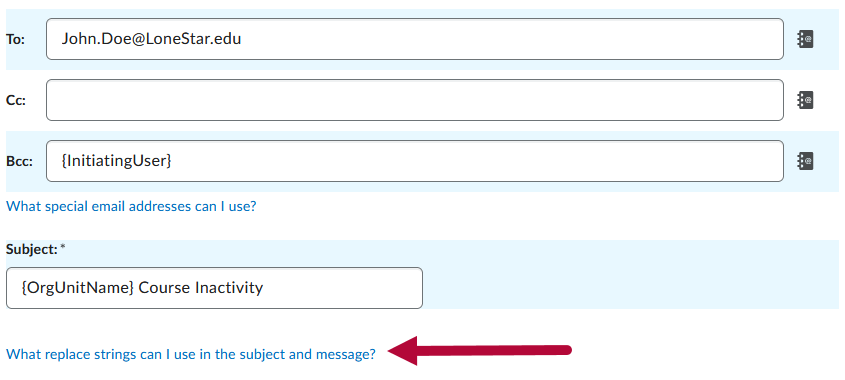
- To maintain privacy, {InitiatingUser} can be used in the Bcc field to send the email to the student(s) meeting the agent criteria.
- You can add your email address to the To field to receive a copy of every Intelligent Agent notification sent out.
NOTE: The "initiating user" is any student who performs the actions necessary to satisfy the agent's criteria.
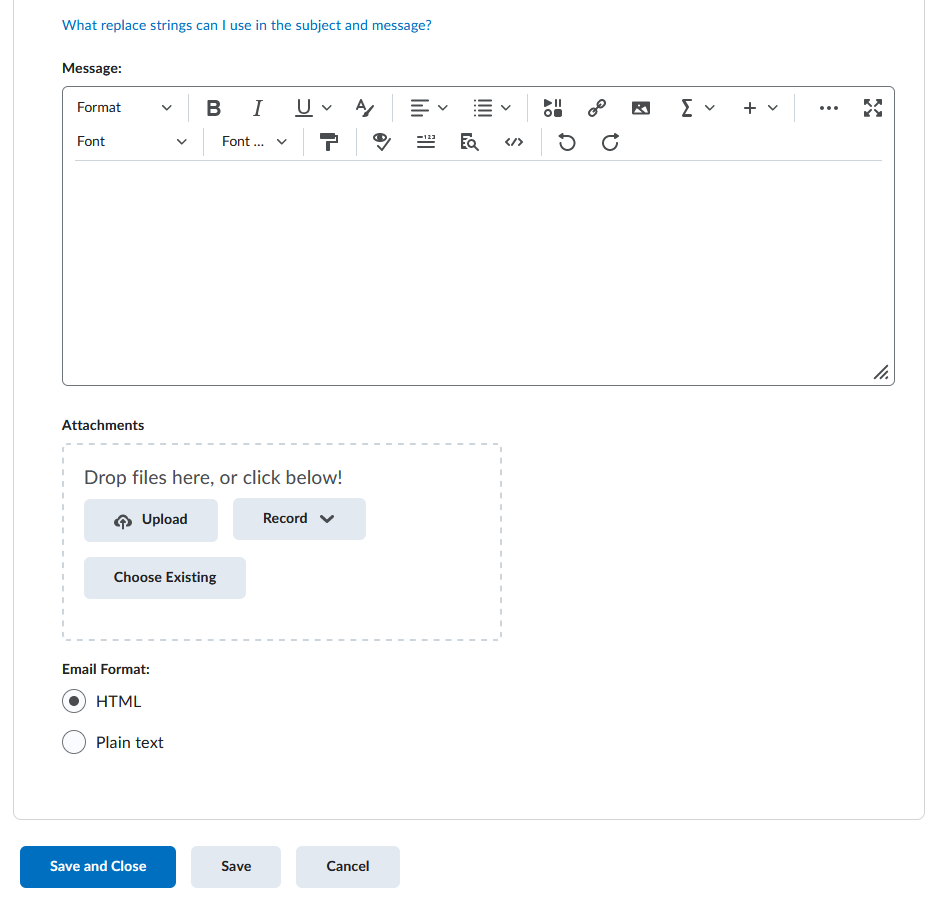
- To personalize a standard email for each recipient, enter the appropriate string. Click on [What replace strings can I use in the subject and message?] below the Subject textbox to see a list of possible strings or see functional strings below. (In these strings, the Org Unit is the course and the OrgDefinedID is the student ID.)
The following are replace strings you can use in the subject line and the email message:
{OrgName} - The name of the organization.
{OrgUnitCode} - The code for the org unit.
{OrgUnitName} - The name of the org unit.
{OrgUnitStartDate} - The start date specified for the org unit.
{OrgUnitEndDate} - The end date specified for the org unit.
{OrgUnitId} - The id for the org unit.
{InitiatingUserFirstName} - The first name of the initiating user.
{InitiatingUserLastName} - The last name of the initiating user.
{InitiatingUserUserName} - The username of the initiating user.
{InitiatingUserOrgDefinedId} - The Org Defined ID of the initiating user.
{LoginPath} - The address of the login path for the site.
{LastCourseAccessDate} - The date the initiating user last accessed the course.
{LastLoginDate} - The date the initiating user last logged in.
- Type the body of the email message. Click [Save and Close] when completed.


Testing an Intelligent Agent
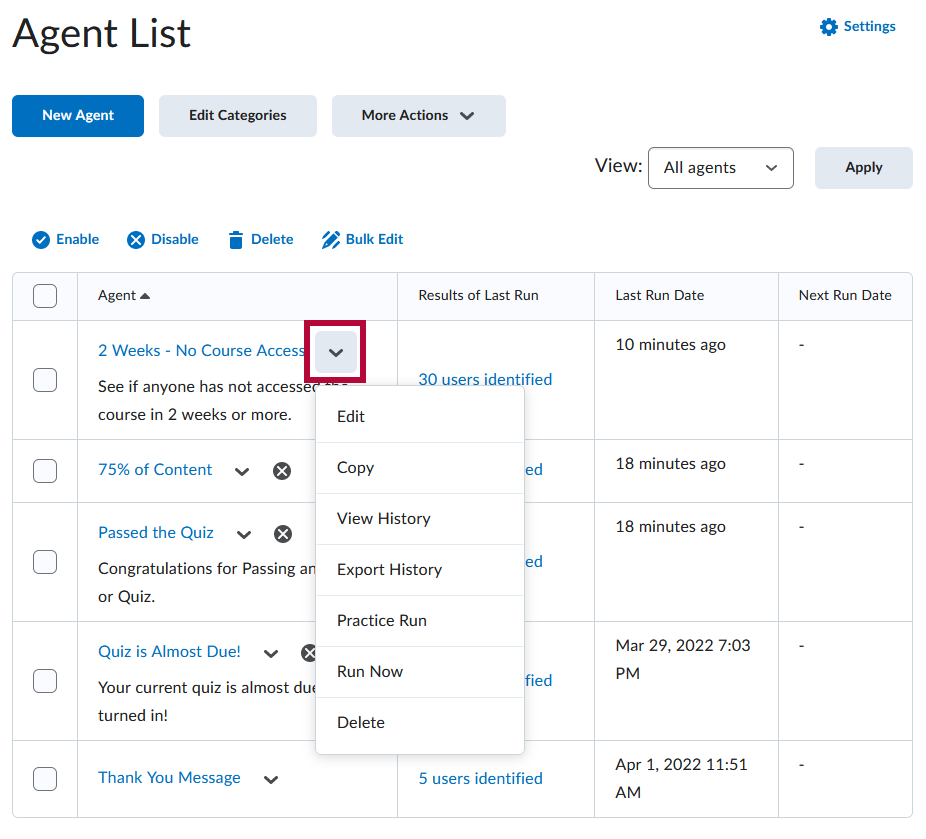
- From your list of Intelligent Agents, click the down arrow and choose [Practice Run] from the menu that appears.
- In the confirmation box that appears, click the [Run] button.
- Click the [Done] button from the confirmation page.
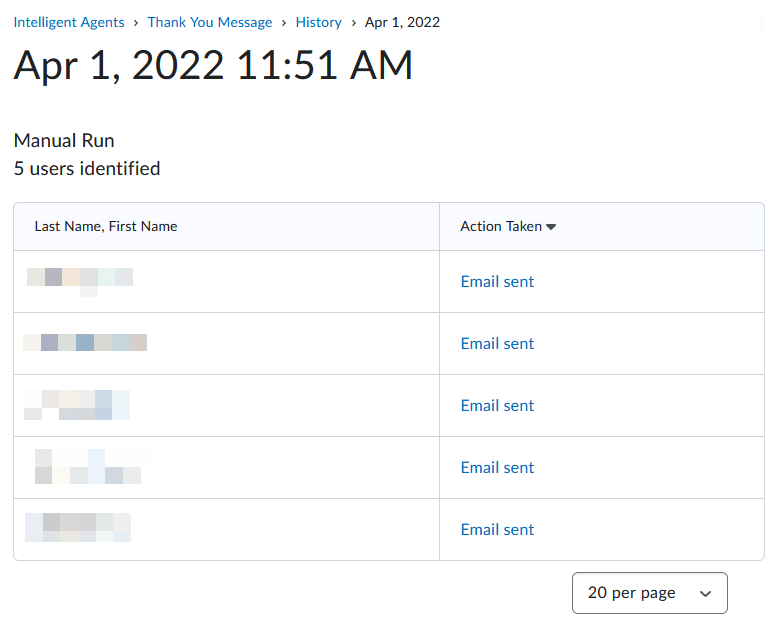
- Once you receive the email that the agent has finished running, select the [# users identified] link to see who the agent found.


NOTE: Choosing [Practice Run] will simply create a list of students that would receive an email if the Intelligent Agent were run. No email or notification is sent to the student when using Practice Run.
Editing an Intelligent Agent
- From your list of Intelligent Agents, click the name of the agent to edit, or click the down arrow and choose [Edit] from the menu that appears.
- Make desired changes to the Intelligent Agent.
- Click [Save and Close] at the bottom of the page.
Running an Intelligent Agent Manually
- From your list of Intelligent Agents, click the down arrow and choose [Run Now].
- In the confirmation box that appears, click [Run].
- Click [Done] from the confirmation page.
Bulk Edit and Offset Dates for Recurring Intelligent Agents
In addition to editing an intelligent agent in the Intelligent Agents tool, you can Edit and/or Offset multiple intelligent agents that have already been set up with both a recurring schedule (for example, daily or weekly) and either a Start Date or End Date, using the Manage Dates tool.
- For instructions on Editing multiple intelligent agents, see the Edit Dates Using Manage Dates article, and for instructions on Offsetting multiple intelligent agents, see the Offset Course Dates using the Manage Dates Tool.
NOTE: Intelligent agents that have a one-time run schedule, or repeat but have neither a Start Date nor an End Date, do not appear in Manage Dates and must be updated in the Intelligent Agents tool.