The attendance register is commonly used for classes that meet in a physical classroom, but it can also be used for recording attendance at required field trips or clinical events. Maintaining accurate records in D2L helps meet institutional requirements and provides documentation for grading and financial aid purposes.
Due to its ease of use and ability to connect to the gradebook, we recommend you use Qwickly Attendance instead of D2L's Attendance Tool.
Create a New Attendance Register
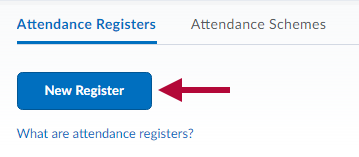
- Click on [Course Activities] -> [Attendance].
- Click [New Register].
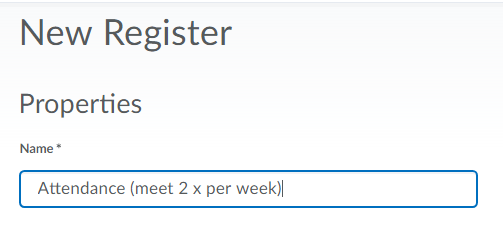
- Enter the Name of your register, such as Attendance.
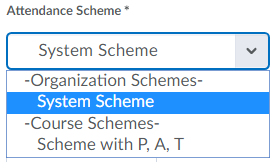
- Choose an Attendance Scheme. See Create an Attendance Scheme to create your own.
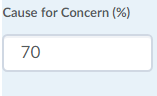
- Enter a number indicating the % of attendance at which you intervene. (This is optional.)
- Selecting Allow users to view this attendance register is recommended.

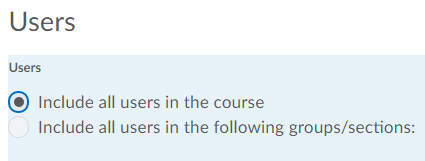
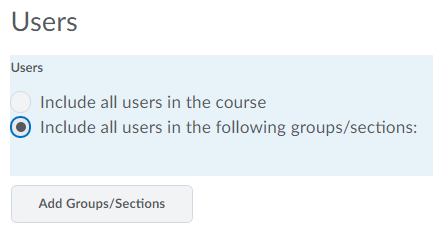
- The Users subsection consists of the following options:
- Choose Include all users in the course if you want all students to have access to the same register.
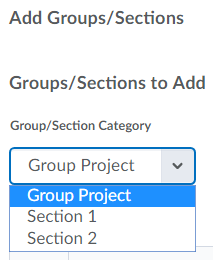
- If you will have multiple registers, change the selection to Include all users in the following groups/sections. This will allow you to limit the students in the register to a specific section or group.
- Choose Include all users in the course if you want all students to have access to the same register.
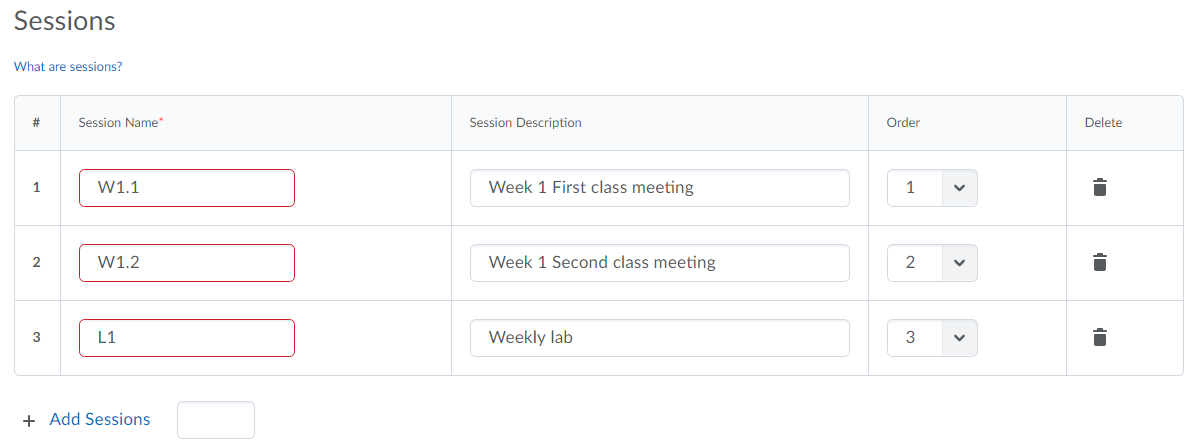
- Determine how many class meetings you will have this term and add the needed rows to the sessions list.
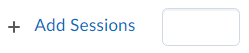
- Enter a Session Name for each row. Click [Save].
Using short, generic names helps keep the register compact and reusable without needing to edit it each term. For example, you can label sessions as W1.1, W1.2, W2.1, W2.2, W3.1, and so on for a Monday/Wednesday or Tuesday/Thursday class. If you have a weekly lab, you can use labels like L1, L2, L3, etc.
NOTE: You cannot save the register with incomplete rows. Delete any unused rows by clicking the trashcan icon to the right.