The goal of accessible learning is that a person with a disability will obtain the information as fully, equally, and independently as a person without a disability. When a learning setting is accessible, a person with a disability is afforded the opportunity to acquire the same information, engage in the same interactions, and enjoy the same services as a person without a disability in an equally effective and equally integrated manner, with substantially equivalent ease of use.
The following instructions require using Adobe Acrobat Pro DC. Any LSC faculty or staff member can get a copy of Adobe Acrobat Pro for free on a work computer and one home computer (Acrobat DC Installation Guide). The following instructions refer to the latest version, Adobe Acrobat Pro DC.
Does an Accessible PDF need Optical Character Recognition (OCR)?
OCR is only necessary if the text on the PDF is an image instead of actual text. To determine whether your PDF is an image, try to select and copy a line of text. If you can't, your PDF is an image and needs optical character recognition (OCR).
Run OCR with Adobe Acrobat Pro DC
- Open your PDF file.
- In the Tools panel, on the far right side, click Edit PDF.
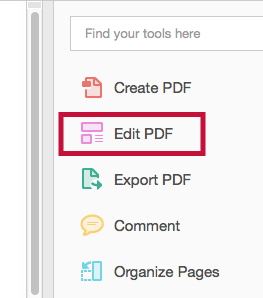
- The image will be edited to text through OCR. A window displays allowing you to edit your settings.

- Your PDF should now be editable text. For more information about working with scanned PDFs, please visit Adobe's page on the subject.
Run Adobe Acrobat Action Wizard to Make Your Document Accessible
- Click [Tools] in the top left-hand corner.

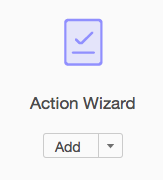
- Click [Action Wizard].
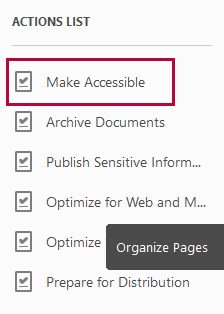
- Click [Make Accessible] in the right column.
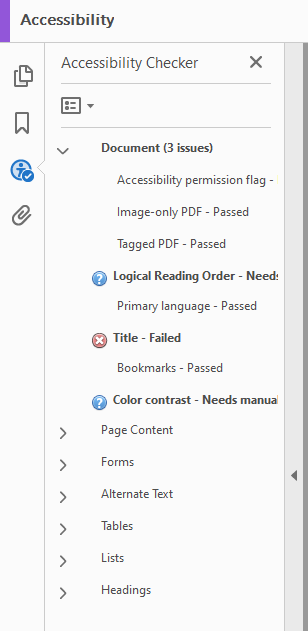
- Select a file to be processed and click [Start]. When your file is finished running, you will have an Accessibility Report in the left column.

Run the Adobe Acrobat Built-in Accessibility Checker
Adobe Acrobat Pro DC has a built-in accessibility checker. To run the accessibility check:
- Select [Tools] in the top-left corner.

- Click [Accessibility].

- From the right column, select [Accessibility Check].
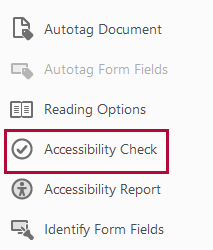
- The Accessibility Checker Options window opens.
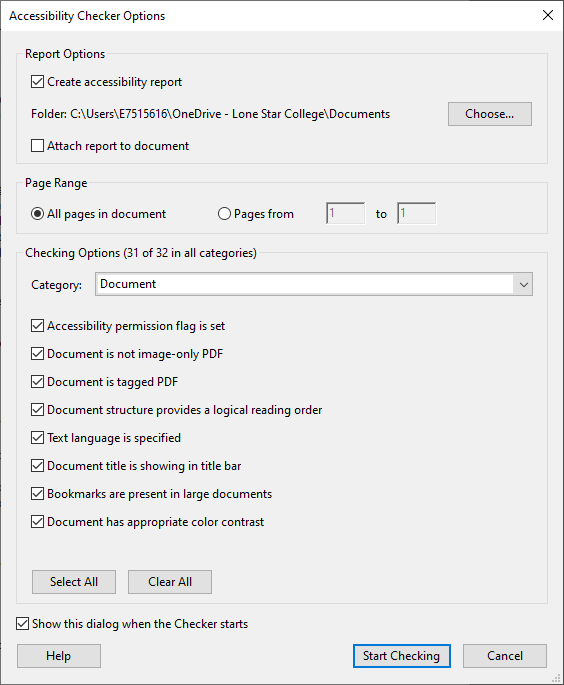
- Check Create accessibility report.
- Choose a folder for the report.
- Select the settings to be checked.
- Click [Start Checking].
- The Accessibility Report displays in the left column. The report displays identified accessibility issues for the PDF so you can fix them.
