All Microsoft Office products can produce PDF documents. There are advantages to using PDF in your course rather than original files produced in Microsoft 365 products:
- The document looks the same for every student no matter what operating system or browser they use.
- The PDF format is ubiquitous and works on any operating system.
- Saving as PDF usually compresses the file size.
See the following instructions for creating a PDF from a Microsoft 365 Word file.
Export Your File as a PDF Document
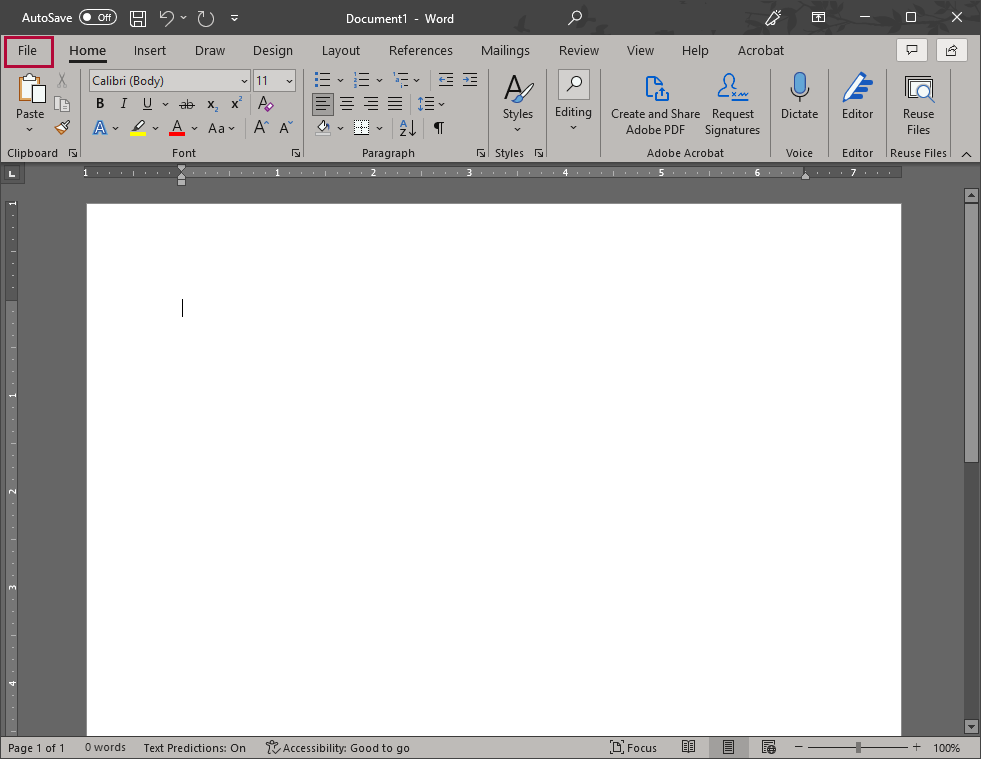
- Open your Word 365 document.
- Click on the [File] menu.
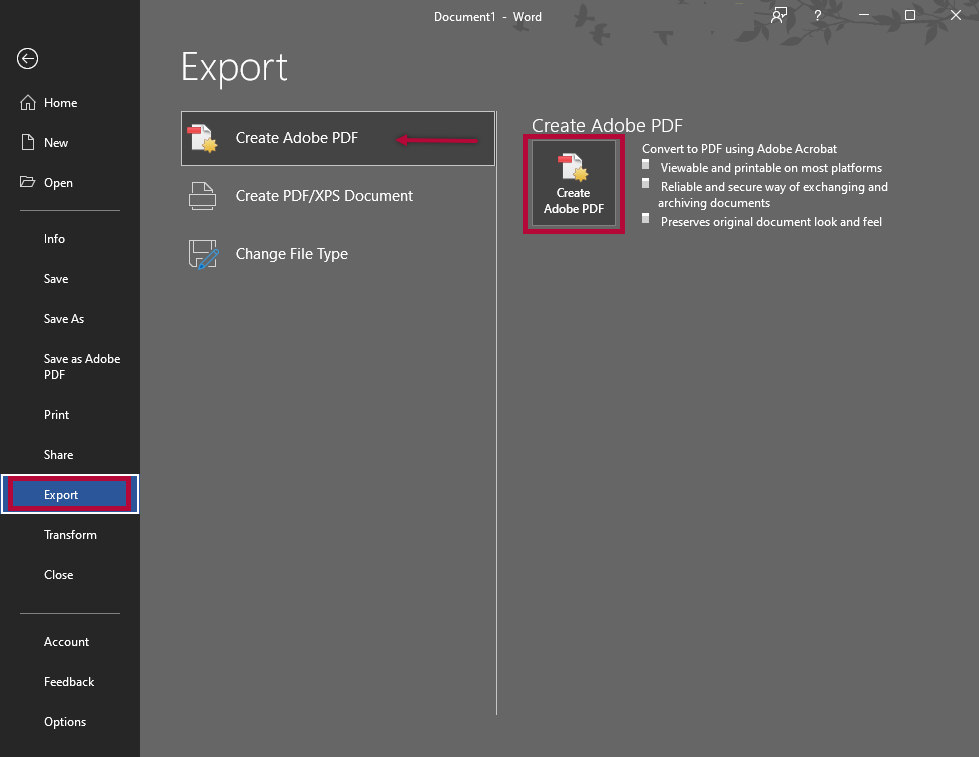
- Choose [Export] and click the [Create PDF/XPS Document] option, then click the [Create PDF/XPS] button.
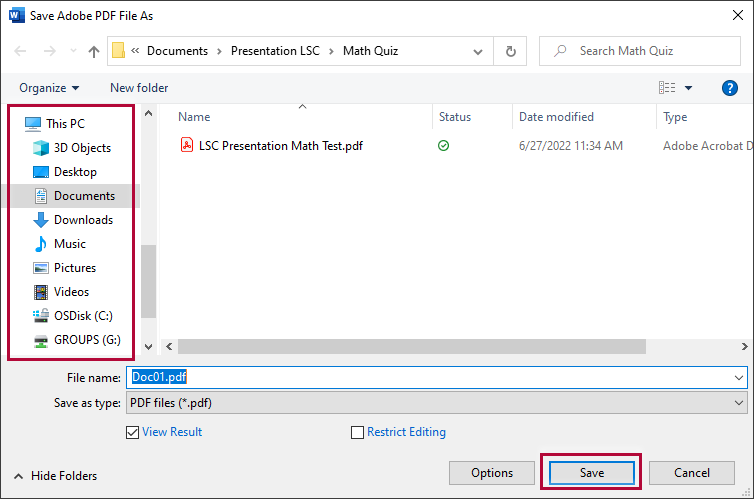
- Choose a location to save your file and enter a name in the File Name box. Then click [Save].


Save as a PDF
- Open your Word 365 document.
- Click on the [File] menu.
- Choose [Save a Copy] or [Save as Adobe PDF].
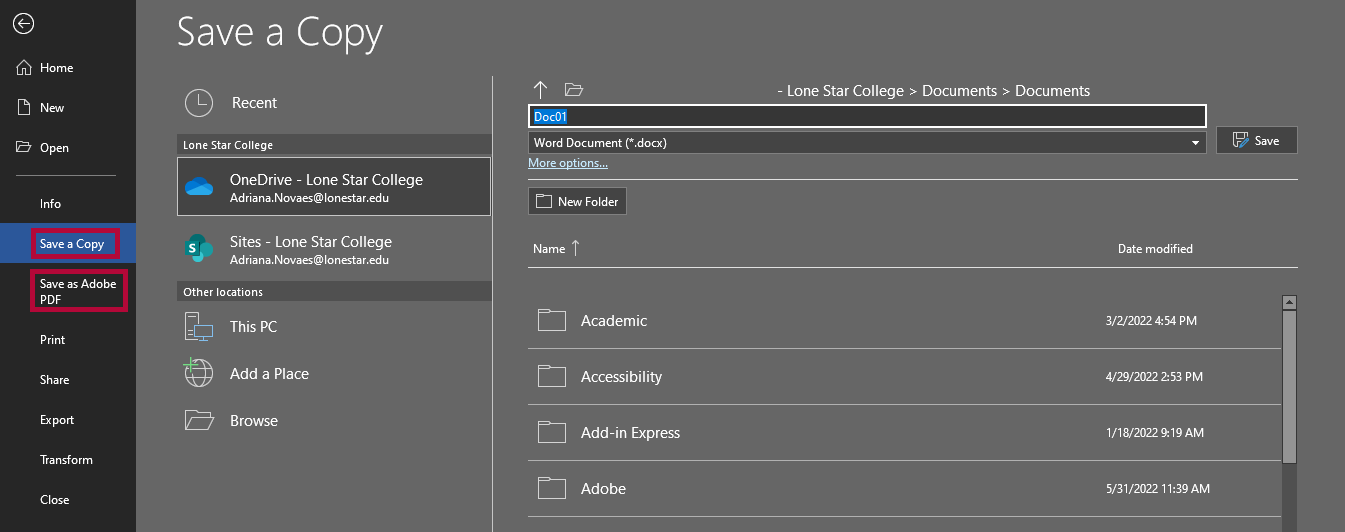
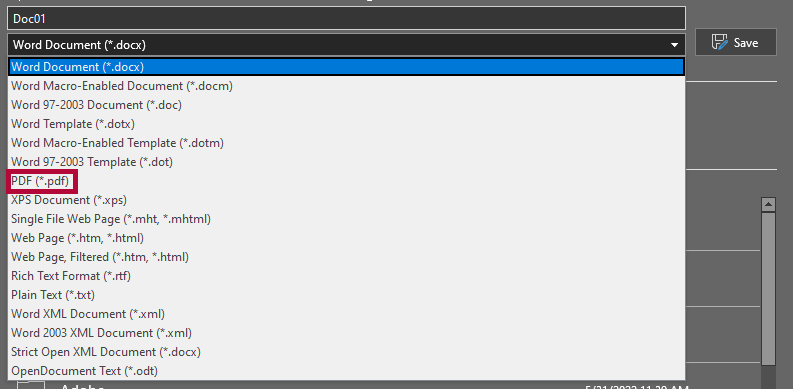
- If you choose [Save a Copy], click the Type dropdown arrow to see the available file types and select [PDF].
- Type a name for the file in the File Name field, verify PDF is selected as the file type, and click [Save].


Troubleshooting and Support
If you need additional assistance, contact the IT Service Desk at 281.318.HELP (4357).