
Grades from an external source, such as a publisher site or other LMS, can be entered into D2L in one of two ways:
- Recreating the gradebook manually in D2L, or
- Via import. Both options require steps to set up the gradebook in D2L, and the import option requires using Microsoft Excel (or similar program) to edit a file for import into D2L.
Recreate Gradebook Manually
To recreate your gradebook in D2L:
- Enter your course.
- Click on Grades.
- For untouched gradebooks, the Grades Setup Wizard will display. You can go through the Setup Wizard or proceed to Step 4. By default, the gradebook is set as a points-based grading system.
- Click on Manage Grades.
- Create gradebook categories. (This is required if you are using a weighted grade system or recommended if you want to sort your grade columns by category.)
- Add each grade column.
- Once each column has been created, enter grades.
NOTE: If you are missing students in your D2L gradebook, you may need to reconcile your D2L roster.
Import Grades
To import grades into D2L, you must format a file following D2L’s documentation for File Format for Importing Grades. Most external sources have an option to export grades to a CSV, XLS, or XLSX file, which allows the file to be edited within Microsoft Excel or similar programs. Using Excel or a similar program, you can format the file to meet D2L’s requirements for import; however, this could be a tedious and time-consuming process.
For ease of import and per the D2L documentation, we recommend setting up your grade columns in D2L first, and then use D2L’s Export Grades tool to create a file properly formatted for import. You can then enter or copy grades into the export file generated by D2L. Because the file was generated by D2L, it will be in the correct format to import the grades.
To import grades from an import file:
- In your D2L course, add each grade column to the gradebook. We recommend that you add each column in the order it appears in your external gradebook to make it easier to enter grades for import later.NOTE: Do not add categories at this time. Adding categories can create extra columns in the export file. You can add categories and sort columns after import.
- After each column has been added, export your gradebook. Use the following settings:
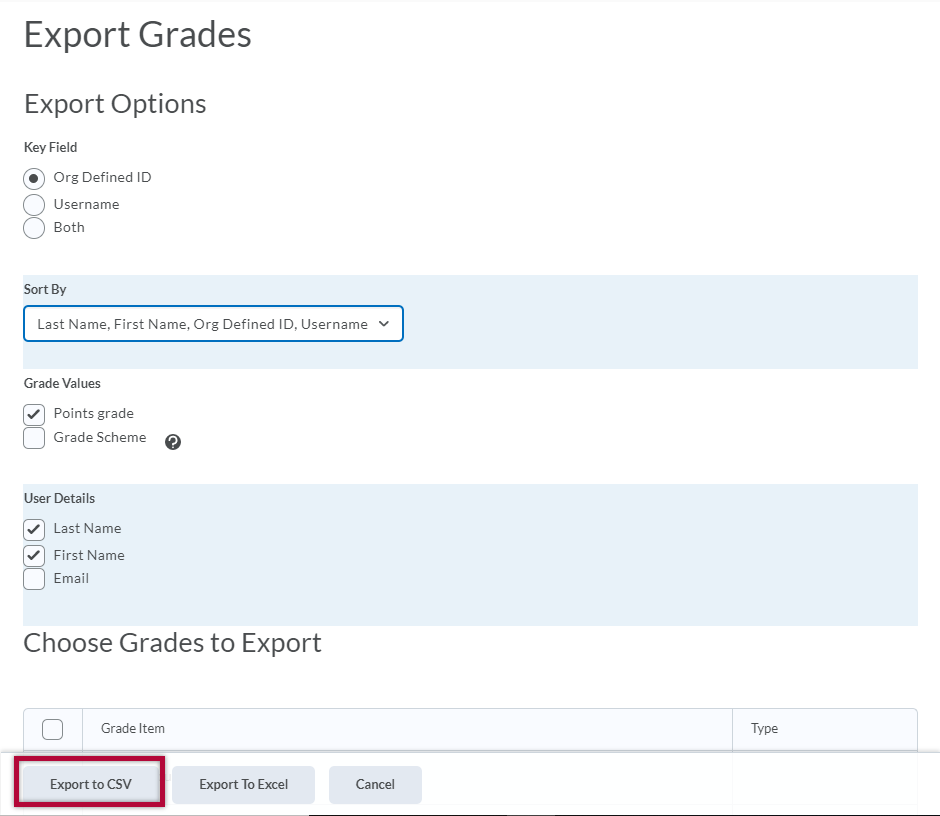
- Key Field: Org Defined ID
- Sort By: Last Name, First Name, Org Defined ID, Username
- Grade Values: Keep Points Grade checked
- User Details: Check Last Name & First Name
- Grades to Export: Select each grade item/column, if not already selected. Uncheck Final Calculated Grade and Final Adjusted grade, which are grade items created by D2L that will not be used during import.
- Click the Export to CSV button.
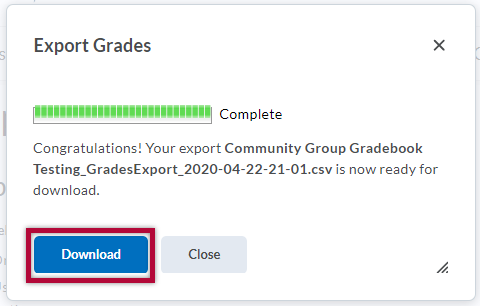
- When the generation is complete, click the Download button to save the export file to a known location on your computer.
- Using Microsoft Excel or a similar program, open the file you saved in Step 3.
- Enter or copy grades into the export file.
NOTE: If you are copying grades from another file, verify that your students (rows) are in the same order as the students in your export file to prevent mismatch of grade entry. The export file should list the students in order by last name as it appears in D2L. You may need to use sort and delete functions to put your rows in order.
NOTE: Do not delete the OrgDefinedID or End-of-Line columns. These columns are necessary for import.
- After entering the grades, save the file. Be sure you save the file as a CSV in order for it to be accepted by D2L for import.
- Back in D2L, enter your course and go to Grades.
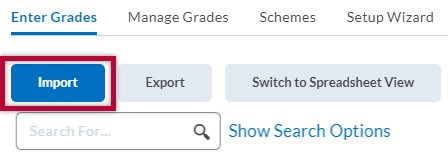
- On the Enter Grades page, click the Import button.
- On the import screen, click the Choose File or Browse button, depending on your browser, to locate and select the file containing your grades for import. Click the Continue button.
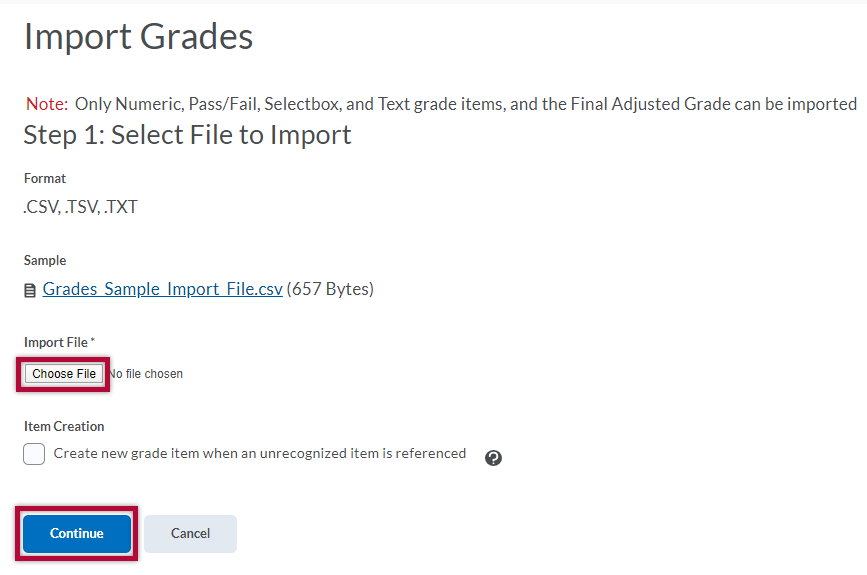
- If there are no errors or warnings, proceed by clicking the Continue button again.
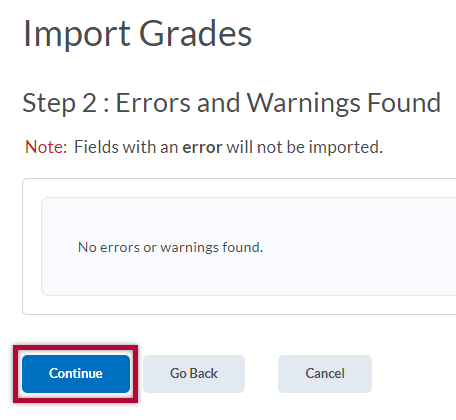
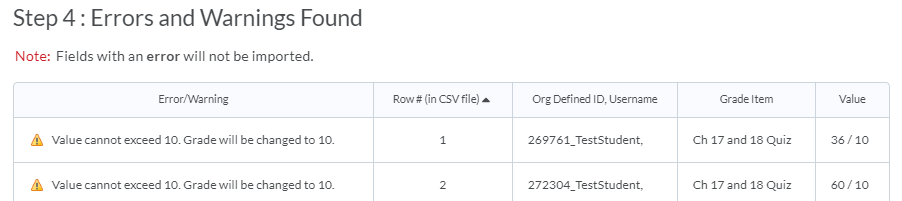
NOTE: Errors and warnings occur when the data in the import file conflicts with the grade item settings. For example, the score/points earned is higher than the maximum points set for the grade item.
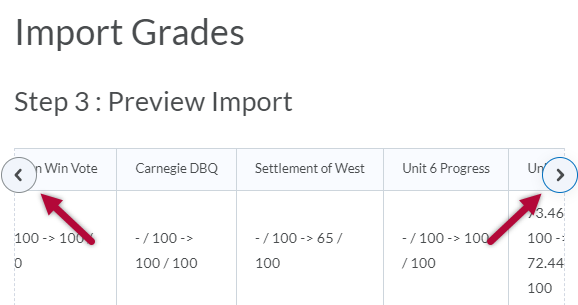
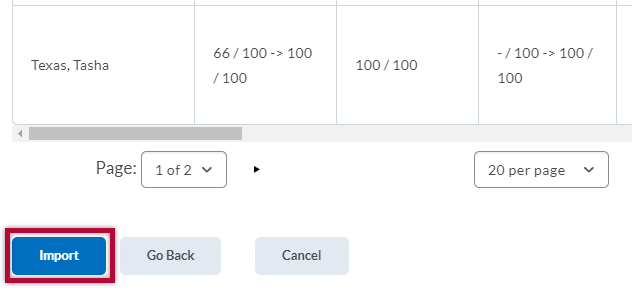
- Preview your import. Depending on the number of students and grade items, not all items may be displayed on screen. To view the grade items/columns, use the arrows on the left and right of the grade item/column titles. To view all students’ information, use the page view options below the preview window. When you are ready, click the Import button.
- After the import has completed, you will be redirected to the "Enter Grades" screen, where you can view your imported gradebook.
- (Optional) Organize your gradebook by adding categories and using Bulk Edit to assign grade items to each category.


