This area displays your gradebook sorted by student name by default. You can switch between the standard view of the gradebook and a spreadsheet view that allows you to enter grades directly into the gradebook list.
Enter grades using the spreadsheet view of the Student List
Click Grades, then Enter Grades.
Click the Switch to Spreadsheet View button at the top of the screen
Enter grades in the input fields in the Student List.
Click the Save button at the bottom left of the screen.
Enter grades or provide feedback for multiple students at once
Click Grades, then Enter Grades.
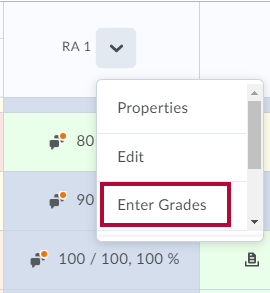
Click the drop-down arrow next to the grade item and select Enter Grades.
Select the checkbox for the desired students and click Set Grades, then enter the desired grade; or
Select the checkbox for the desired students and click Add Feedback.
Click Save or Save and Close.
Enter grades by student
On the Enter Grades page, click on the name of a student.
TIP:Use the Search for and View By fields, or the Next Page icon to locate a student.
On the student's page, enter grades for the appropriate Grade Items.
Click the Show Comments and Objective Based Assessments link to add feedback for the student or for your own personal records.
Perform additional tasks as required:
Optional Tasks to be Performed
To...
Do This...
Flag student for future reference
Click the Flag icon beside the student's name.
Preview the student's grades
Click the search icon Preview in the student's action menu.
View the event log for the student's grades
Click the Event Log in the student's action menu.
Email the student
Click Email user icon in the student's action menu.
Click Save.
Enter grades by category
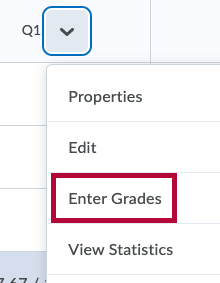
On the Enter Grades page, click Enter Grades from the grade item's context menu.
Enter grades in the Grade fields.
Click the pencil icon to leave feedback on a student's performance.
Click the Save button.
Perform additional tasks as required:
Optional Tasks to be Performed
To...
Do This...
Flag student for future reference
Click the Flag icon beside the student's name.
Email students
Select the checkboxes for the students you want to email and click the Email icon.
Clear all grades in the category for selected students
Select the checkboxes for the students whose grades you want to clear and click Clear Grades.
Click Save.
Enter grades by grade item
On the Enter Grades page, click Enter Grades from the Grade Item's context menu.
Enter grades in the Grade fields.
If you want to add feedback on the student's performance, click the pencil icon in the Feedback field.
Perform additional tasks as required:
Optional Tasks to be Performed
To...
Do This...
Flag students for future reference
Click the Flag icon beside the students' names.
Apply a common grade to all students
Click the checkbox to select all students.
Click Set Grades at the top or bottom of the student list.
Enter the grade.
Click Save.
Apply a common grade to selected users
Select the students by clicking the checkbox next to their names.
Click Set Grades at the top or bottom of the student list.
Enter the grade.
Click Save.
Email selected students
Select students using the checkboxes next to their names and click Email.
Clear grades for selected students
Select students using the checkboxes next their names and click Clear Grades.
View the Event Log for the grade item for all students
Click the dropdown arrow next to the grade item and select Event Log.
Click Save.
Enter grades for items associated with quizzes, dropbox folders, or discussion
You can associate quizzes, assignment folders, discussions and third party tools with grade items and grade them directly from the respective tools. If a grade item has not already been created in the Grades tool, it can be created at the same time as when setting up a quiz, Assignment folder, or discussion topic.


 Flag icon beside the students' names.