
Share via a Sharing List
- Click on Collaboration on the navbar and choose ePortfolio.
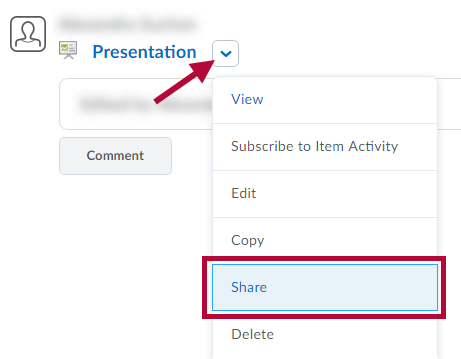
- Click the down arrow next to the title of the presentation, then click Share.
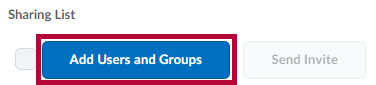
- Click the Add Users and Groups button.
- In the window that appears, select names or groups from the list provided or search using the Search for field. Selections will be highlighted in blue and shown under Share To.
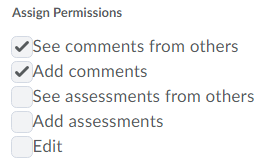
- Change Assign Permissions settings as desired.
- Once all desired names or groups have been selected and permissions set, click the Share button.
- When finished, click Close to return to ePortfolio.NOTE: After sharing with a sharing group, it is recommended that an invite also be sent to the added users to inform them of their access.
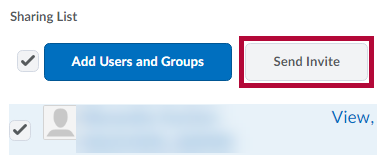
- Check the Select All box or individually select users to include from the Sharing List, then click Send Invite.
- Add a Subject and Message as needed then click Send.
- An email will be sent to these recipients containing a link to the newly shared presentation.
- Click Close to return to ePortfolio.


Sharing Presentations via URL web link
- Click on Collaboration on the navbar and choose ePortfolio.
- Click the down arrow next to the title of the presentation, then click Share.
- Select the checkbox for “Allow public viewing of presentation".

- Copy the URL listed and send as needed to share presentation with people.

NOTE: This option is required only if you wish to share your presentation with users outside of existing sharing groups or the Lone Star College system.