
Sharing Groups allow instructors to save permissions for a group of users that can then be applied to new items rather than specifying the group's permissions each time. Multiple sharing groups can be created and applied in different situations or to different types of items.
For example, an instructor could create a sharing group that automatically gives all course participants access to view and comment on other participants' items if they are on the course classlist. Sharing groups are optional as default groups exist containing all Users and Courses that you have access to view. Creating new sharing groups allows instructors to mix and match users or groups of users within a course and/or across multiple courses.
- Click Course Management on the navbar and select Course Admin.
- Click Sharing Groups.

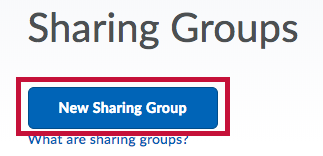
- Click New Sharing Group.
- Enter a Name and Description for the sharing group, then click Add Users.
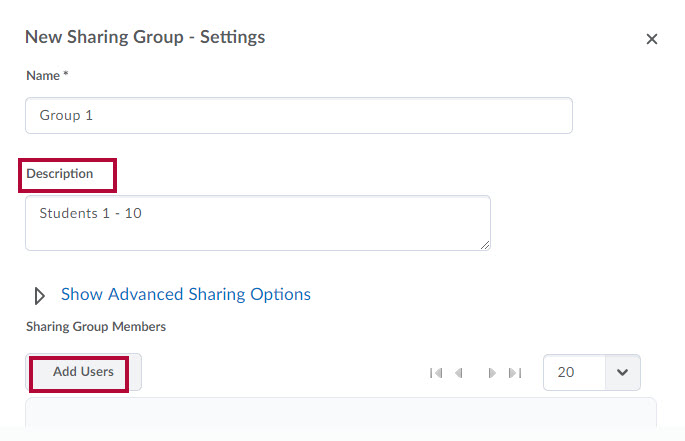 NOTE: Clicking the Description box will cause the group to be saved, which will then display the Add Users button.
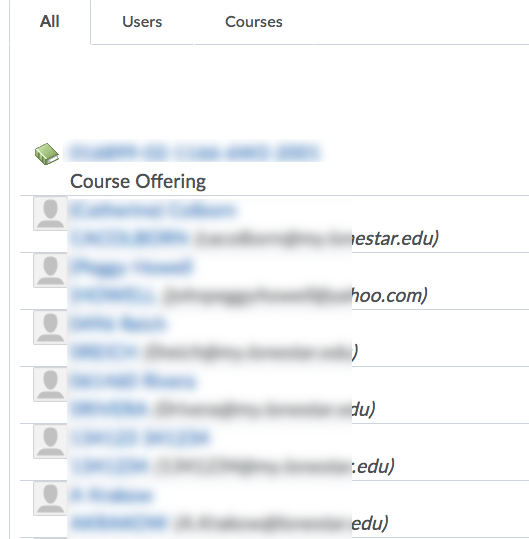
 - Select the desired users or groups by searching via the search box or by clicking the tabbed groupings. Multiple selections can be made across multiple tabs at once.
- Once selections have been made, choose the desired permissions and click Add.
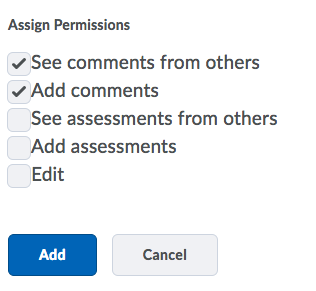
- You will see a list of the users you added as well as the permissions they were given. You can click on the pencil icon to edit the permissions, or click on the X to remove the user.

- Click Save and Close.


