My Courses Widget Overview
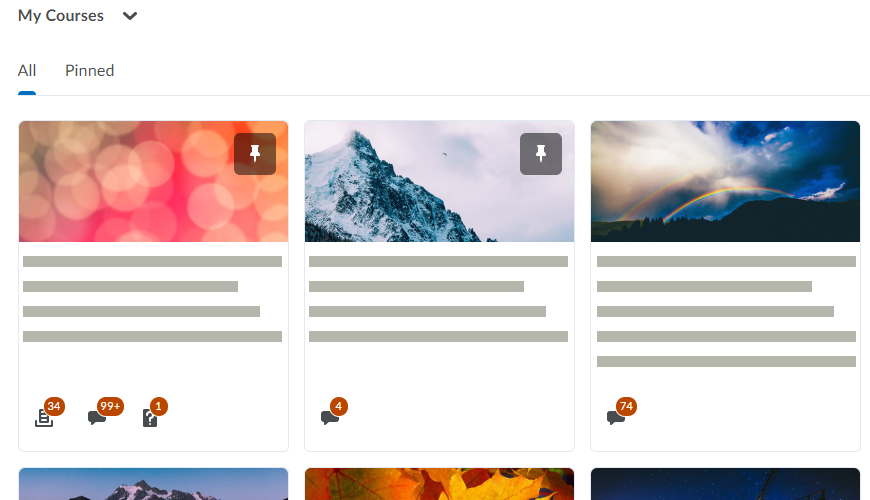
The My Courses widget displays courses as a grid of tiles at the top of your Home page in D2L.
Pinning and Unpinning Courses
To pin a course, hover over the course image until you see the Options menu, indicated by three dots. Choose the Pin option to add the course to your Pinned courses. We recommend that you pin all your frequently accessed courses.

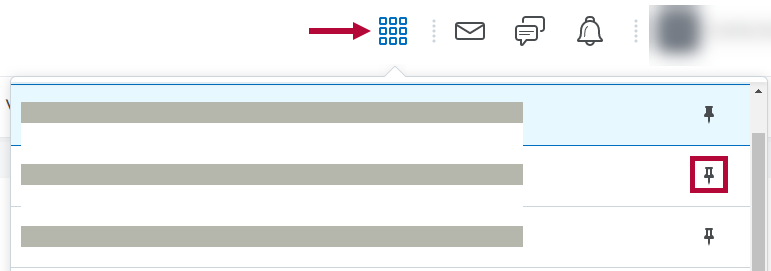
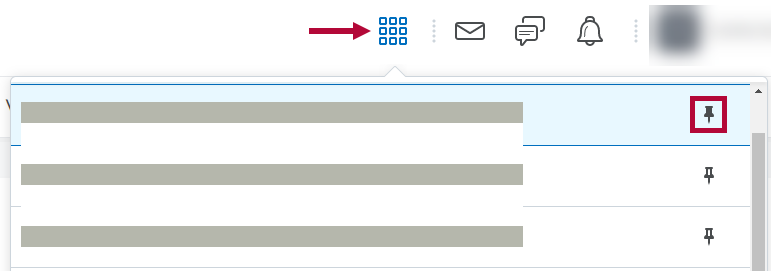
Courses may also be pinned by using the Select a Course grid at the top of the page and clicking the pin icon to right of the course name.
Your course(s) will now appear under the Pinned heading on the All Courses page and display first in the My Courses widget on the home page.
To unpin a course, use the same Options menu on the course and choose Unpin, or click on the pin icon on the course image. 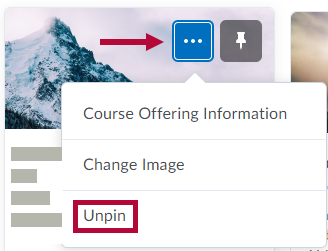
You can also use the Course grid at the top of the page and click the shaded pin next to the course name.
Badges and Notifications
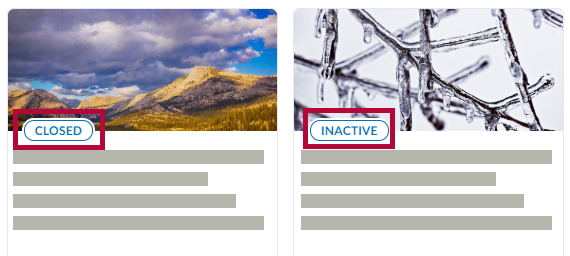
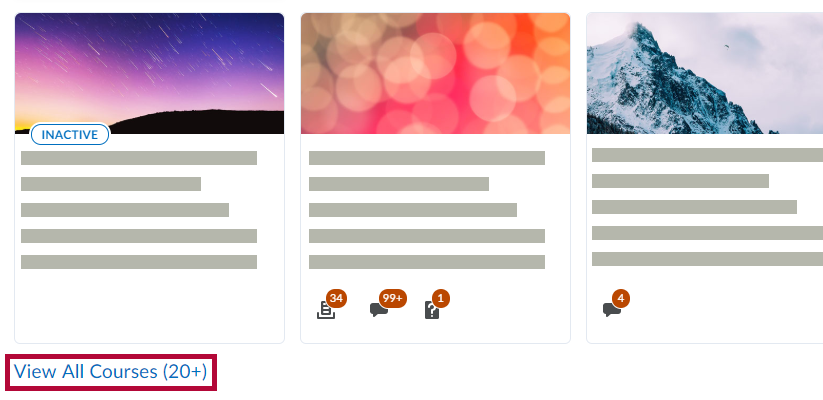
A status badge will appear on a course that is closed or inactive.
Course notifications will appear at the bottom of a course tile. Click on the notification icons to access the associated course activities. 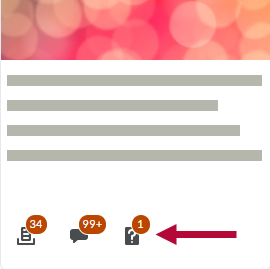
Course notifications appear in the following order,
- Assignments - Displays the number of new, unevaluated submissions.

- Discussions - Displays unread discussion posts.

- Quizzes - Displays available quizzes.


Viewing Courses
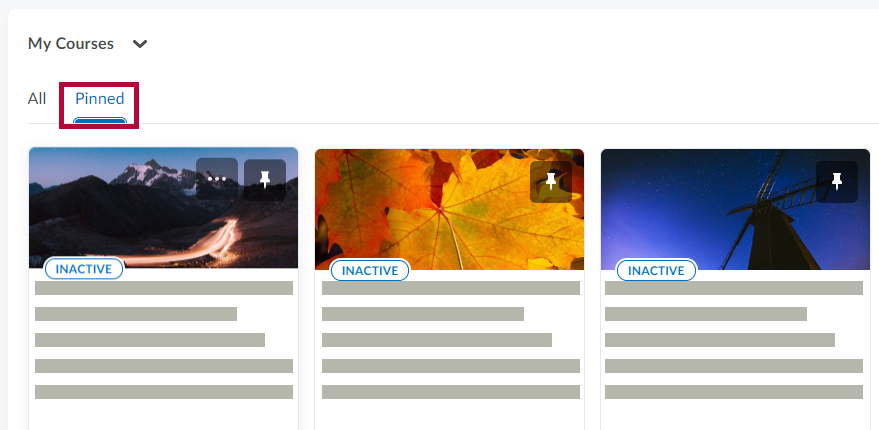
- To view only pinned courses, click the Pinned tab at the top of the widget.
- To view all of your courses, click the View All Courses link in the widget.


Sorting and Filtering
On the All Courses page, you will be able to see all of your courses. You can change the order of your courses by using the Sort option in the top right, and choosing the option that you want.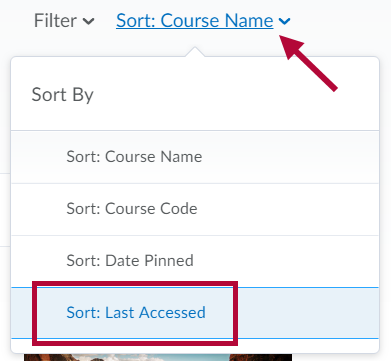
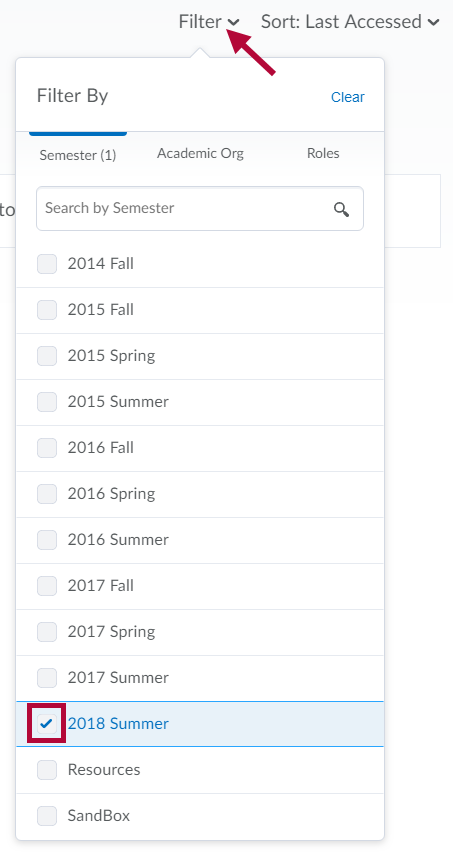
To find current courses, use the Filter option at the top, and select the current semester.
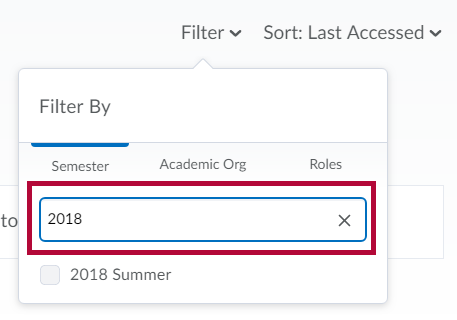
Additionally, you can use the search bar to find semesters more quickly.
Course Image
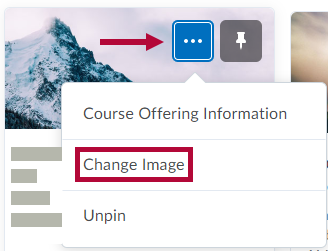
By default, D2L selects an image for your course. You have two options to change the course image: 1) under Course Offering Information or 2) Change Image. To select an image from the D2L library, click on the Options menu on the course image and select Change Image.
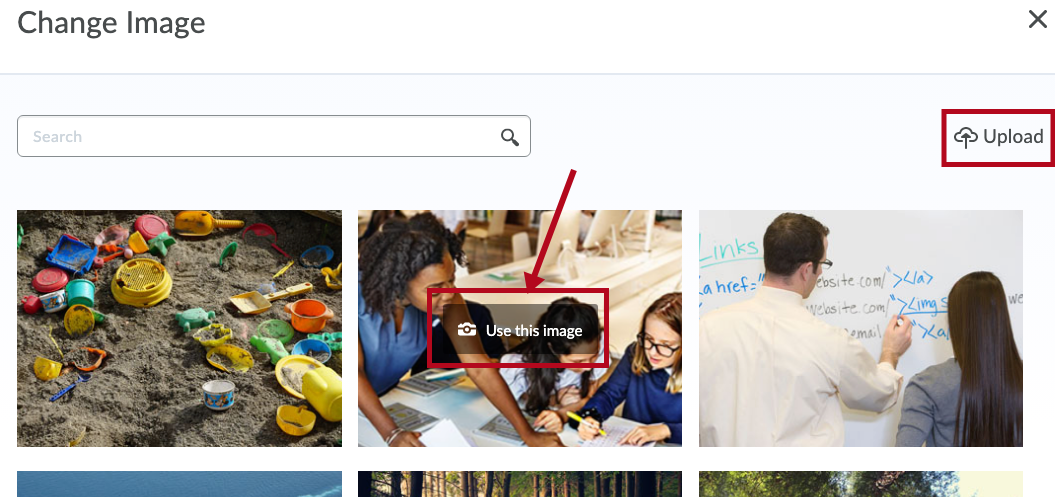
On the Change Image screen, hover over the image you want and click Use this Image to change the course image. To upload your own image, click the Upload link.
Course Offering Information
The Course Offering Information page allows you to upload your own course image and to activate your course. To access the Course Offering Information screen, click on the Options menu on the course and select Course Offering Information.

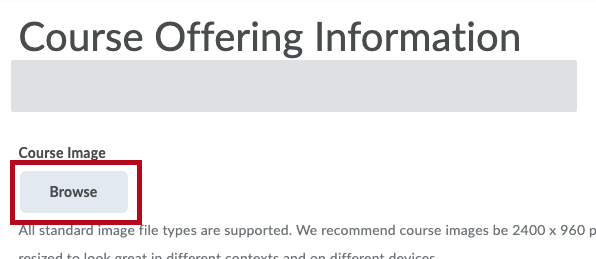
To upload your own course image from the Course Offering screen:
- Click the Browse button.
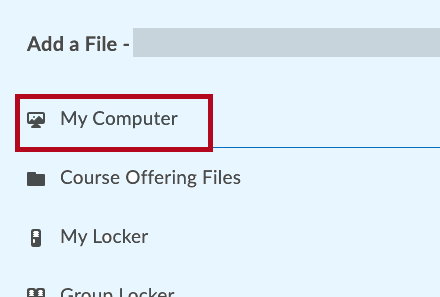
- Choose My Computer.
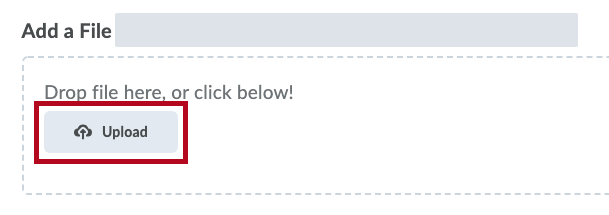
- On the next screen, either click the Upload button to browse for an image on your computer or drag an image into the box.
- After your image has finished processing, click the Add button.

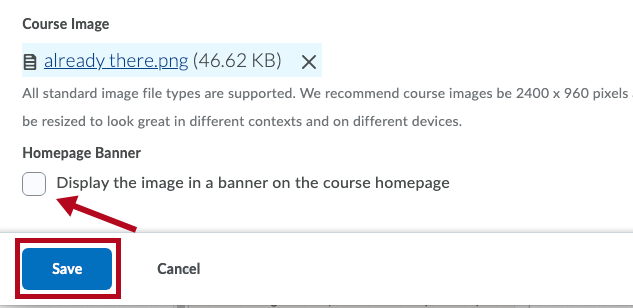
- The image you uploaded will display under the Course Image heading back on the Course Offering Information screen. In order for the image you uploaded to appear as the course image, you must click the Save button at the bottom of the screen.


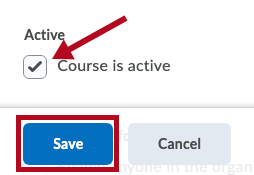
Activate Your Course
On the Course Offering Information page you have the option to make your course active. Found about midway down the screen, check the box for "Course is Active." Click the Save button at the bottom of the screen to save your changes.