
The best use of Course Builder is to create the structure of a course before you have added content. By designing the course in advance, you maximize your chances of creating a complete and cohesive course. Once your structure is built, you can quickly add actual content to the placeholders.
To build your course structure, add modules to the course tree then put placeholders for your content into the modules. Placeholders are valuable during the initial stages of course creation, helping you plan your course before you create its content.
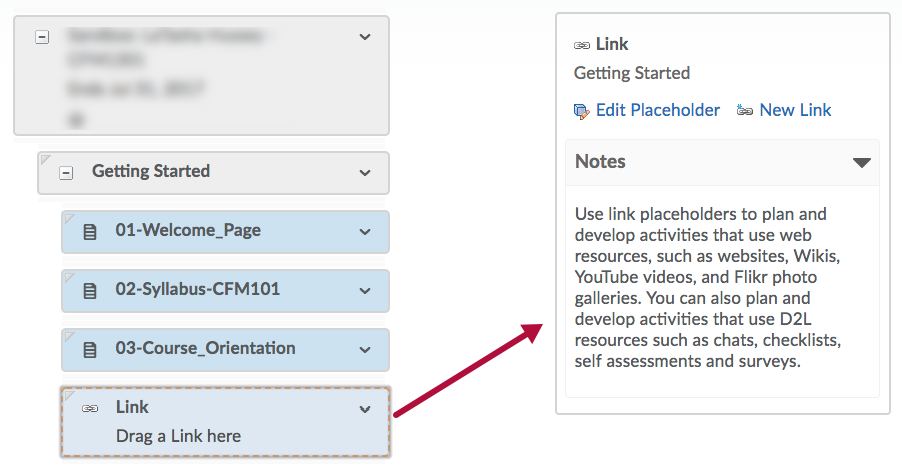
For example, if you haven't yet created your midterms and tests but you know when they will be, you can drag quiz placeholders from the toolbox into the appropriate module to mark where you want to add them. You can also add notes to those placeholders about the material you want to place there.
You can also choose to add real content as you build your course by creating and adding objects to the course tree.
Building Course Structure with the Course Builder
- Go to the Course Management menu in the navbar, and then select Course Builder.
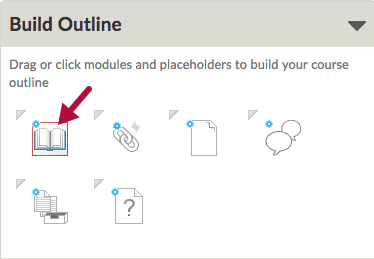
- Use the Build Outline pane in the left-hand column to add modules and placeholders to your course tree.
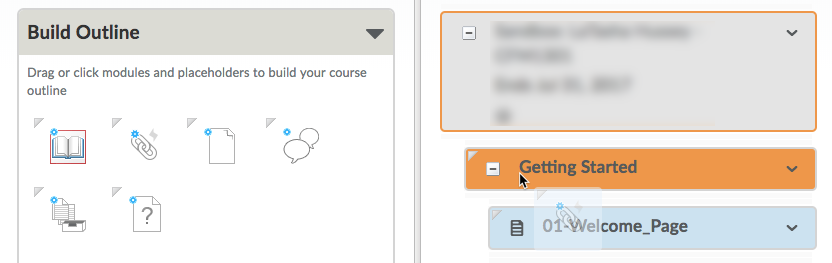
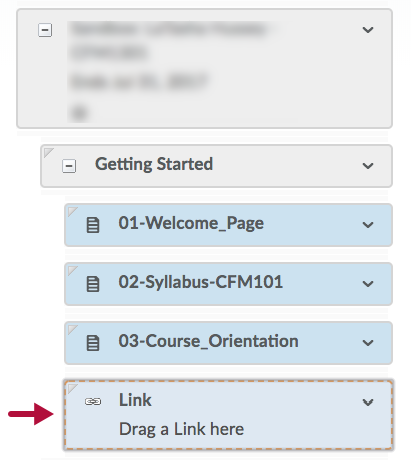
- Add a module by dragging the Create a Module icon from the left side of the Course Builder window and drop it on the name of your class at the top. You must have at least one module to add any placeholders.
- When you drag a placeholder, the module you drop it in turns orange.
- Drag the different icons to your course tree to place different types of placeholders.
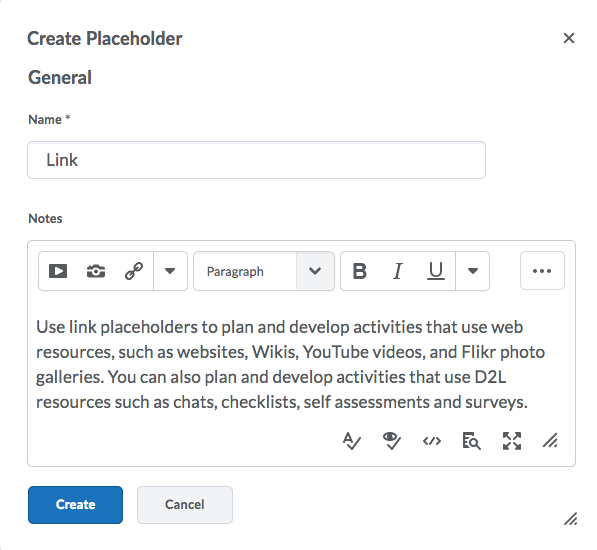
To insert a Link placeholder: 
To insert a File placeholder: 
To insert a Discussion placeholder: 
To insert an Assignment placeholder: 
To insert a Quiz placeholder: 
- The name of the placeholder can be descriptive so you can easily add the right content later. All the placeholder information will disappear once you drop in the permanent content item.
- Placeholders are distinguished from permanent content items by a dotted line around the placeholders.
- When you select a placeholder, you can see any notes you have added to the right.
 NOTE: Placeholders do not appear on the Content page, so students will not see your behind-the-scenes work.


Adding Content with the Course Builder
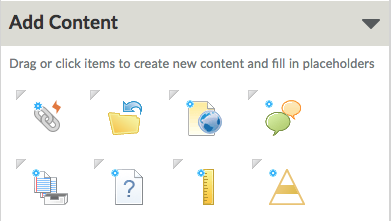
You can also use the Course Builder to add content, rather than placeholders, to your course tree.
- To create new content, use the Add Content pane (the icons that look like the placeholders, but in color) to add material to your course tree.
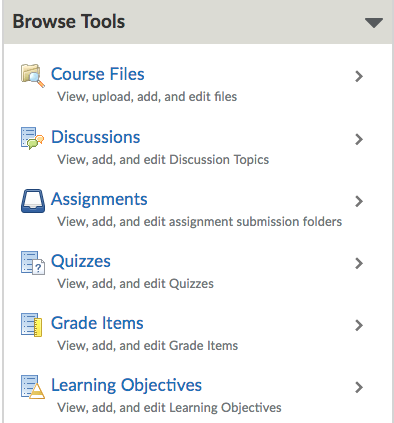
- To add content that you have already created, you can use the Browse Tools pane to locate and add existing material to your course tree.
- For more information on Course Builder contact your on-campus Instructional Designer or Instructional Technologist.
See Meet Your LSC-Online Representative.

