NOTE: The Welcome Window is located in the following Homepage Layouts: Course Home 01b, Course Home 02b, Course Home 03b, Course Home 04b, Course Home 05b.
The Welcome Window is designed to present a pop-up message to users when they log into a course for the first time. This versatile tool allows course creators and administrators to customize the content with text, images, and even short videos. This message can be modified during the course to bring students’ attention to various matters, or it can remain the same for the duration of the course. This message can also have multiple pages, the way a PowerPoint presentation does. By utilizing the Welcome Window, you can warmly welcome users, provide guidance on course structure and navigation, and ensure a successful learning experience.
Prior to creating your own custom Welcome message, D2L will have placeholder content there; this content serves as a wizard, which walks you through the 4-step process (see image below). When you create your own custom Welcome message, that wizard will disappear, replaced by your information.

Using the Welcome Window
To enable the Welcome Window in your course, the course must have a module that contains the word “welcome” in it. Clicking [Open Window] in the Welcome Window will start the Wizard which will walk you through setting up the Welcome Window. Below are the steps it will take you through.
- In the Content area of your course, create a module with “welcome” in its name.
Avoid having two modules feature the word "Welcome" in the name. If you already have a module with “Welcome” in the name, we suggest re-naming it.
NOTES: As long as the module title includes the word Welcome, it will trigger the Welcome Window to pull content from this module. Also, the content must be a Module, and NOT a sub-module.
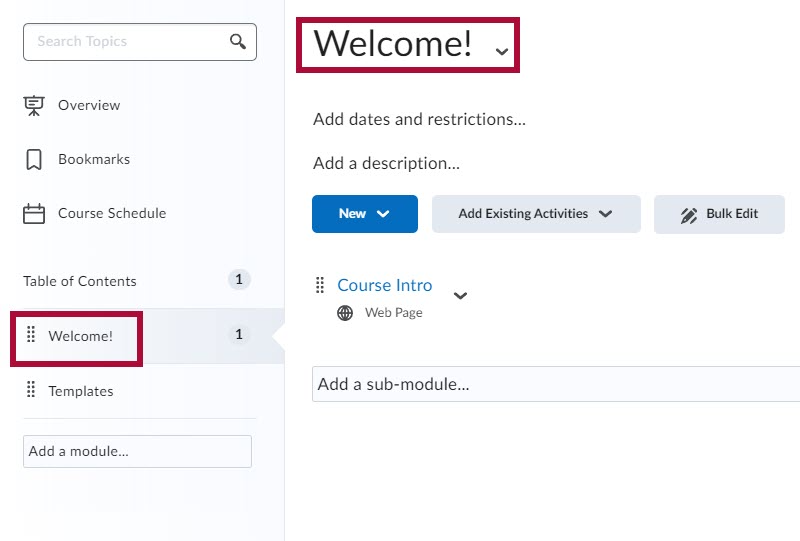
In that newly-made module, you will create a new HTML document. This file will become the first page of your Welcome Window pop-up message.
Much like PowerPoint, you may want to visually enhance your pages with graphic elements like images and more elaborate fonts. This can readily be accomplished by using HTML Templates, which you will find when you create a new HTML file.
NOTE: If you choose to have multiple pages in your Welcome message, make sure that the individual HTML files in the Welcome module are in presentation order, with the first slide positioned at the top of the module, the second after it, and so forth.
After students read the message on the pop-up window, they will be able to close the window out by clicking the small [X] in the top right corner. However, unless they progress through all the Welcome Window pages and click the [Dismiss] button, the pop-up window will continue to appear each time they enter the course.
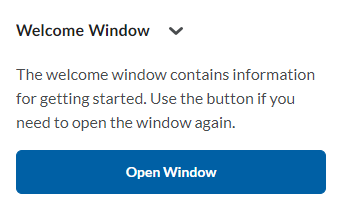
After clicking the [Dismiss] button, the [Open Window] button will remain available on the homepage if the student wants to re-open the Welcome pop-up.