
NOTE: If you copy quizzes requiring LockDown Browser from one semester to the next, you must visit the LockDown Browser Dashboard at the beginning of each semester in order to reset the quizzes. If you don't open the Dashboard screen, the quizzes may not open for your students. You may need to do this every time you copy a quiz into the course.
Respondus LockDown Browser ensures the integrity of your exam by limiting what students can do while they are using the browser, which now also features Instructor Live Proctoring. You can refer to articles Overview of Features and Instructor Resources on the Respondus website.
In addition to the resources above, Respondus answers common questions about a rapid rollout and are offering daily training webinars regarding both LockDown Browser and Monitor.
If students are having issues launching Respondus Monitor (Webcam proctoring feature) for your exam, we strongly recommend referring your students to instructions on how to access Respondus Live Chat Help.
Locating the Dashboard
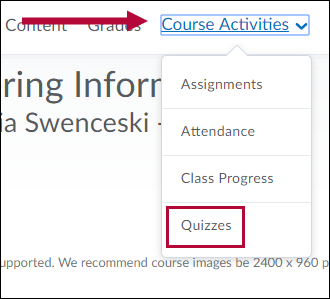
- Go into your course and click [Course Activities] > [Quizzes].
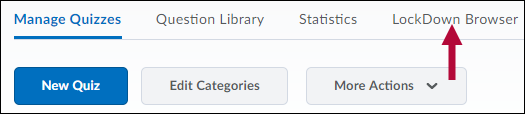
- Click the [LockDown Browser] tab.
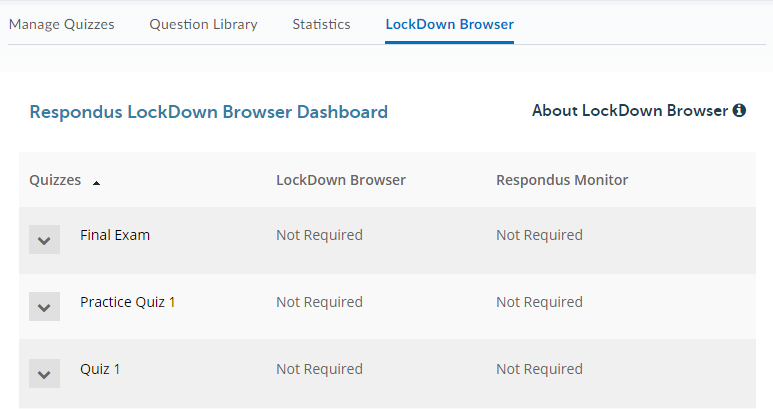
- Select play on the Video Tutorial or click [Continue to LockDown Browser]. If you chose to watch the Video Tutorial, click [Continue to LockDown Browser] when finished. The page that opens lists all the quizzes in your course.


Setting Up Your Quizzes in the Dashboard
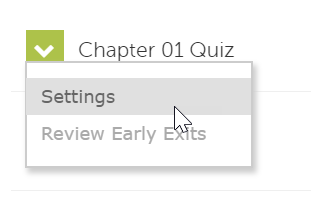
- After the dashboard is open, find the quiz to modify.
- Click the dropdown arrow in front of the quiz name and select [Settings].
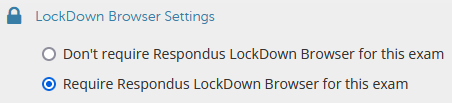
- Under LockDown Browser Settings, select the radio button [Require Respondus LockDown Browser for this exam]. This will expand the basic setting options. Optionally, check the box for [Require LockDown Browser to view feedback and results].
- Under Password Settings, enter a password if you want to allow proctoring through a testing center as an alternative.

-
Click [ + ] Advanced Settings to expand the LockDown Browser advanced settings menu. Choose desired options.

NOTE: Respondus LDB and Monitor function on both Chromebooks and iPads. Although the option is available for the iPad device for LockDown Browser, it does NOT support the screen recording feature.
- Under Proctoring, select the desired setting. If you wish to use Respondus Monitor, choose [Require Respondus Monitor (automated proctoring) for this exam]. Here you have the option for [Webcam Only] or [Webcam + Screen]. For more info on the [Webcam + Screen] option, refer to the Enabling Screen Recording in Respondus Monitor section below.

NOTE: For more information on the option [Allow instructor live proctoring for this exam (via Zoom, Teams, etc)], please see the Instructor Live Proctoring with LockDown Browser VTAC Article.
- If you select Respondus Monitor, edit the Startup Sequence only if you are sure what you want to change. The default settings are adequate in most cases.

- Click [+] Advanced Settings to expand the Monitor Webcam advanced settings menu and choose your desired options.

NOTE: By default, iPad is enabled for exams that require only LockDown Browser. To enable iPad use with Respondus Monitor, select it from [Advanced Settings] for Respondus Monitor.

- When you are finished, click [Save + Close].


NOTE: Please refer to Respondus Monitor Teaching Scenarios for more insight on the appropriate settings for Respondus Monitor, and when to use them.
Enabling Screen Recording in Respondus Monitor
The Screen Recording option will enable Respondus Monitor to record a video of the student's screen which will appear alongside the webcam video in Class Results. To enable this, select [Webcam + Screen] here would allow further options.

The screen recording video for an exam session initially appears below the webcam video in the proctoring results. By clicking the screen recording video, it will swap places with the webcam video as the primary video window, and the thumbnail images found below will also change to the screen recording view. Click on the webcam video to switch it back to the primary video window.
NOTE: Currently screen recording is only available to students using Windows, Mac computers, and Chromebooks. There are currently no plans to support screen recording on iPads since screen activity is less useful (e.g., no mouse movement).
Students using iPads can still access Quizzes with this setting applied, but their screen will not be recorded.
Allow This Exam to Additionally be Delivered in a Proctored Lab
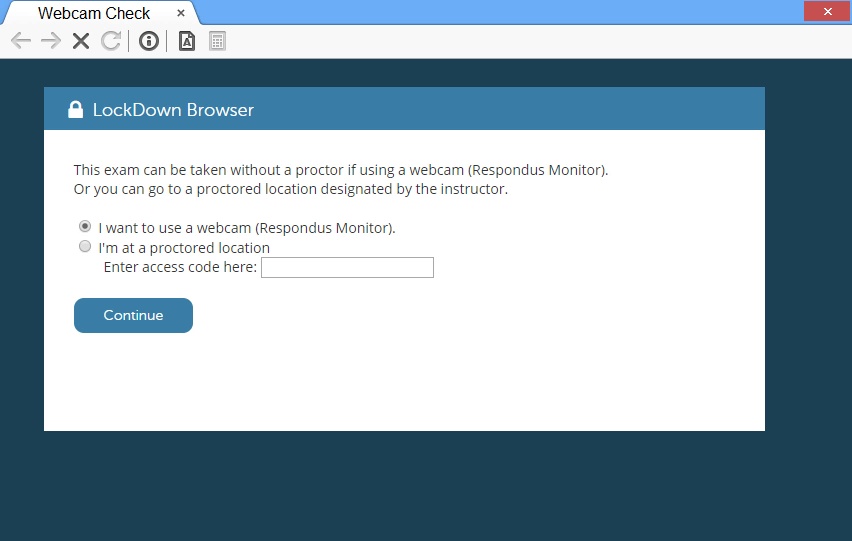
Under the [+] Advanced Settings option is the ability to have students choose to use either a webcam (Respondus Monitor) or take the exam in a proctored environment with a password. You can add a password to your exam by following the first fours steps from the above process Setting Up Your Quizzes in the Dashboard. When a student starts the exam they will be given a choice between [I want to use a webcam (Respondus Monitor)] or [I'm at a proctored location], where a Proctor can enter the access code to allow them to start the exam.
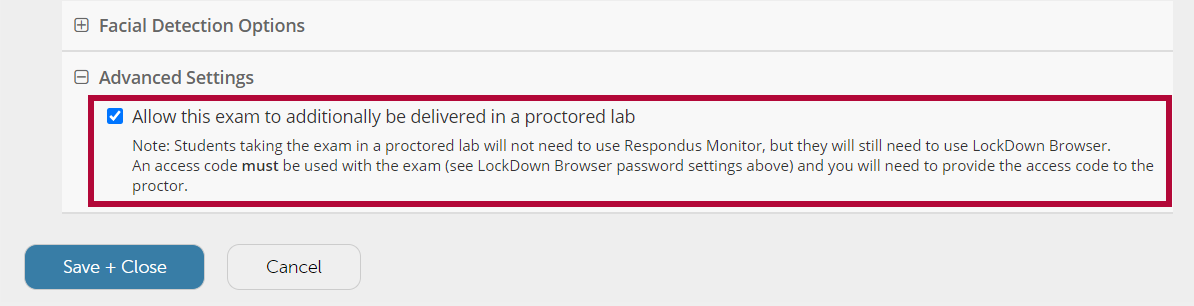
NOTE: You must add a Password to your exam for this feature to work.
Enable Show Your Work Feature in Respondus Monitor
-
The Show Your Work feature in Respondus Monitor makes it easy for students to upload photos of their handwritten work at the end of an online exam. This feature will prompt students to take a photo of their calculations, worksheets, diagrams, drawings, doodles – whatever you require – at the end of the exam
NOTE: This feature is only available if Respondus Monitor has been selected as the proctoring option for the exam.

-
Instructors can also edit the default text students will see when they encounter the Show Your Work page. Click on the [Edit Text] link.

-
Students take photos of their written work (up to 20) immediately after the exam is completed.

-
These photos appear in the top row of the proctoring results for the student. Click an image to view a large, high-resolution image of it.

-
It is also recommended that the instructor enable the Additional Instructions step in the startup sequence, and edit the message to include an explanation of the Show Your Work requirement, including any specific requirements that the instructor may have. This will alert students to the requirement before they begin the exam.


You can find more info in the Using the "Show Your Work" feature in Respondus Monitor article.
Reviewing Respondus Video Recordings
If Respondus Monitor was required for the quiz, instructors can access detailed information about each quiz session and review the recorded webcam footage. Respondus Monitor is designed as a deterrent to discourage academic dishonesty, so it is up to the instructor to determine the extent of review needed after the exam.
- Click on the [v] icon to display the dropdown menu, then select [Class Results].

- Click on the [+] icon to expand the section for a student.

- You can review the video recording in this section in greater detail.

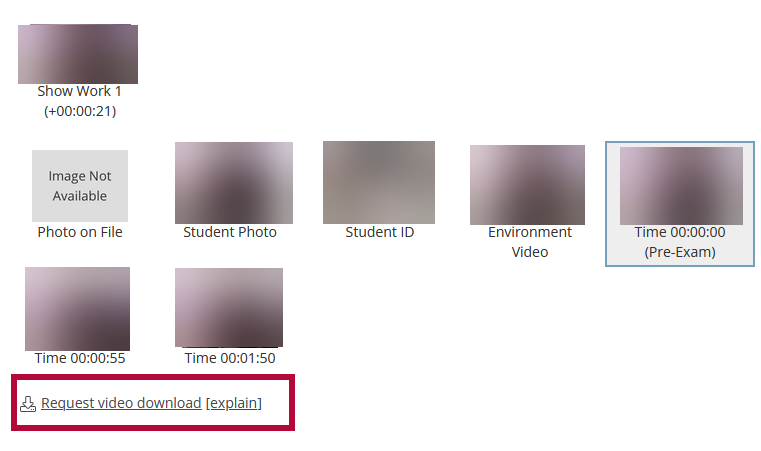
- Details from the startup sequence and the exam session appear as thumbnails. Click a [thumbnail] to view the video starting from the indicated timestamp. Instructors can mark videos as reviewed and add comments as needed.
NOTE: In some cases, a downloadable copy of a student's video recording may be needed for archival or documentation purposes, such as when academic dishonesty is suspected. To request a copy, click the [Request Video Download] button below. All requests must be reviewed and approved by the VTAC Support team within 5 days.


Contact
You can contact Respondus for general questions at Training@respondus.com.